8th October 2023 • 6 min read
Figma for developers: all you need to know

Omar Benseddik
If you're a frontend developer, you are probably spending as much time on VS Code as on Figma.
This quick read highlights some of the goodies that I personally use to speed up my workflow.
A word of caution
Before diving in, here's something to consider. Developers often jump right into coding when they see a Figma mockup, even if the layout is tricky or inconsistent across devices.
Remember, you can ask for design changes if you think something will be tough to implement, or if it'll impact performance or accessibility. It's better to spend 10 minutes discussing changes than wasting hours on debugging and frustration.
Many designers come from a graphic design background and may not fully grasp web complexities. So before you start coding, take a moment to review the mockups and leave comments if needed.
Now that we've covered that, hit CMD+D to access Dev Mode and let's get started.
In Dev Mode, you can't change or delete the design, making it safe to click around.
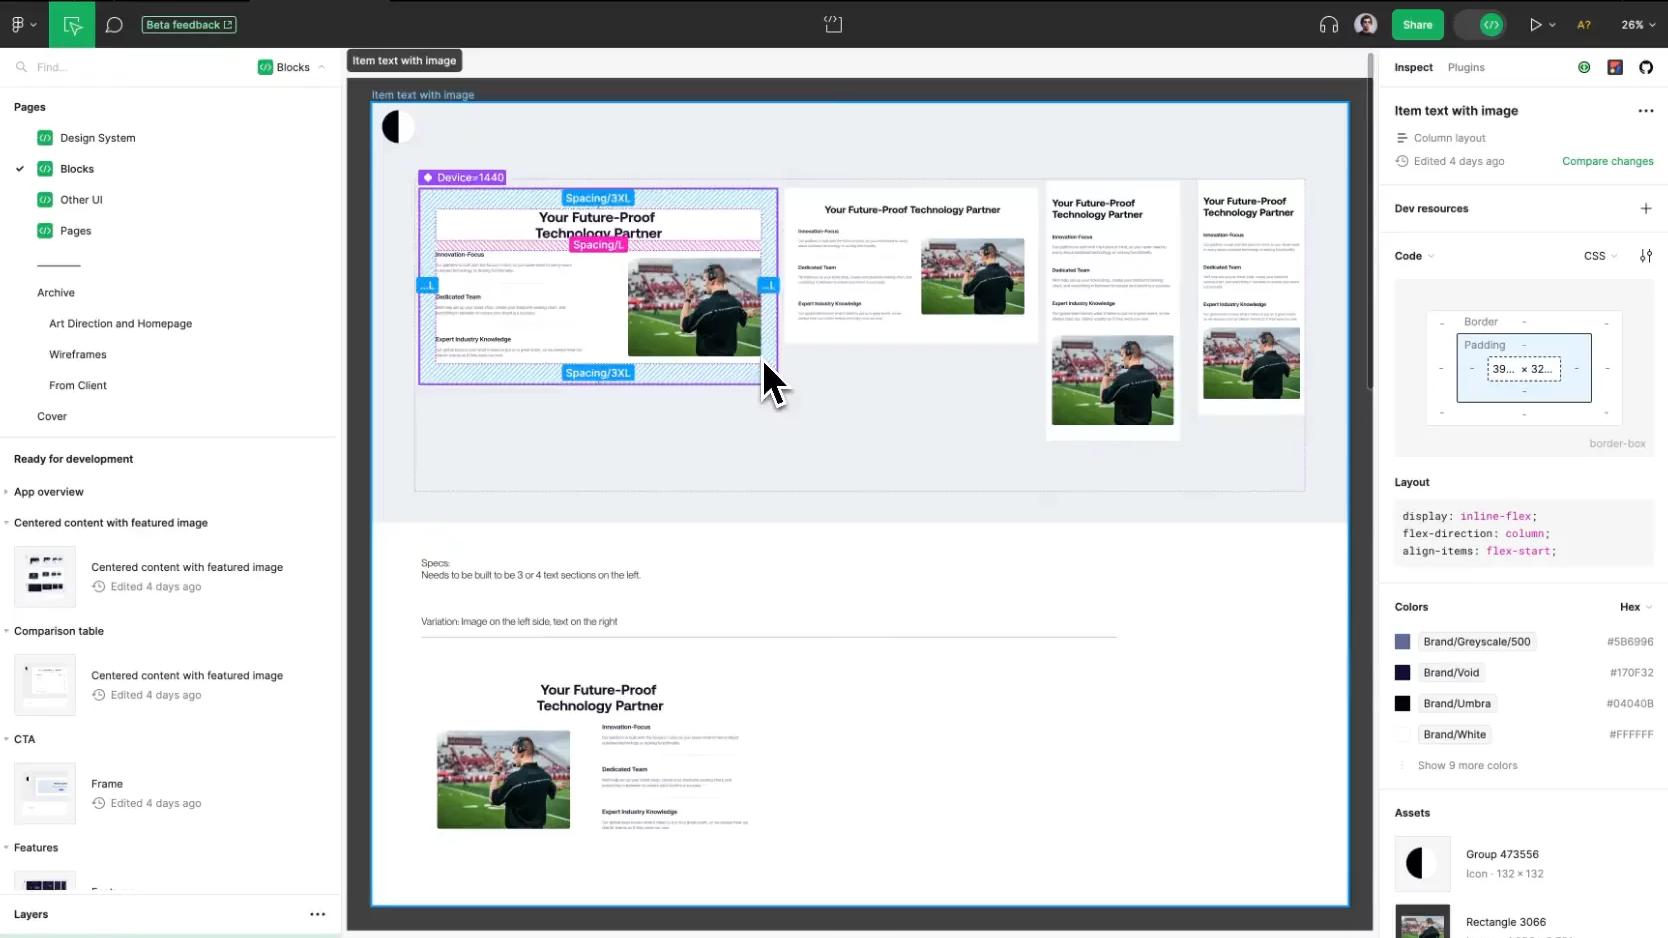
Clicking an element shows its layers on the left. The main screen displays layer names and spacing, while a panel on the right offers more details, which we'll examine next.
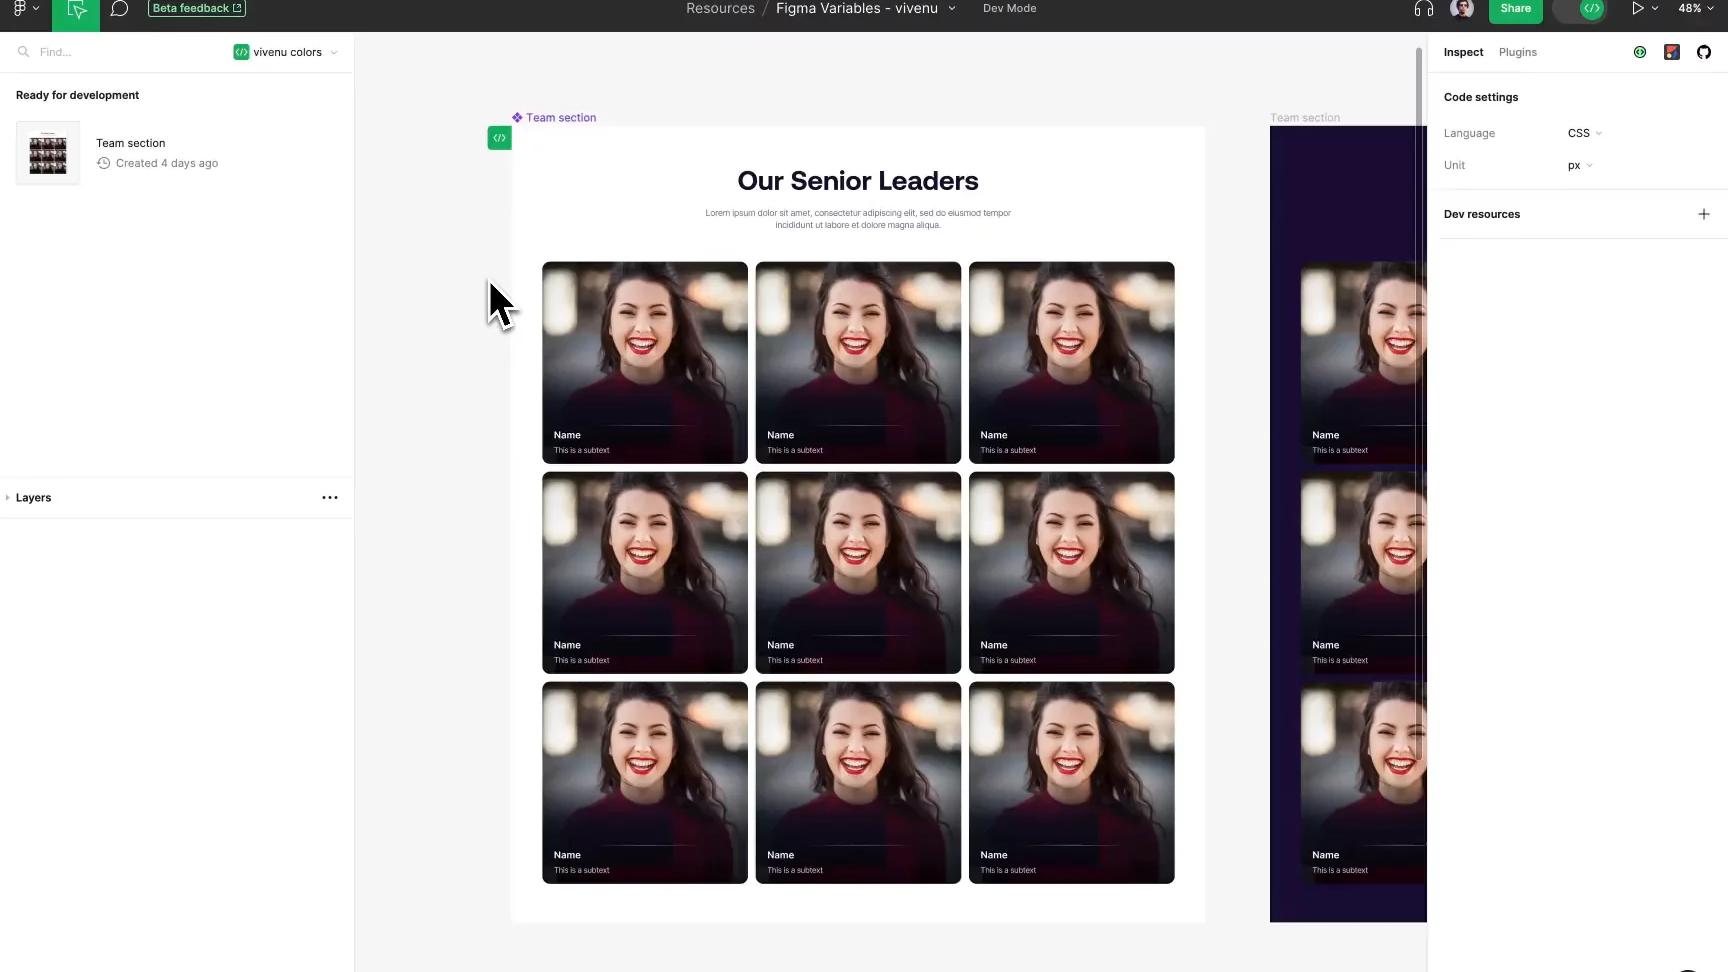
Using CMD+F allows you to search layers. If they aren't named, request names from the designers. Named layers make searches simpler than sifting through unnamed ones. You can also filter your search by property.
For large projects, a naming convention is key. It keeps things consistent and makes it easier to find what you're looking for.
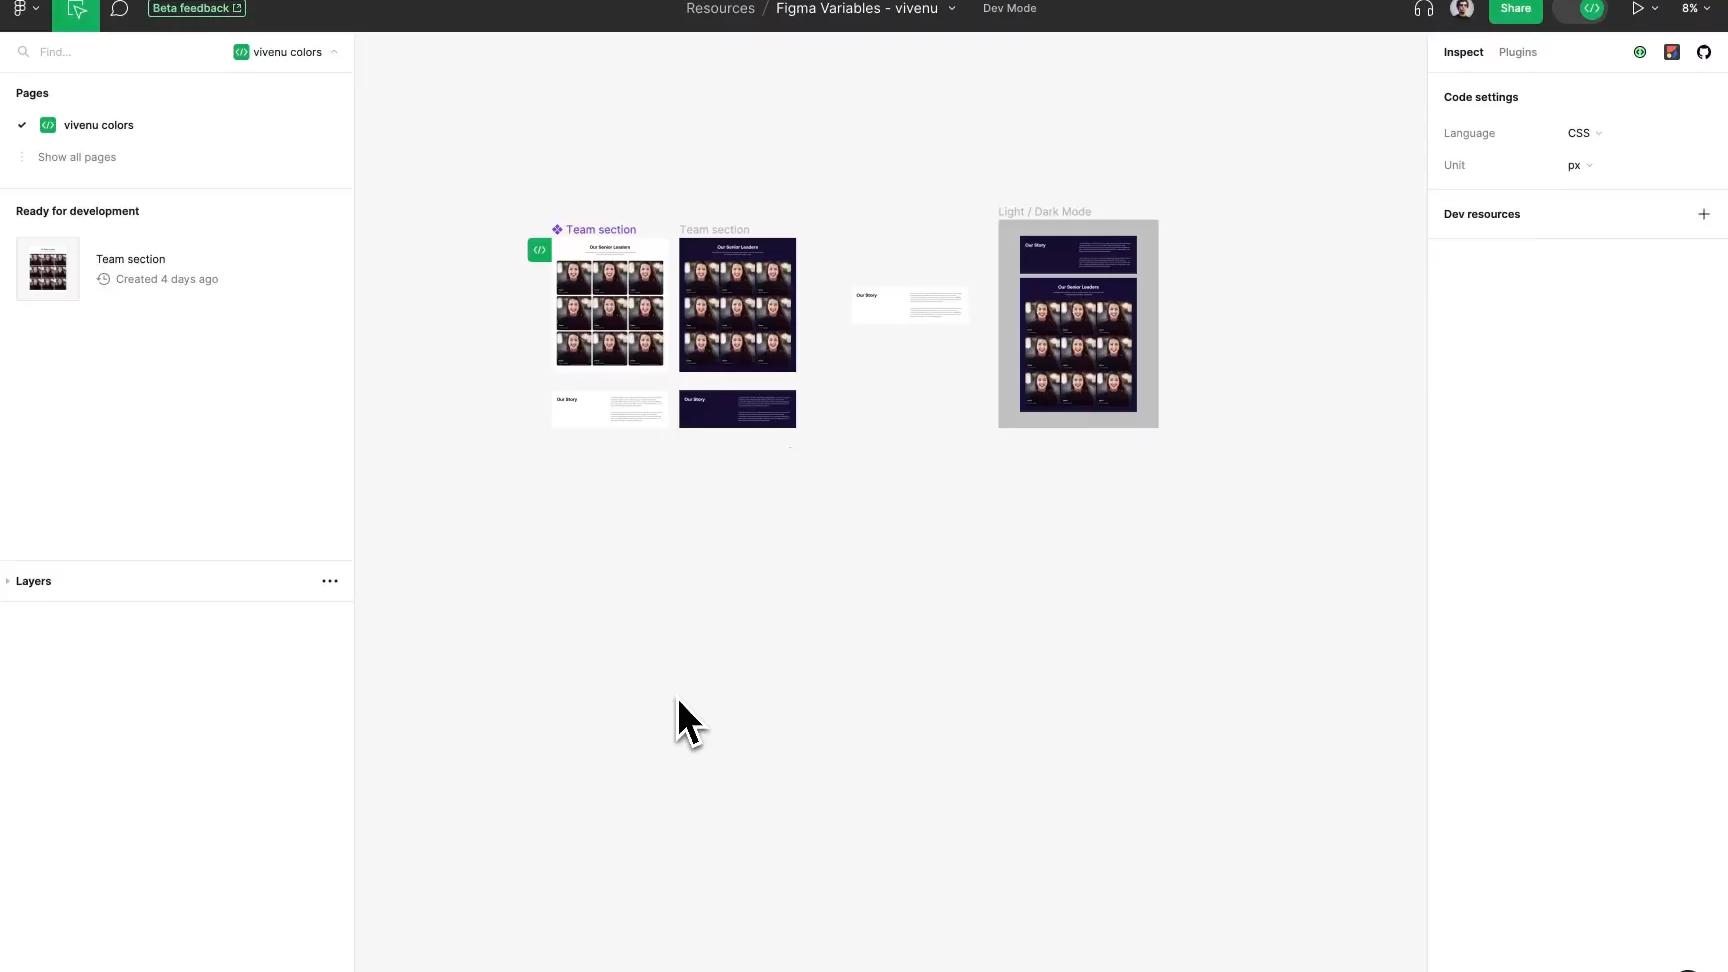
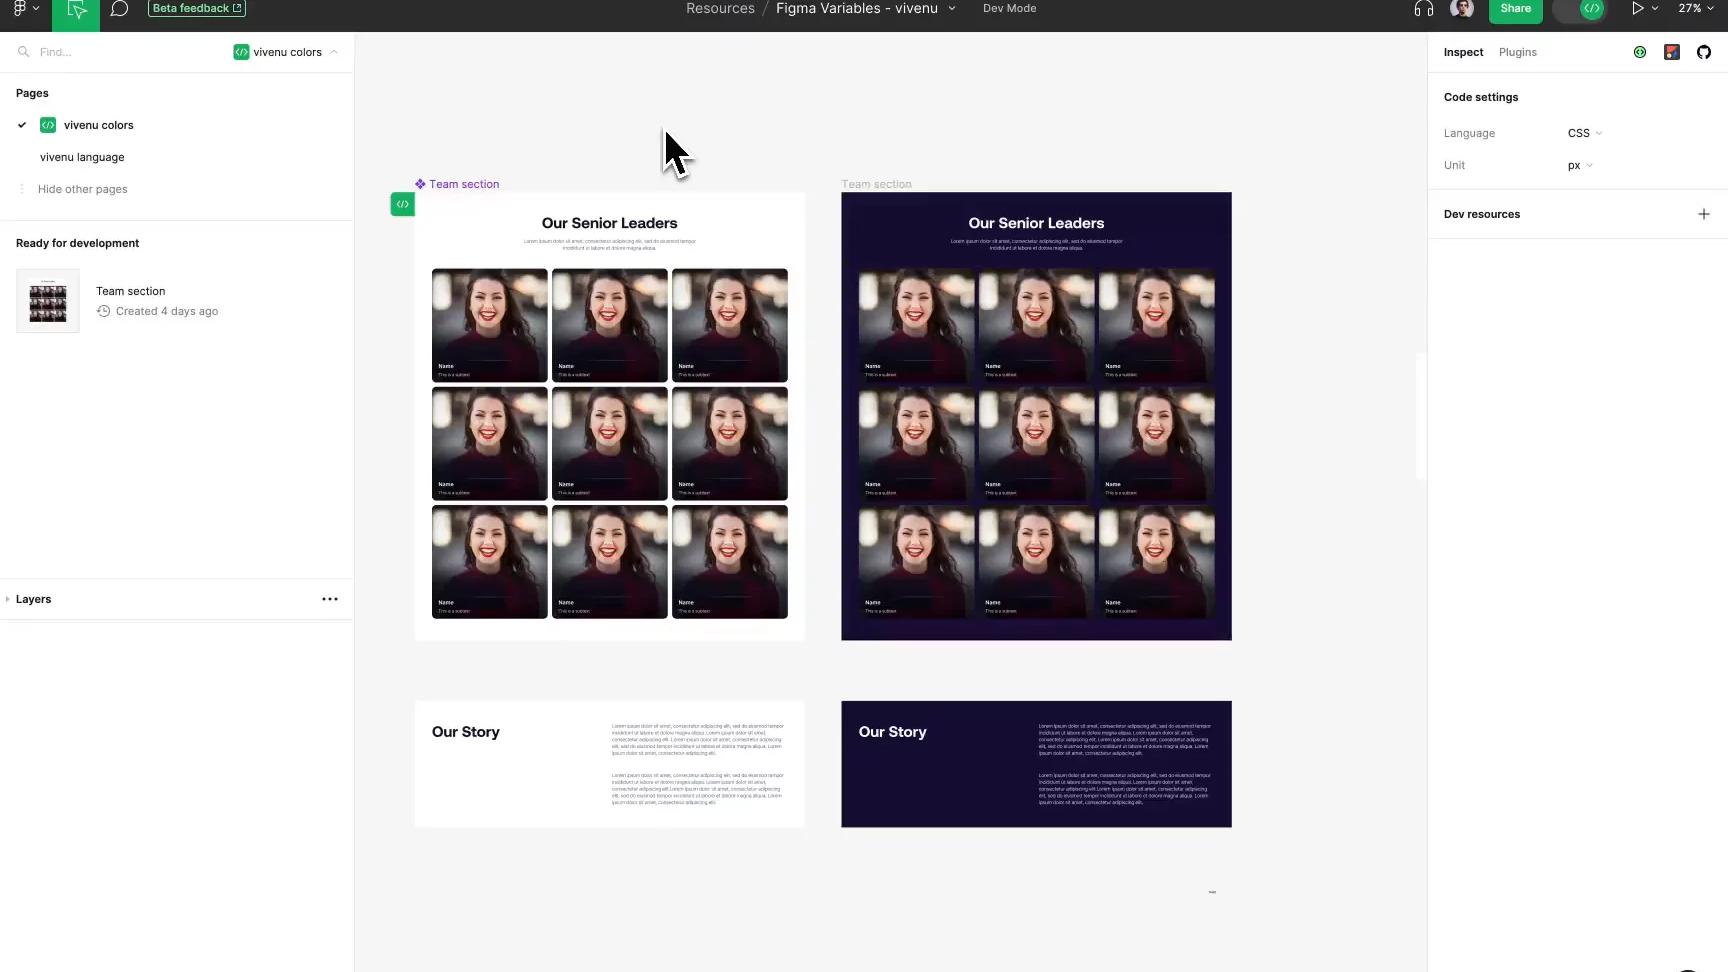
When the UI is set for development, designers can label it as "Ready for dev," indicated by a </> symbol. If you disagree, click the symbol to undo the "ready" status and let the designers know. You can also share a direct link to the UI with other developers.
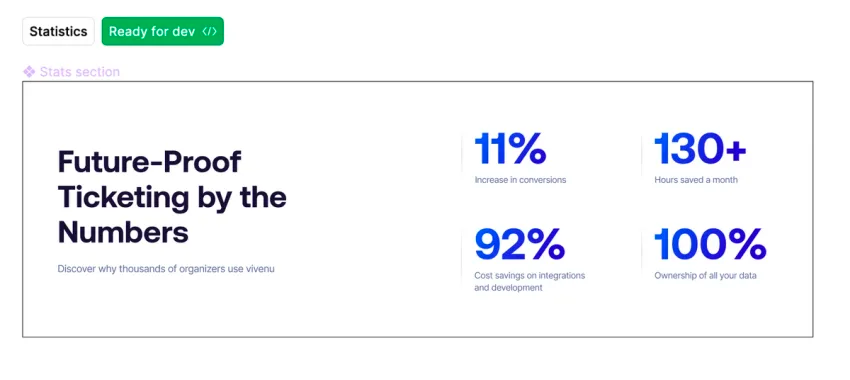
As of October 2023, Figma lacks a "Developed" label. Designers commonly use stickers to show that a design is already implemented. This helps prevent confusion for any new developers who might access the Figma project.
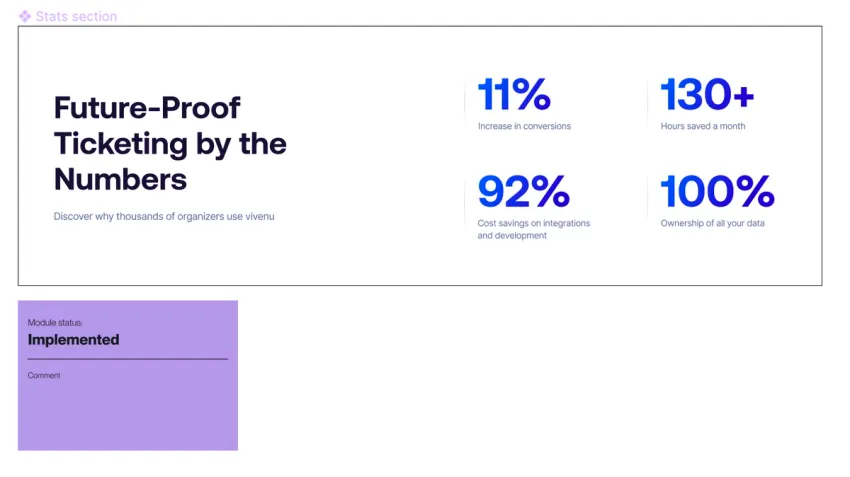
"Implemented" sticker
You can comment by clicking activating Comment mode or clicking CMD+D, and you can tag someone like on Slack by adding @ first.
If you're unsure about changes to a UI element, you don't have to ask designers. You can check Figma's version history to compare changes and get the answers you need.
In case a design has been implemented with `px` in mind, you can easily switch to `rem` and use that when styling.
This helps the user adjust the site from their browser settings, lowering the potential for readability and usability issues.
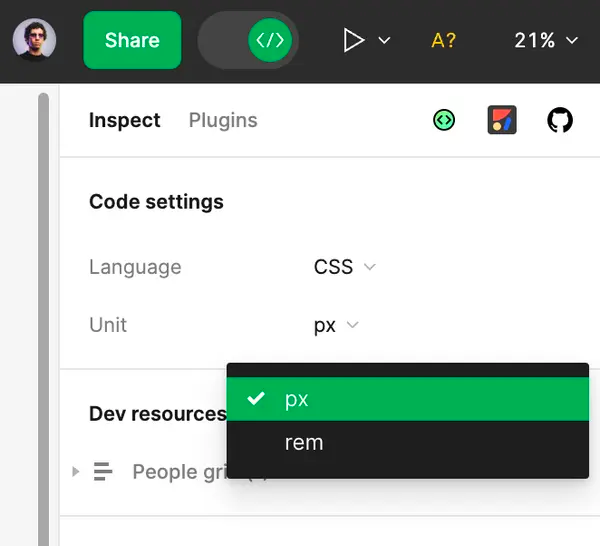
Swapping between px and rem
It is also possible to set the root font size by clicking on unit settings.
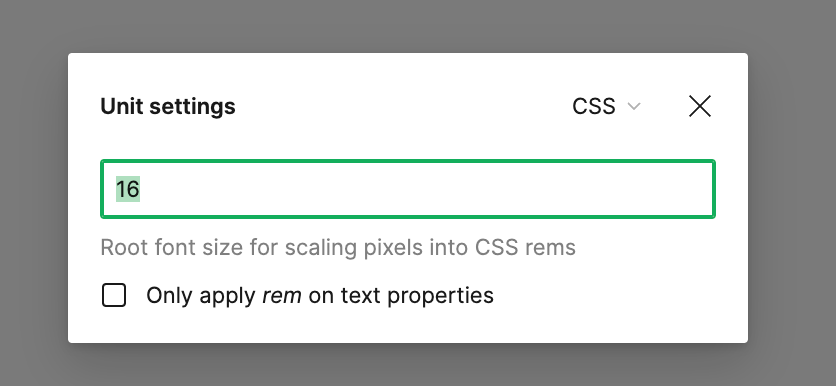
Changing the root font size
On the right side, you'll find code that's automatically generated for UI elements. However, be aware that as of October 2023, this code isn't always accurate — i.e. it may use flex when you'd prefer grid, or unnecessarily add background-color.
While plugins like Anima can create code and open it in Codesandbox, it is not aware of your existing code and could slow down your workflow.
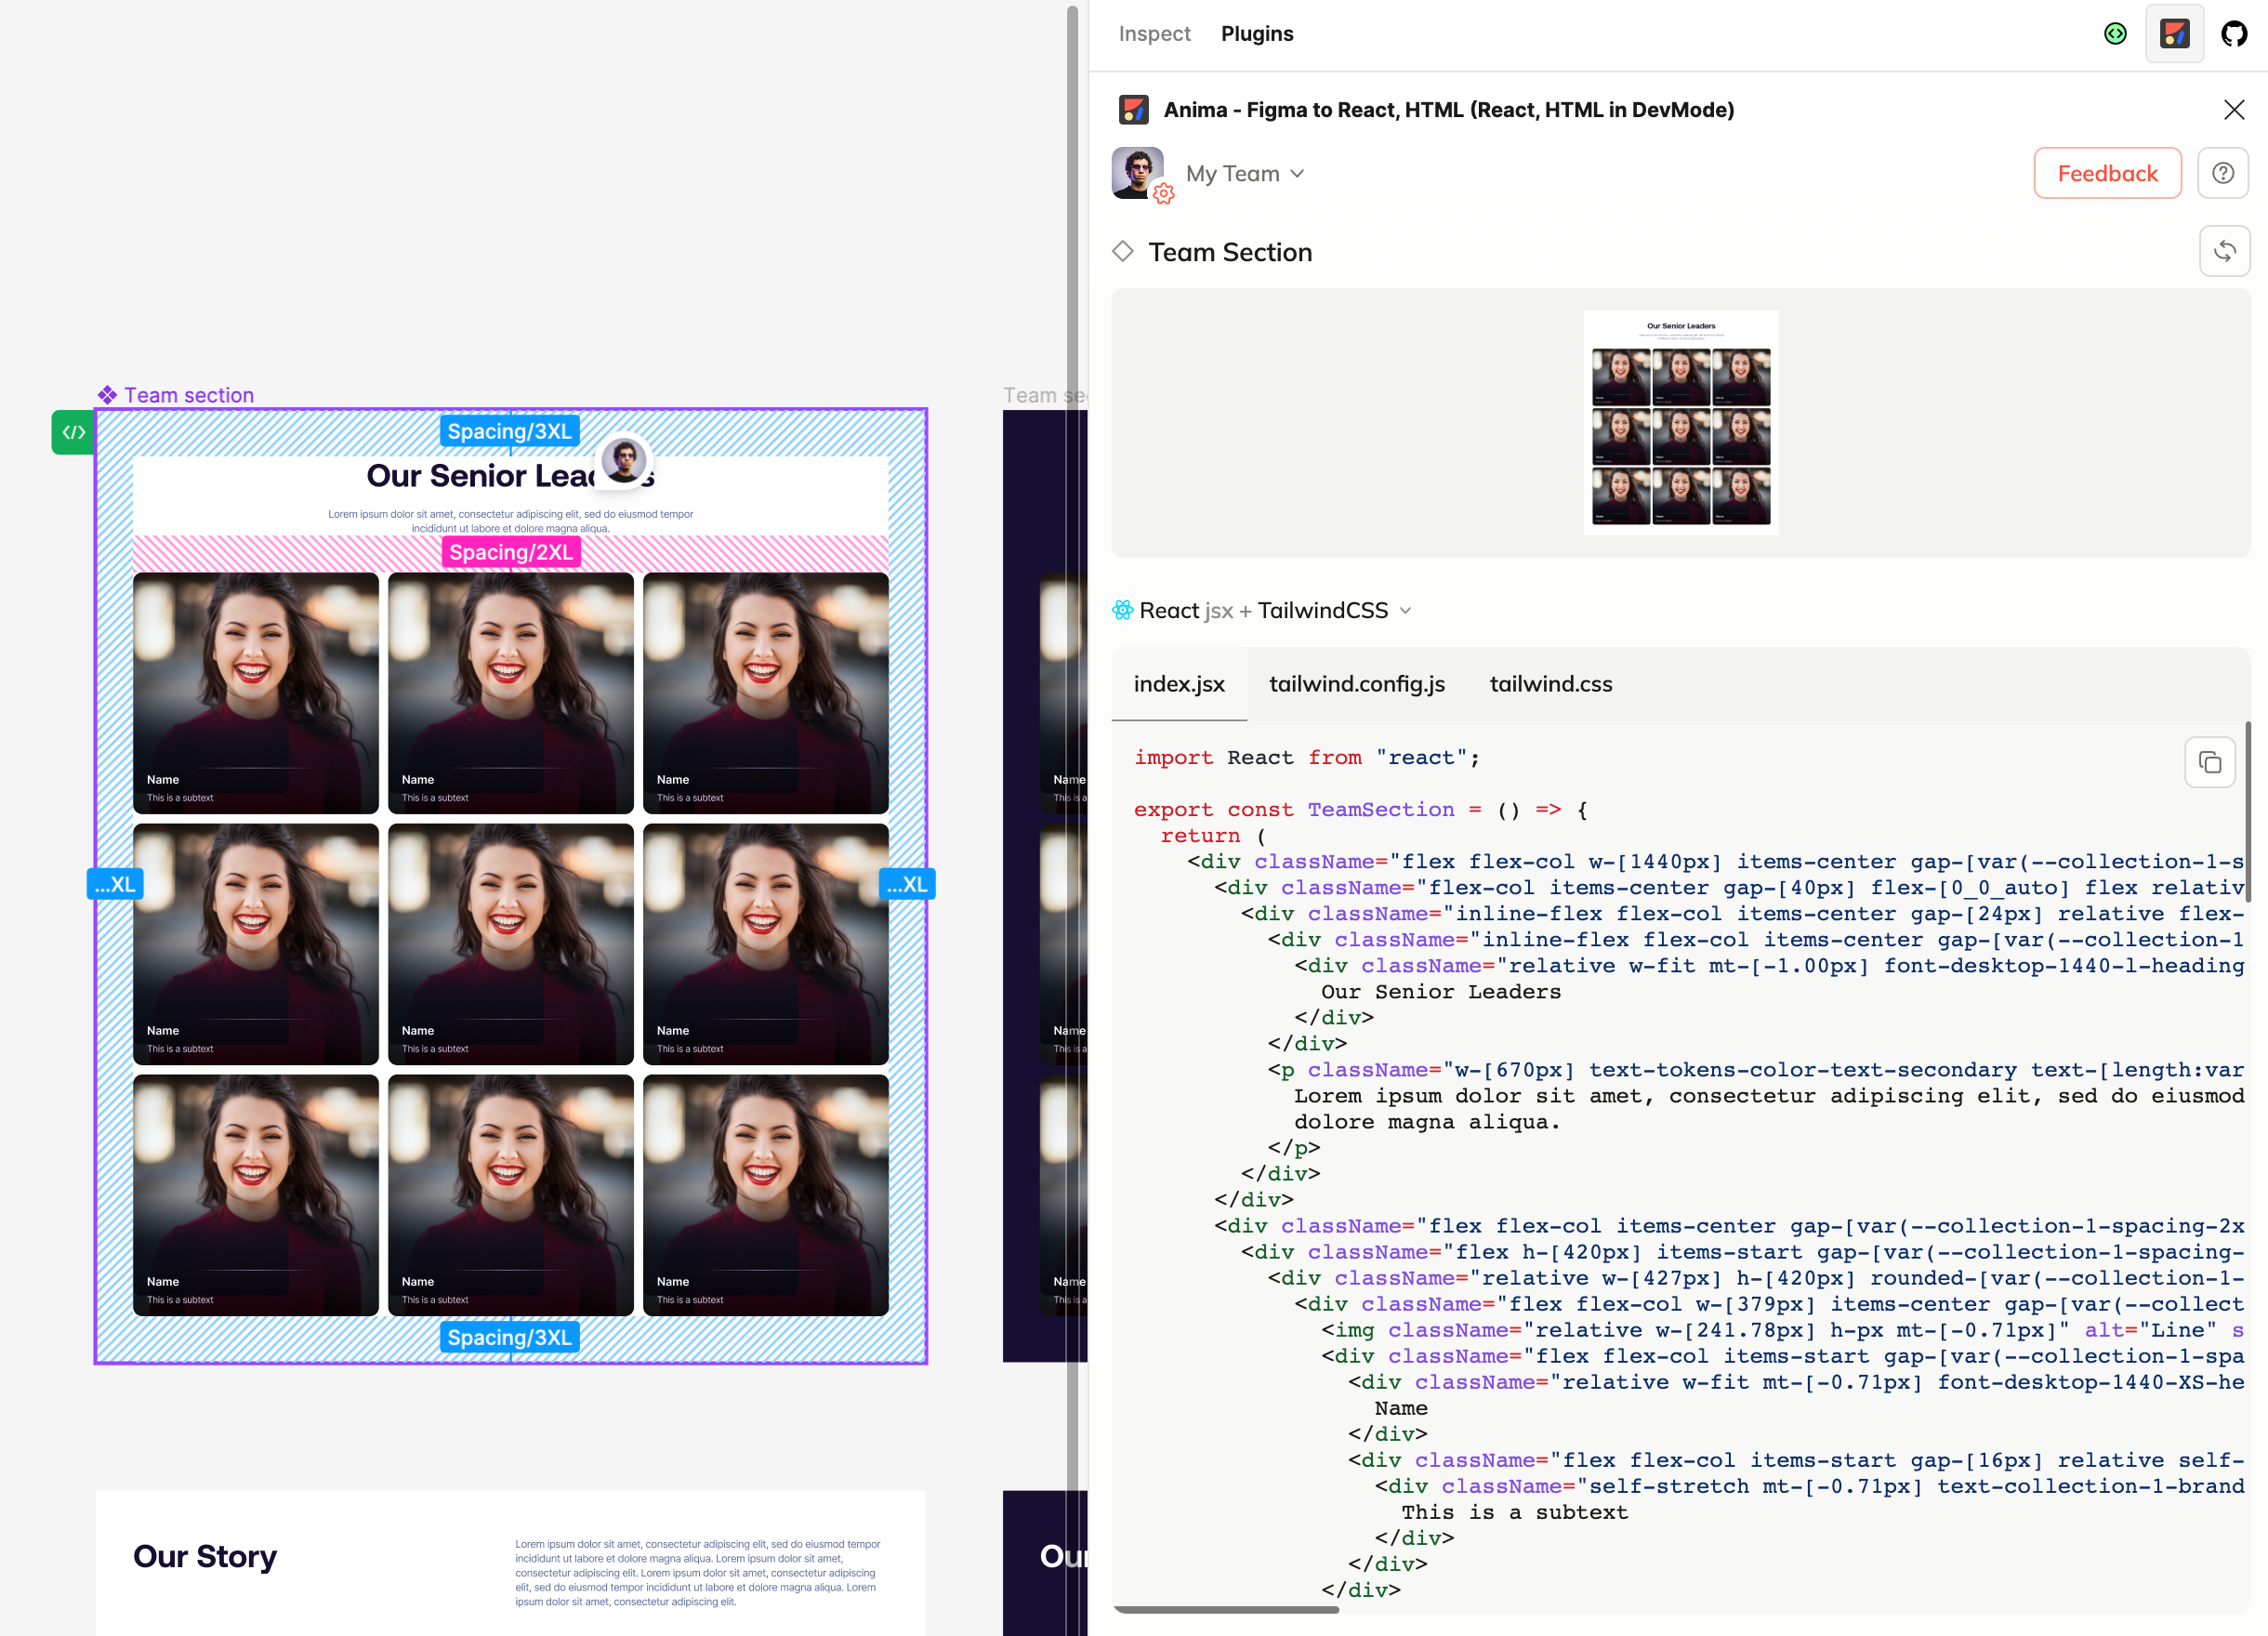
Code generation with Anima plugin
You don't need to ask designers for assets as you can directly export them, and even chose the format (PNG, JPG, SVG), and decide on the size of the file.
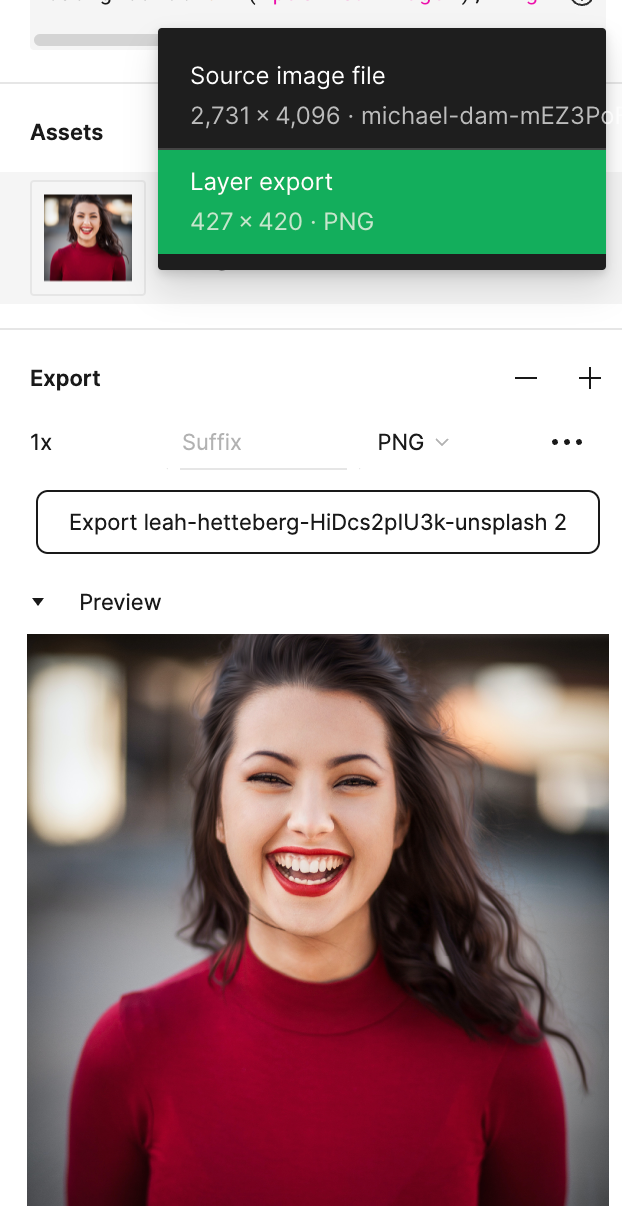
Download assets from Figma
Like in React, Figma also has the concept of props. You can open the playground to toggle props on and off and see how the UI changes.
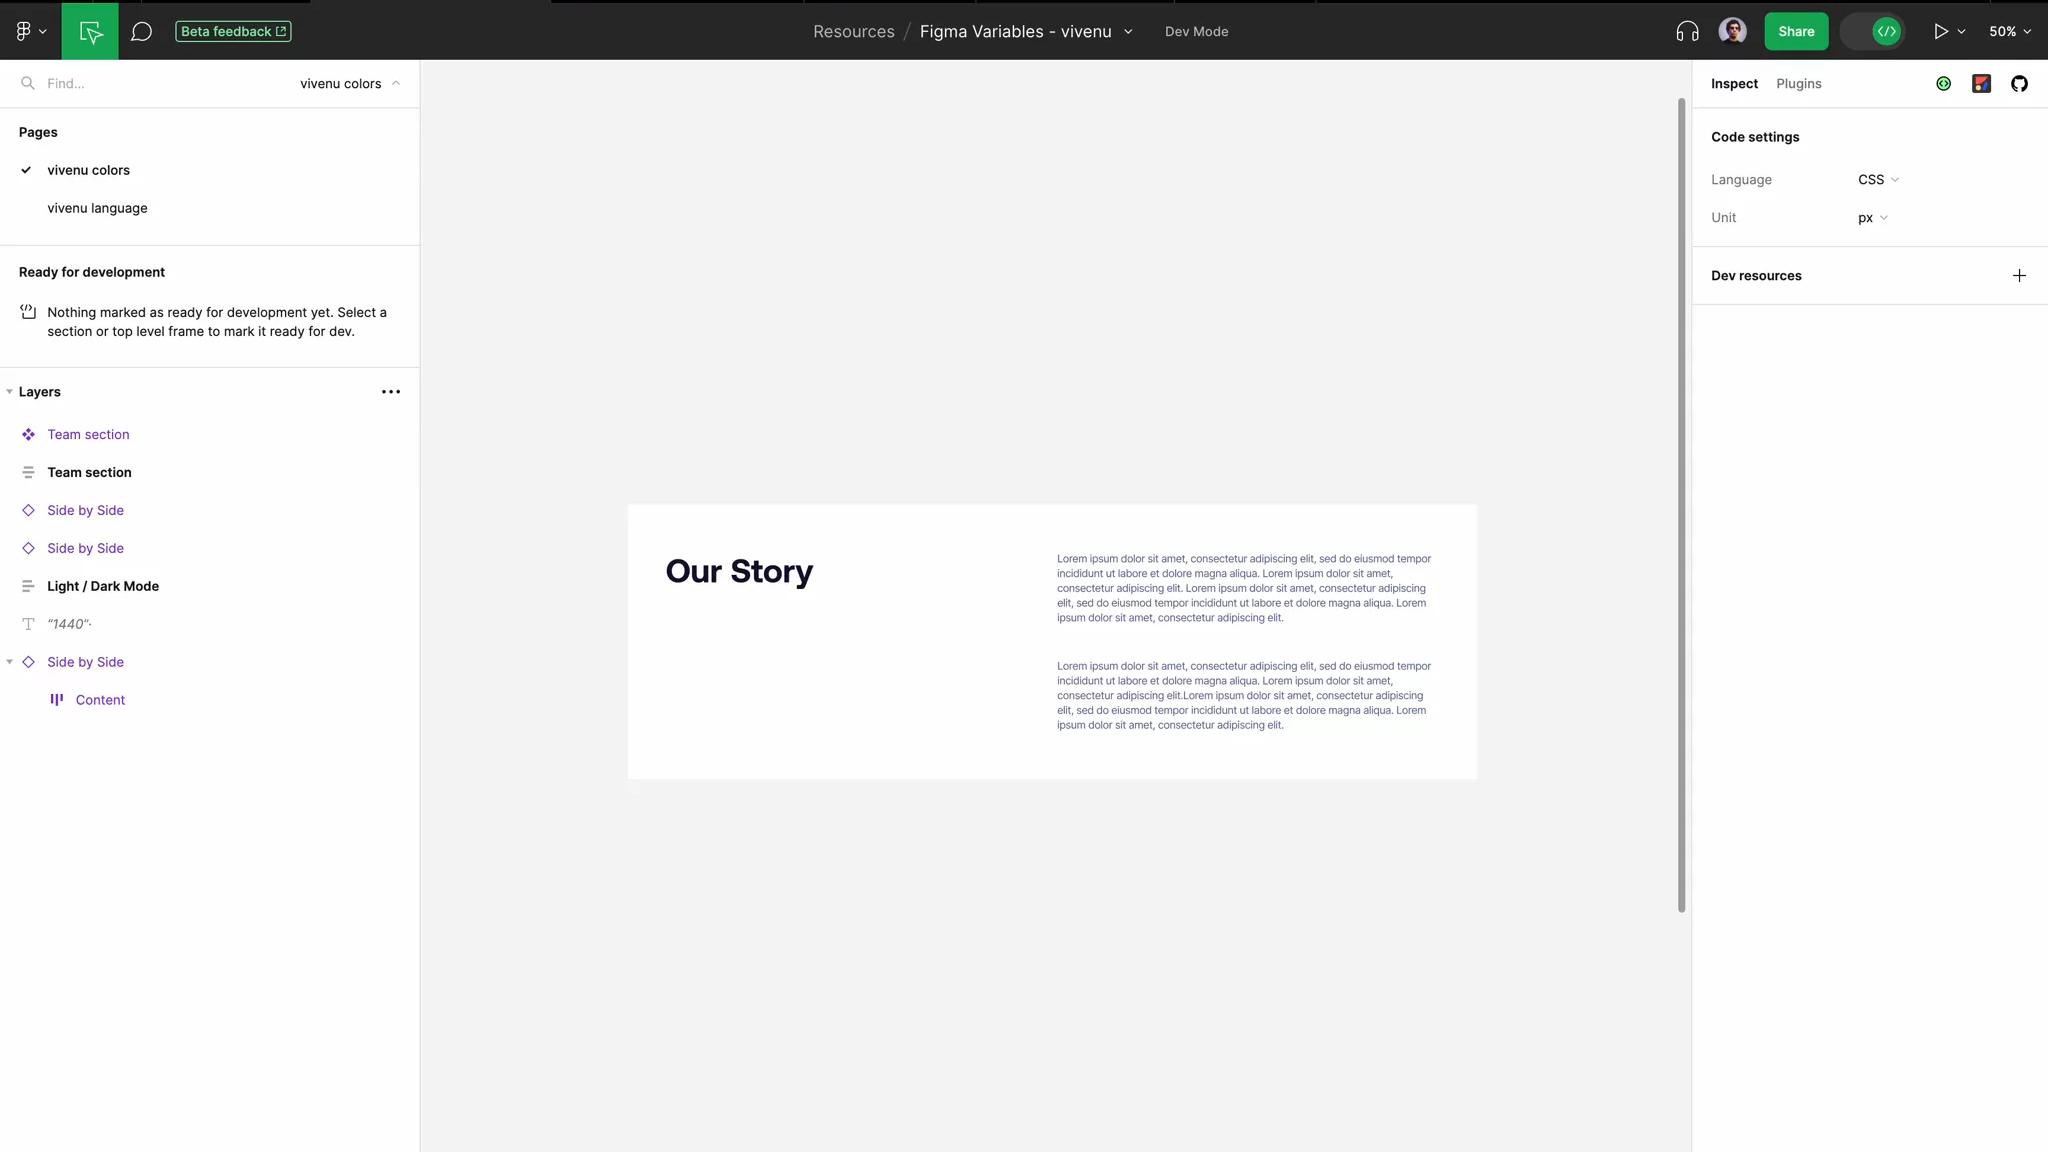
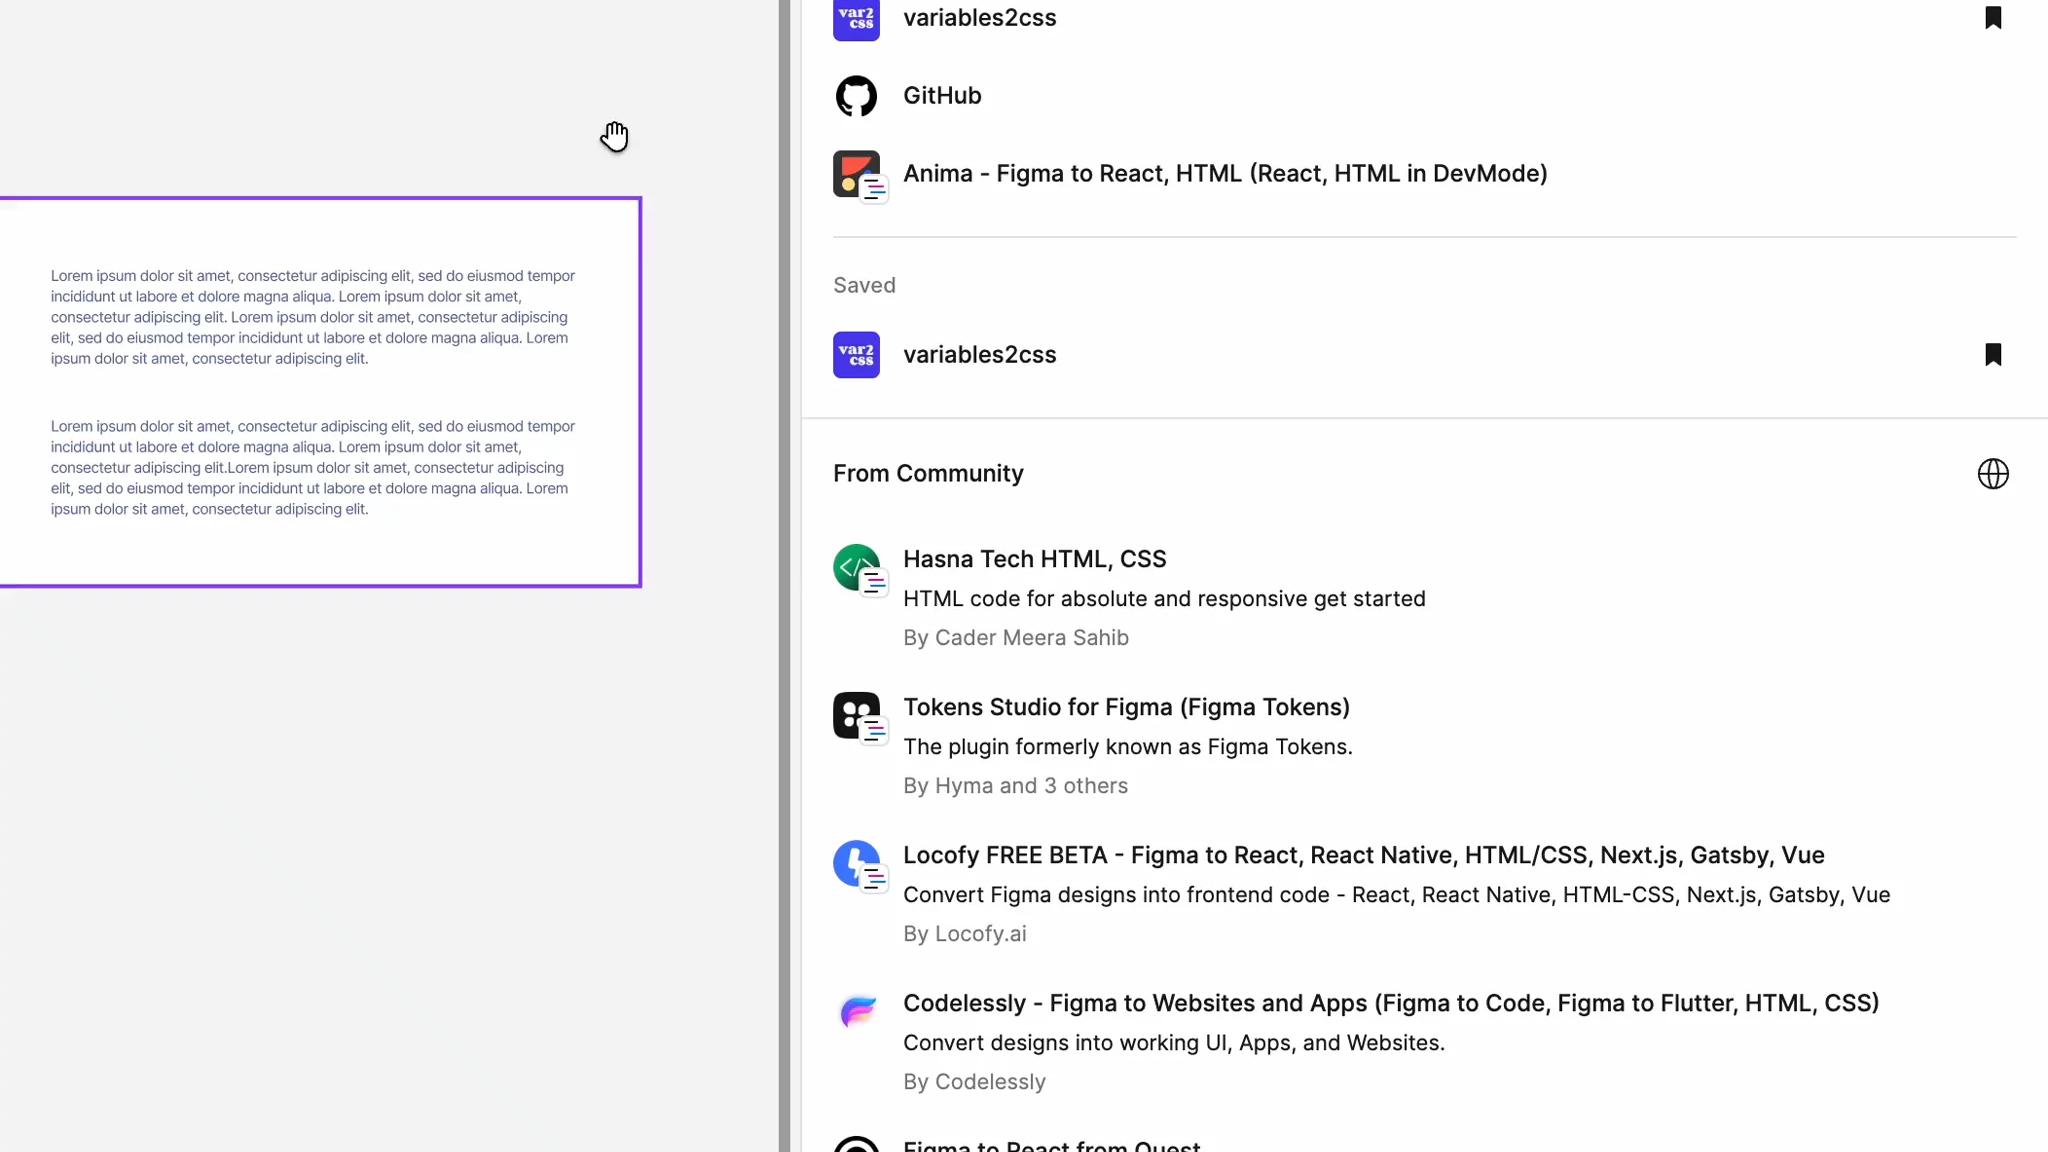
There's a variety of dev plugins available to help you be faster at work. One of them being variables2css, which allows you to quickly generate CSS code out of Figma variables used in the project:
Developers are encouraged to use the GitHub integration to link the user interface in Figma to the actual code. This is particularly helpful for new developers who join the project.
Instead of asking if something is already done, they can just look it up in Figma. This also avoids confusion, as sometimes the names in the code and Figma might be a bit different.
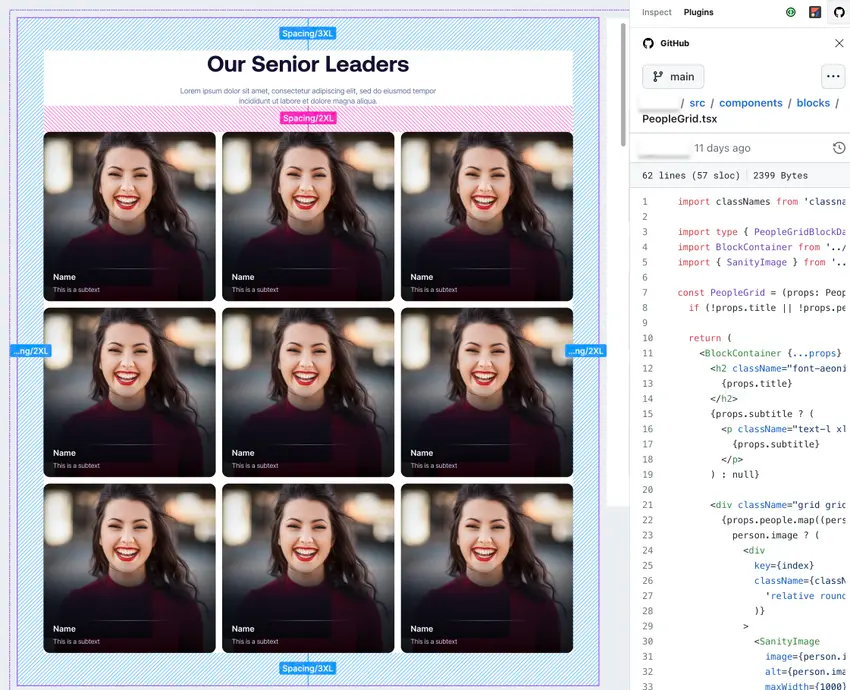
GitHub plugin in Figma to link layers to code
This makes it also easier for anyone to access the piece of code directly:
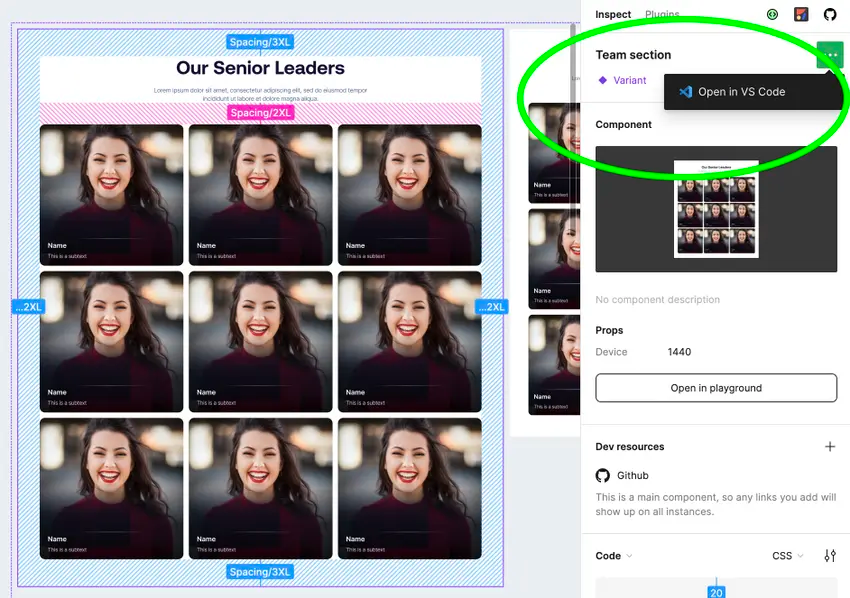
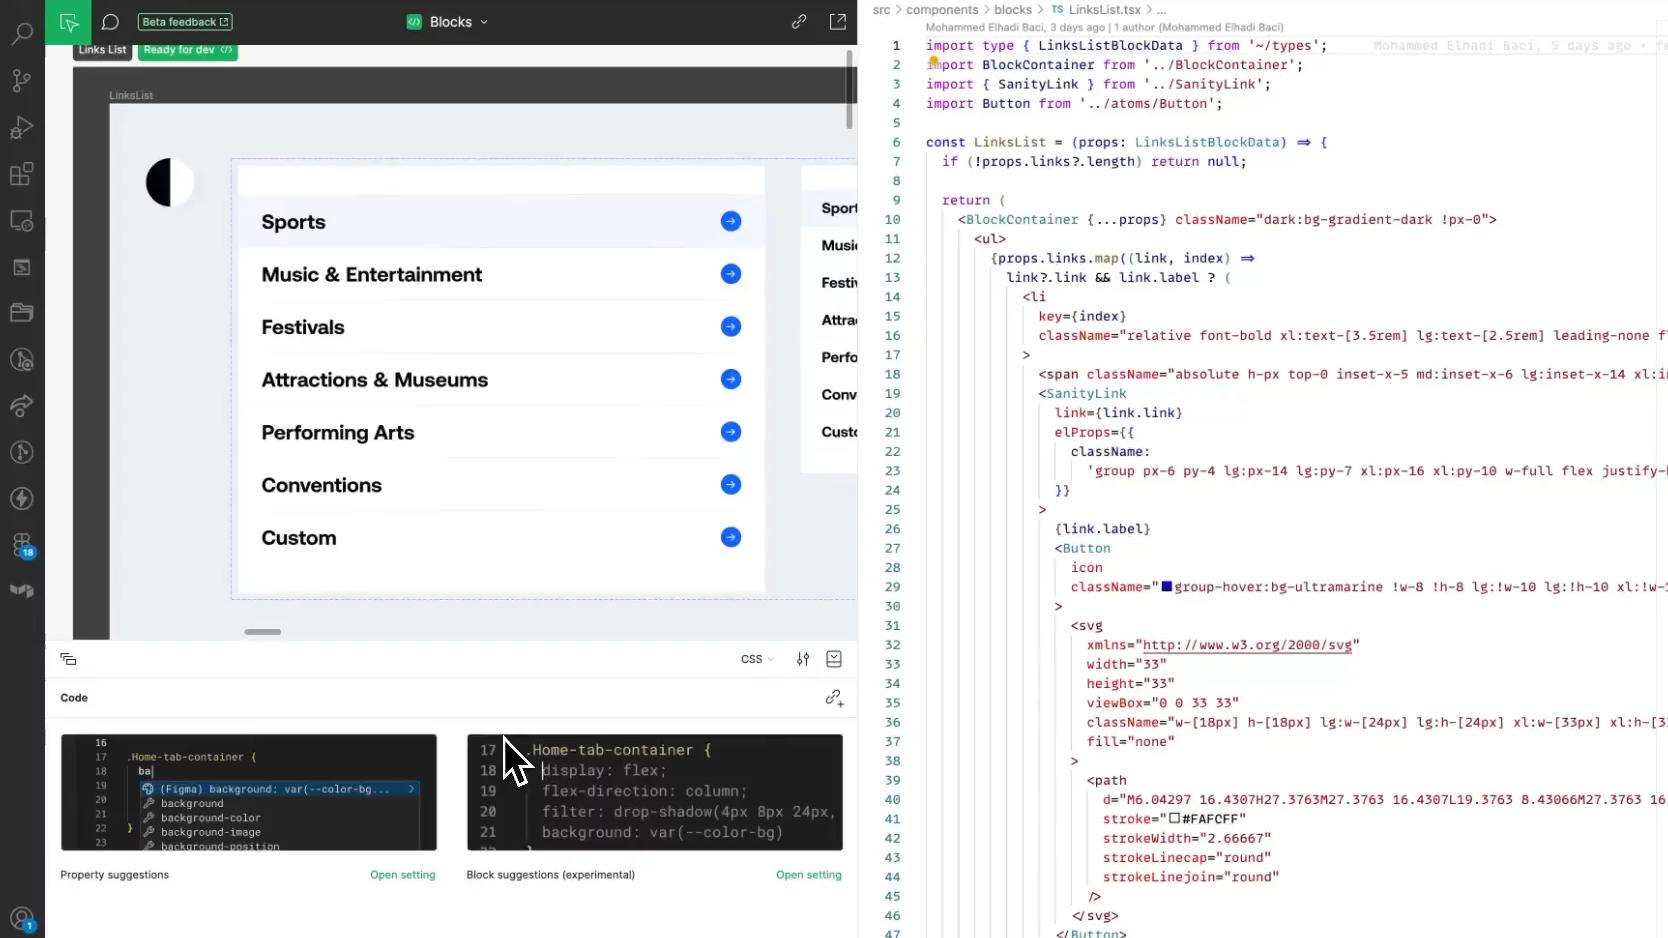
Open Figma layer directly on VS Code
Developers can choose to use the Figma VSCode plugin to make their work easier. This allows them to implement designs without having to switch between screens or tabs.
It's especially handy for exporting assets, as they get saved directly into the codebase. This eliminates the need to first download them and then manually add them to VSCode.
