28th June 2020 • 7 min read
How to build a stopwatch with HTML, CSS, and plain JavaScript (Part 1)

Omar Benseddik
This series of articles is made out of two parts:
In this first part, we build the stopwatch's user interface with HTML and CSS.
In the second part, we'll make the user interface functional with JavaScript (the stopwatch works).
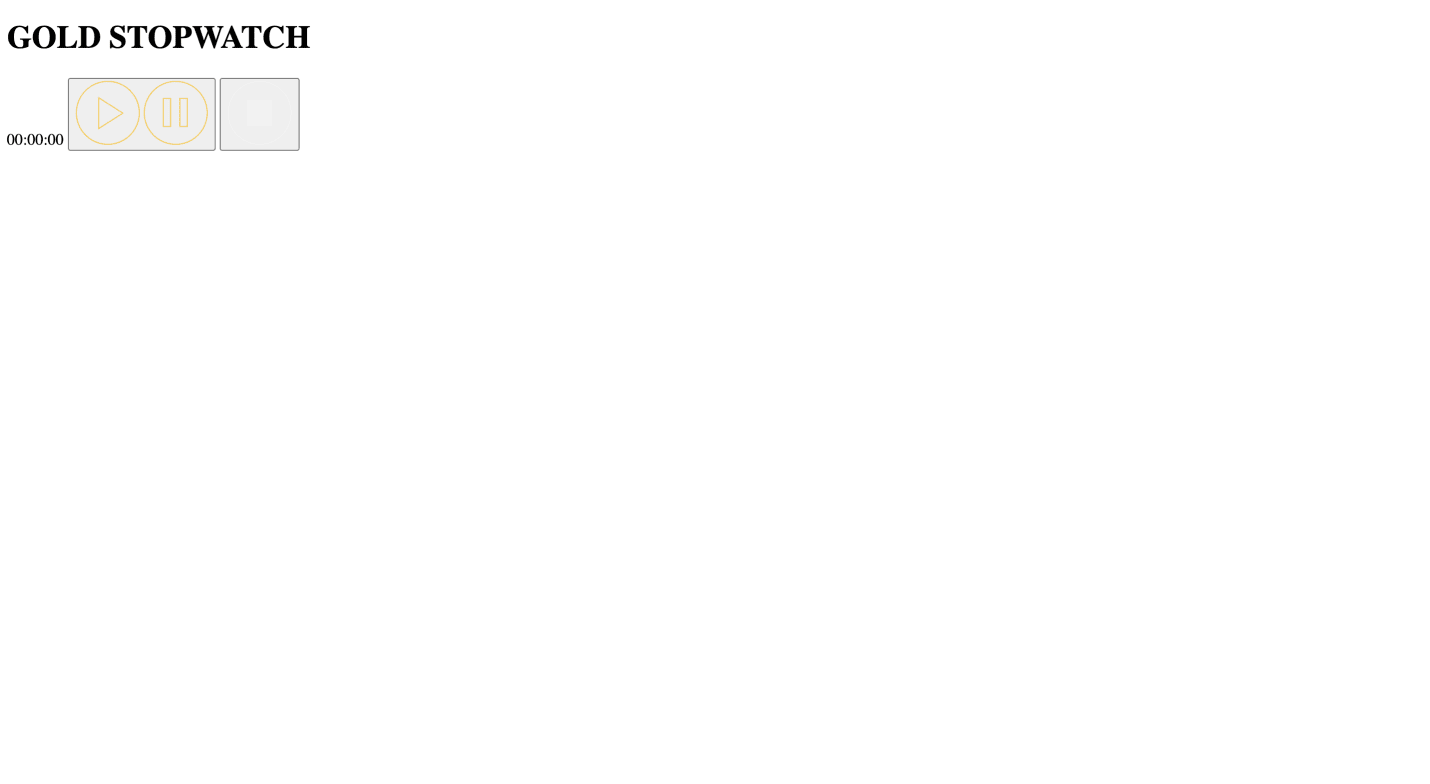
Final result
This is what we will build:
Here's the link to the GitHub repo.
Here's the link to the stopwatch itself.
Our folder contains an HTML file, a CSS file, a JavaScript file, and a folder (called "icons") with 3 SVG icons:
1├── icons2| ├── pause-button.svg3| ├── play-button.svg4| └── reset-button.svg5├── index.html6├── script.js7└── style.css
Here is a link to iconify to download the SVG icons.
HTML DOCTYPE declaration
In the index.html file, we include the HTML DOCTYPE declaration at the top of the page to inform the browser that the document being rendered is an HTML document:
1<!DOCTYPE html>2<html lang="en">3 <head>4 <meta charset="UTF-8" />5 <meta name="viewport" content="width=device-width, initial-scale=1.0" />6 <title>Document</title>7 </head>8 <body></body>9</html>
💡 Tip: you can easily generate the DOCTYPE declaration on VSCode by typing "!" and hitting ENTER in an HTML file.
Link HTML file with CSS file
Next, we link our HTML file with our CSS file by adding the following to our head:
1<link rel="stylesheet" href="style.css" />2
💡 Tip: you can easily generate the link on VSCode by typing link:css .
We get:
1<!DOCTYPE html>2<html lang="en">3<head>4 <meta charset="UTF-8">5 <meta name="viewport" content="width=device-width, initial-scale=1.0">6 <title>Document</title>7 <link rel="stylesheet" href="style.css" />8</head>9<body>1011</body>12</html>
Link HTML file with JS file
Lastly, we connect our HTML file with our JS file by adding the following script before our body closing tag:
1<script src="script.js"></script>We get:
1<!DOCTYPE html>2<html lang="en">3<head>4 <meta charset="UTF-8">5 <meta name="viewport" content="width=device-width, initial-scale=1.0">6 <title>Document</title>7 <link rel="stylesheet" href="style.css" />8</head>9<body>10 <script src="script.js"></script>11</body>12</html>
Great, we are now ready to code the stopwatch.
Note: the script.js file will be empty in this article since we only will implement the functionality in the next part of this series.
First, we change the content wrapped by the title tags so the browser's tab's name is more relevant.
We write "Gold Stopwatch" instead of "Document":
In the body, add an h1 that says "GOLD STOPWATCH" and add a span that says "00:00:00".
This is the code:
1<body>2 <h1>GOLD STOPWATCH</h1>3 <span>00:00:00</span>4 <script src="script.js"></script>5</body>
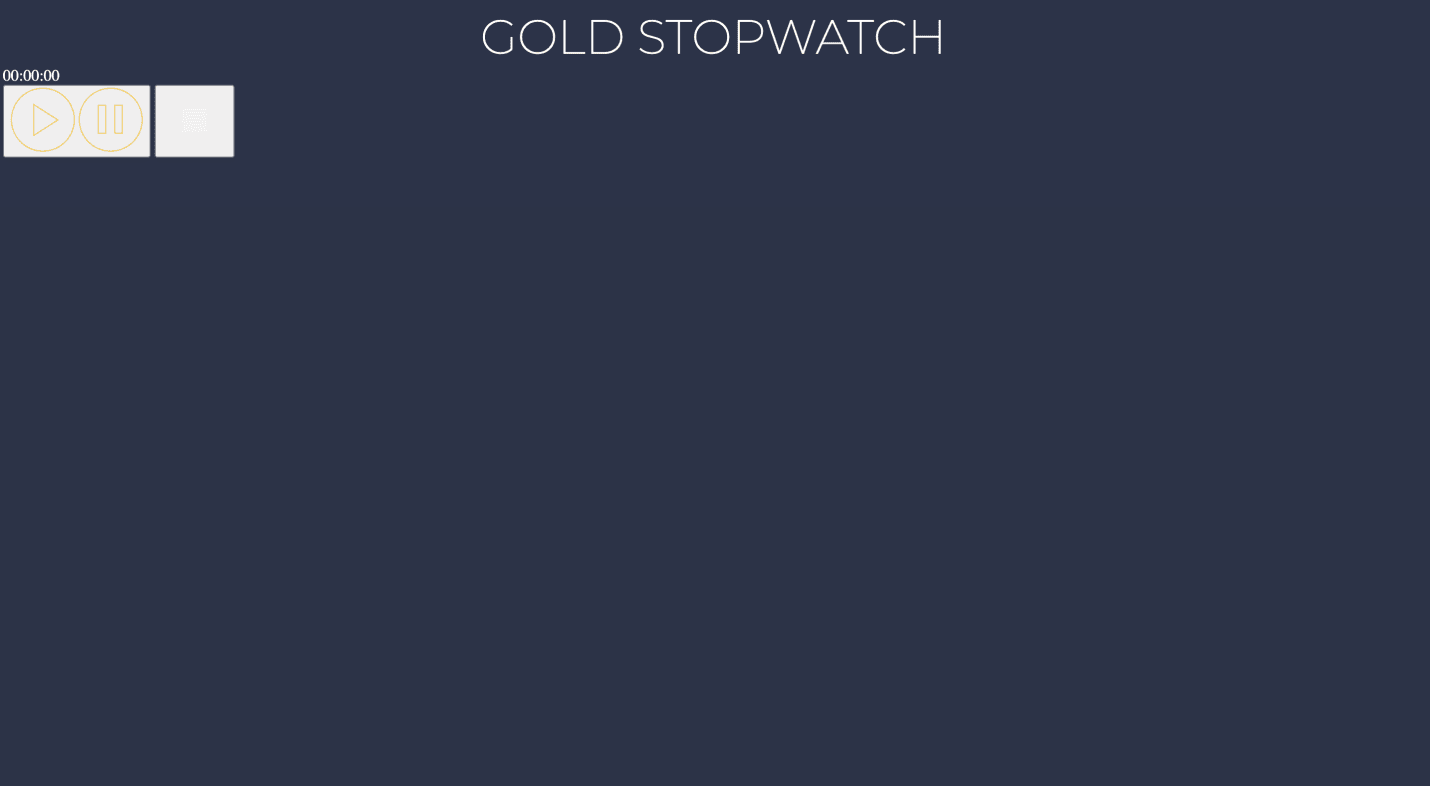
We get:

Only h1 and span
Next, we add buttons so we later can click on those and have a functional stopwatch. Our buttons have SVG images stored in our icons folder.
Add button s this way:
1<body>2 <h1>GOLD STOPWATCH</h1>3 <span>00:00:00</span>45 <button>6 <Img src="icons/play-button.svg" />7 <Img src="icons/pause-button.svg" />8 </button>9 <button>10 <Img src="icons/reset-button.svg" />11 </button>12 <script src="script.js"></script>13</body>
On purpose, we include two icons in the first button (both the Play and Pause icons) because we will configure this button to serve both the Play and Pause functions later in the JavaScript part.
When we'll click on the Play icon, it will disappear and the Pause icon will appear instead. Vice-versa, when we click on the Pause icon, it will disappear and the Play icon will appear instead.
This is what we get:
The page structure is complete
Voilà! We are done with most of the HTML. We are now going to style it with CSS.
Add Google Fonts
We want to use the Montserrat font for most of the text on the web page. For the numbers in the stopwatch, we want to use Roboto Mono.
To add these fonts, we search for them on Google Fonts and repeat the following steps for each one of them:
1- Click on + Select this style.
2- A window containing the font's link tag will pop up on the right. We copy the link tag and paste it in the head of the HTML document.
This is how it looks like:
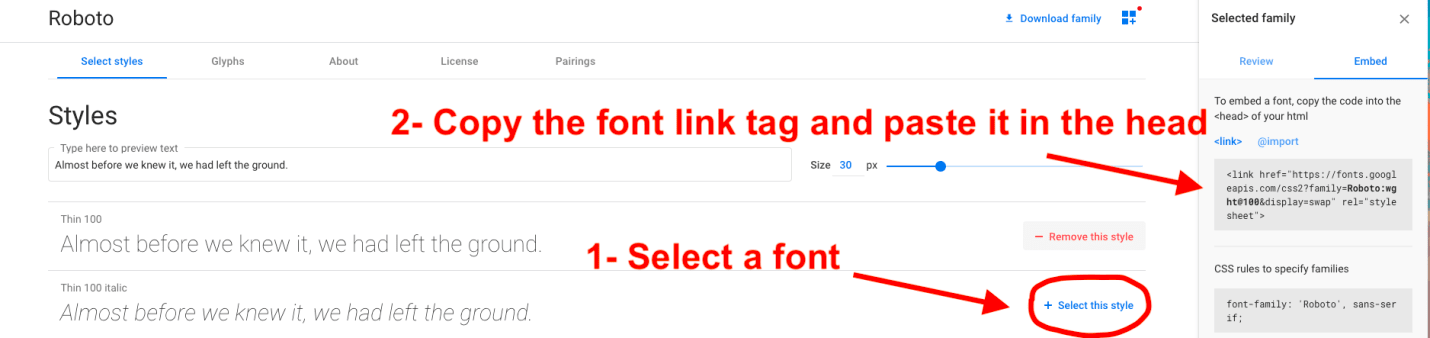
Add fonts from Google Fonts
This is the result:
1<head>2 <meta charset="UTF-8" />3 <meta name="viewport" content="width=device-width, initial-scale=1.0" />4 <title>Gold Stopwatch</title>5 <link rel="stylesheet" href="style.css" />6 <link href="https://fonts.googleapis.com/css2?family=Montserrat:wght@200;900&display=swap"7 rel="stylesheet"/>8 <link href="https://fonts.googleapis.com/css2?family=Roboto+Mono:ital,wght@0,300;1,300&display=swap"9 rel="stylesheet"/>10</head>
Setting the first colors
Let's start by setting our page text and background colors. Our page text will be in white and background color in dark blue.
We target the body selector in style.css:
1body {2 background-color: #31394c;3 color: #ffffff;4}
This is what we get:
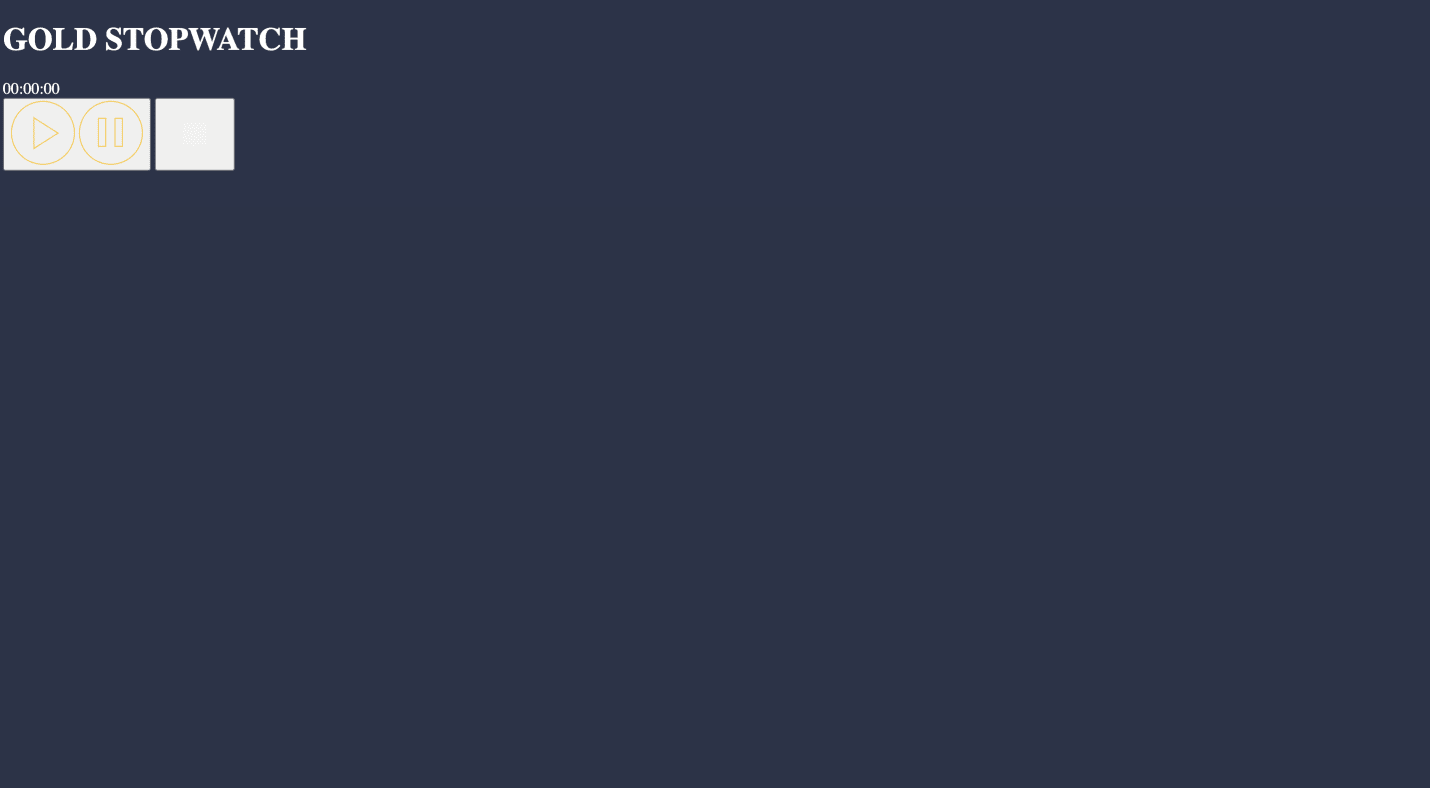
background-color and color styled
Style the h1
Next, we want to give more importance to "GOLD STOPWATCH". Let's style it:
1h1 {2 font-size: 48px;3 font-family: "Montserrat", sans-serif;4 font-weight: 200;56 text-align: center;7 line-height: 59px;89 padding: 0;10 margin: 0;11}
Note: the h1 tag has some built-in margins in the browsers. We override them using margin: 0.
We get:
Centered h1
Style one single world in the h1
If we recall, our h1 is not uniform, "GOLD" appears in yellow with a glow effect while "STOPWATCH" appears in white.
To achieve that, we wrap GOLD around a span and give it a class that we name gold:
1 <h1>2 <span class="gold">GOLD</span> STOPWATCH3 </h1>45 <span>00:00:00</span>
Now let's style this new class:
1.gold {2 font-weight: 900;34 color: #f2c94c;5 text-shadow: 0 0 0px #fff, 0 0 50px #f2c94c;6}
We get:
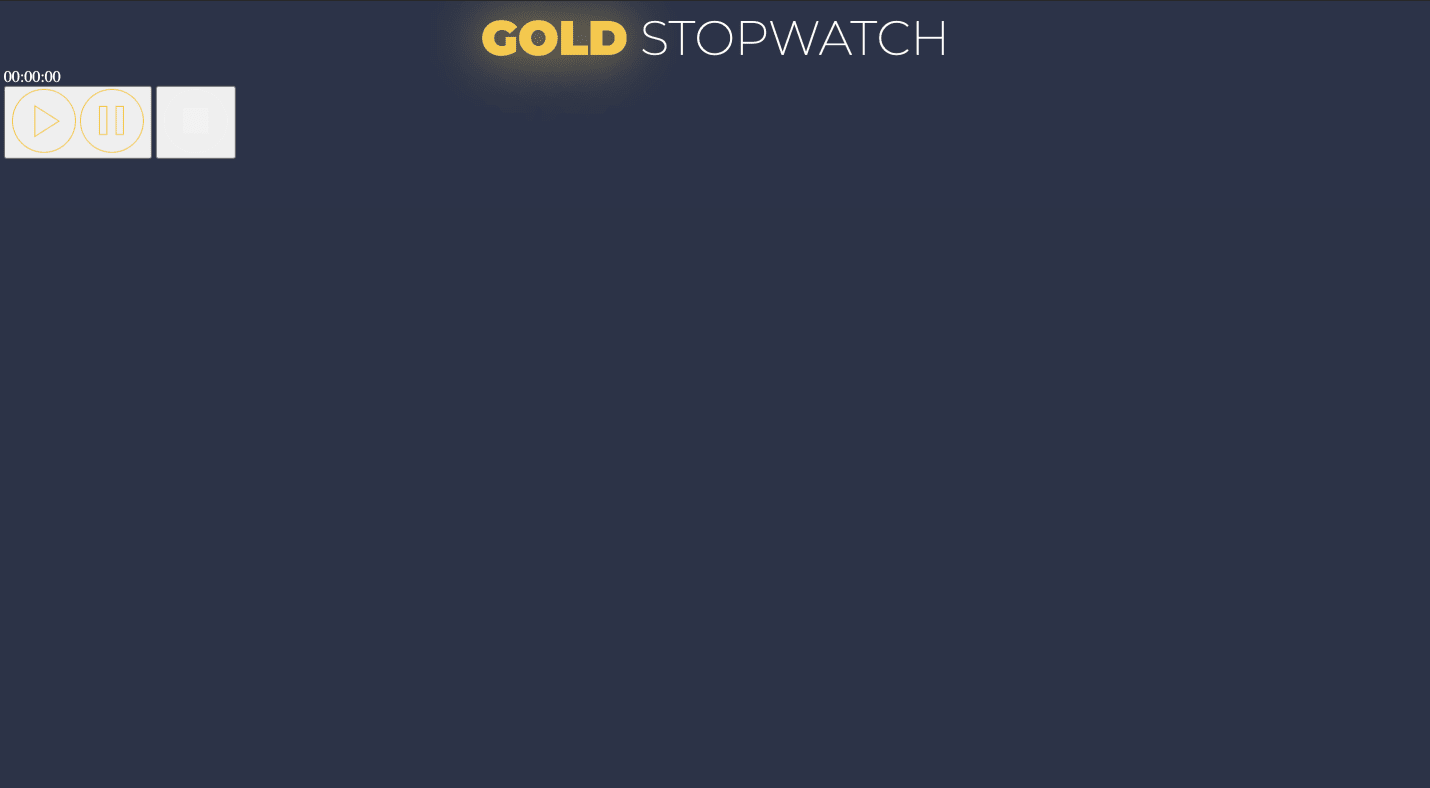
Styling "GOLD"
We use text-shadow to create a glow effect. To understand how it works, here's a w3schools explanation on how to achieve that.
Style the position of elements
If we look at our final result, we can think of the stopwatch app as a column of three blocks:
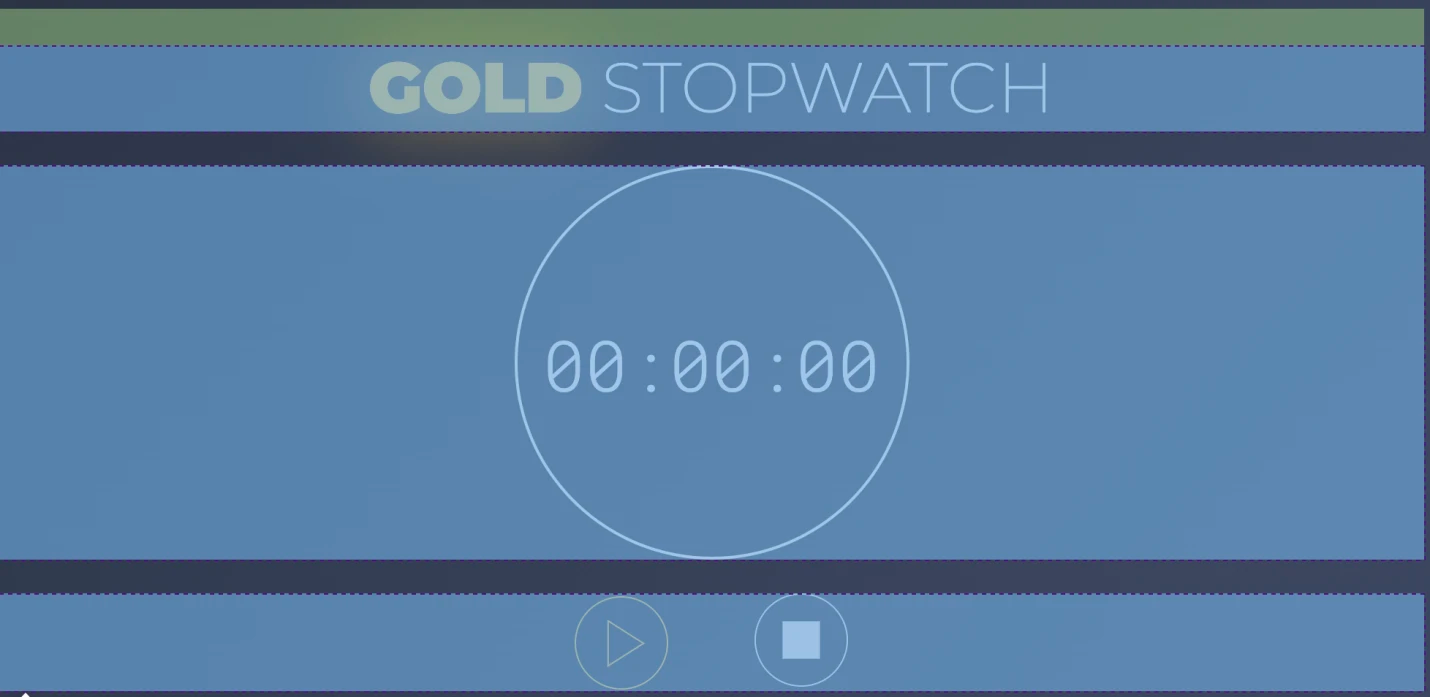
Separating the stopwatch app in three blocks
We add a class to the span containing "00:00:00" and name it time:
1<div class="stopwatch">2 <h1>3 <span class="gold">GOLD</span> STOPWATCH4 </h1>56 <span class="time">00:00:00</span>7</div>
Now let's style "00:00:00" to make it larger and with the right font:
1.time {2 font-family: "Roboto Mono", monospace;3 font-weight: 300;4 font-size: 48px;5}
Here's the result:
Style the time `span`
Create a circle with CSS
To get a circle around "00:00:00", we wrap it around another div that we call circle:
1<div class="stopwatch">2 <h1>3 <span class="gold">GOLD</span> STOPWATCH4 </h1>5 <div class="circle">6 <span class="time">00:00:00</span>7 </div>8</div>
To make a div look like a circle, we give it border and add a 50% border-radius.
We get:

We use border and border-radius to create a circle
To make it look like a circle, we give it exact proportions. We will set both the height and width to 270px:
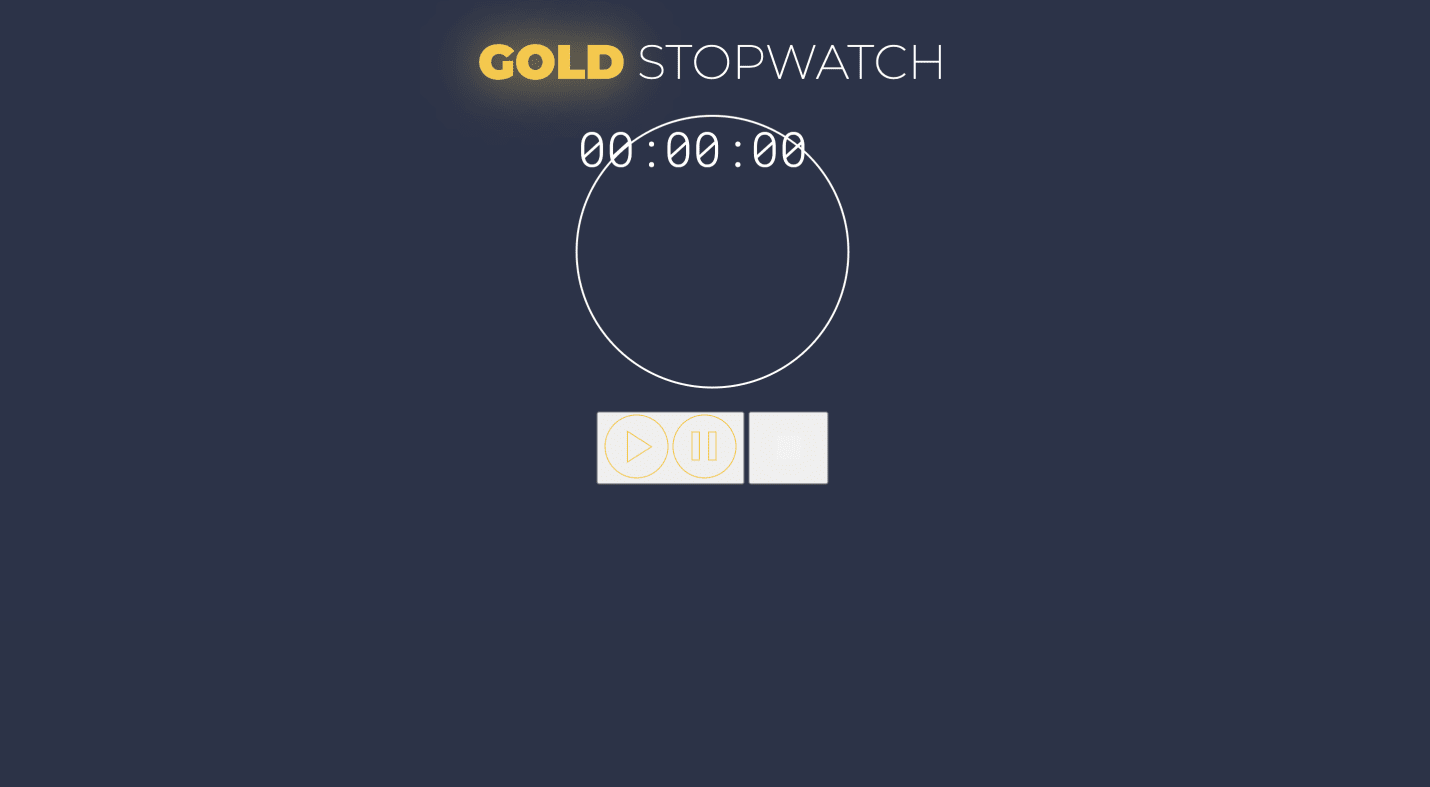
Give the circle the exact width and height
To center the time inside it both horizontally and vertically, we use Flexbox.
We give a display of flex to the circle div.
To center the time vertically, we use align-items: center:
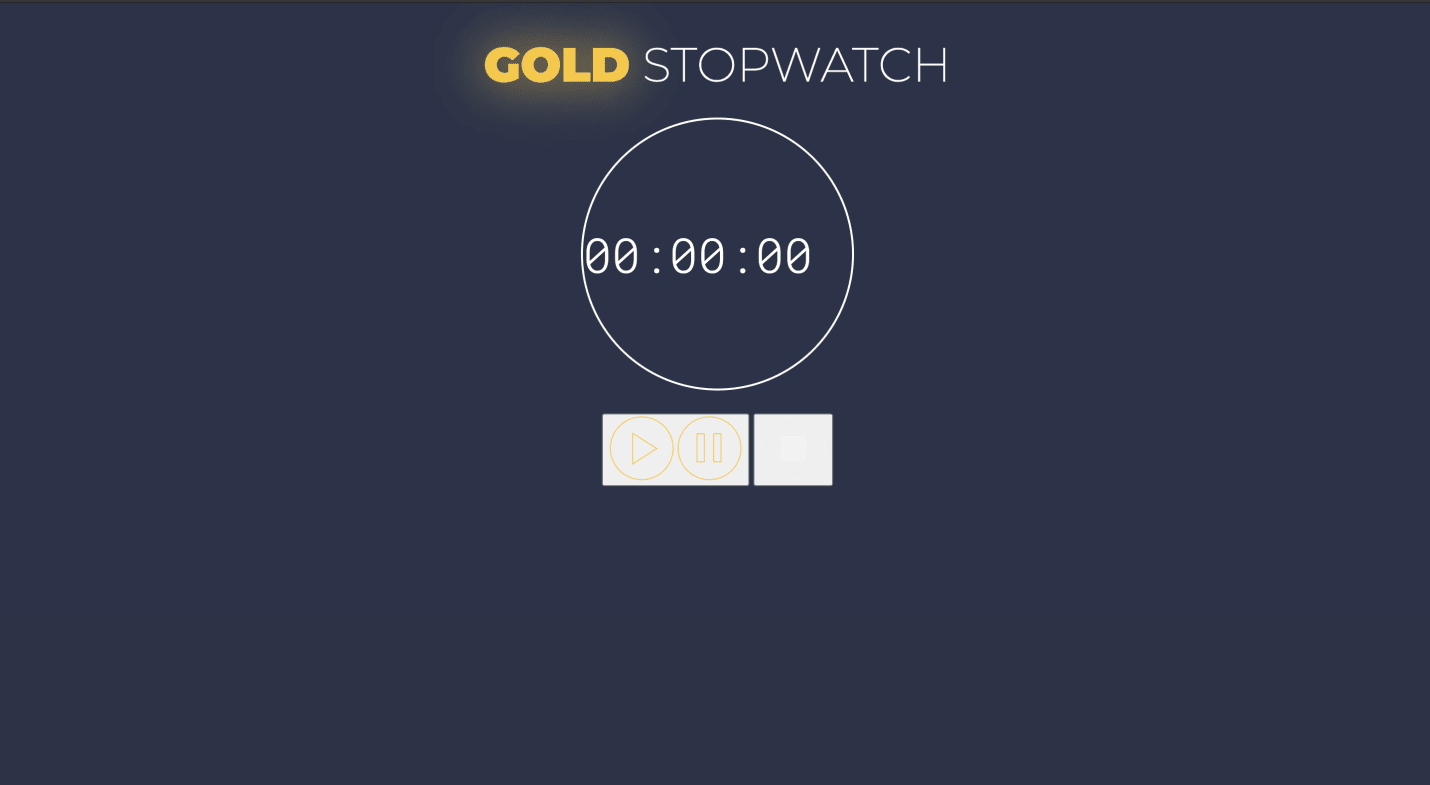
Square border
Style the buttons
Let's now focus on styling the buttons:
1button {2 background: transparent;3 padding: 0;4 border: none;5 margin: 0;6 outline: none;7}
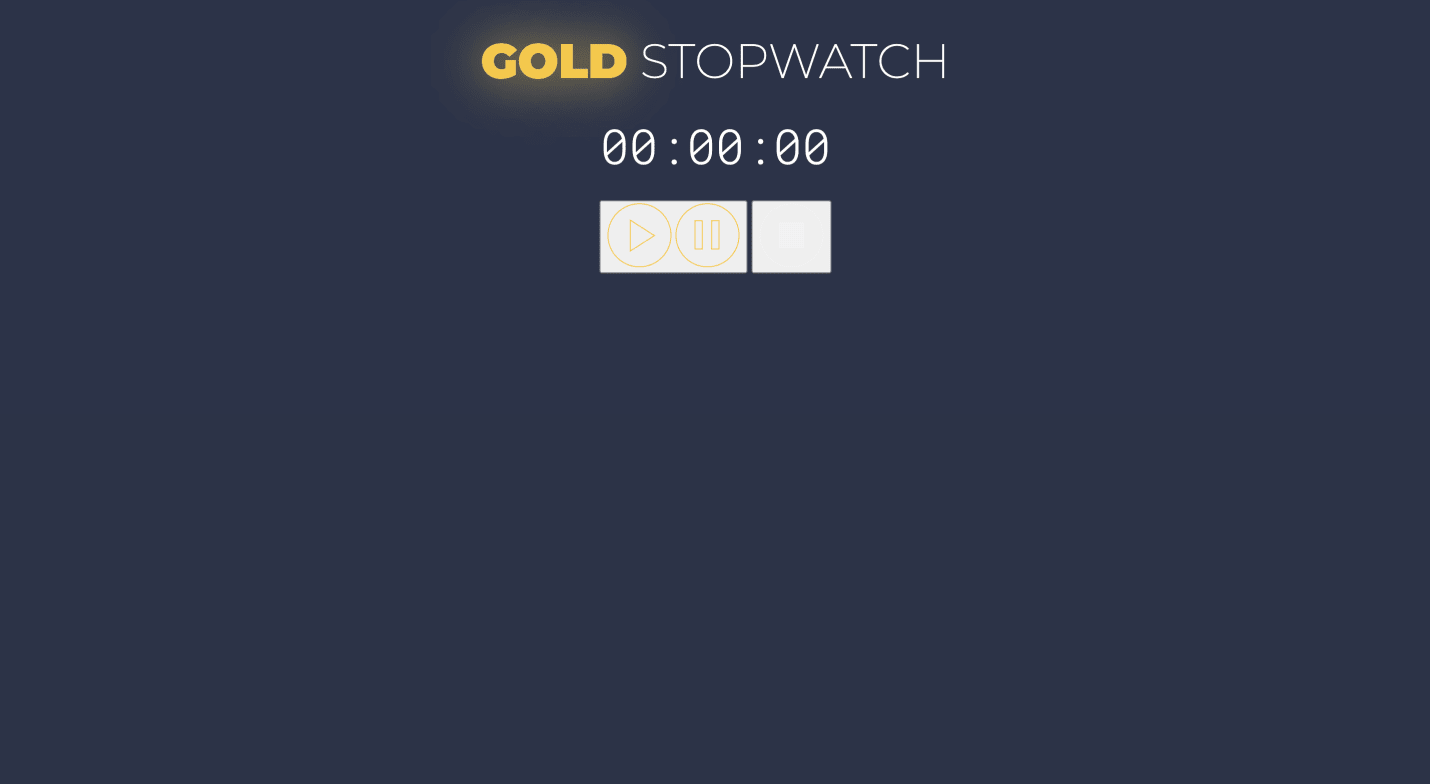
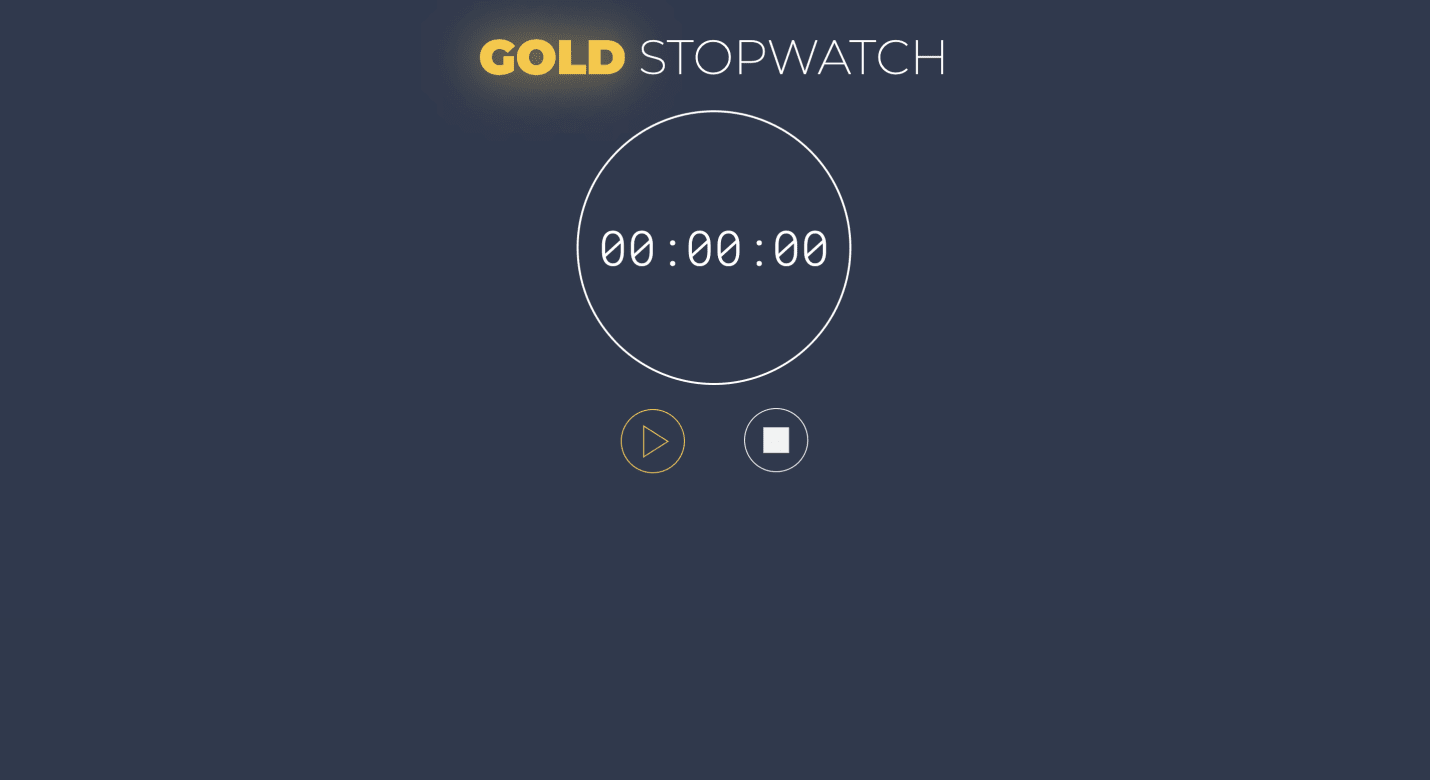
We get:
We create a space between our first and second button
Recall both the Play and Button SVGs are in the same button. For now, we only want to show the Play button and hide the Pause button.
Let's give ids to those SVGs (and to the Reset Button too, since we'll use it later):
1<body>2 <div class="stopwatch">3 <h1>4 <span class="gold">GOLD</span> STOPWATCH5 </h1>6 <div class="circle">7 <span class="time" id="display">8 00:00:009 </span>10 </div>1112 <div class="controls">13 <button class="buttonPlay">14 <Img id="playButton" src="icons/play-button.svg" />1516 <Img id="pauseButton" src="icons/pause-button.svg" />17 </button>1819 <button class="buttonReset">20 <Img id="resetButton" src="icons/reset-button.svg" />21 </button>22 </div>23 </div>24 <script src="script.js"></script>25</body>
And use the display property to show the Play icon and hide the Pause icon:
1#playButton {2 display: block;3}45#pauseButton {6 display: none;7}
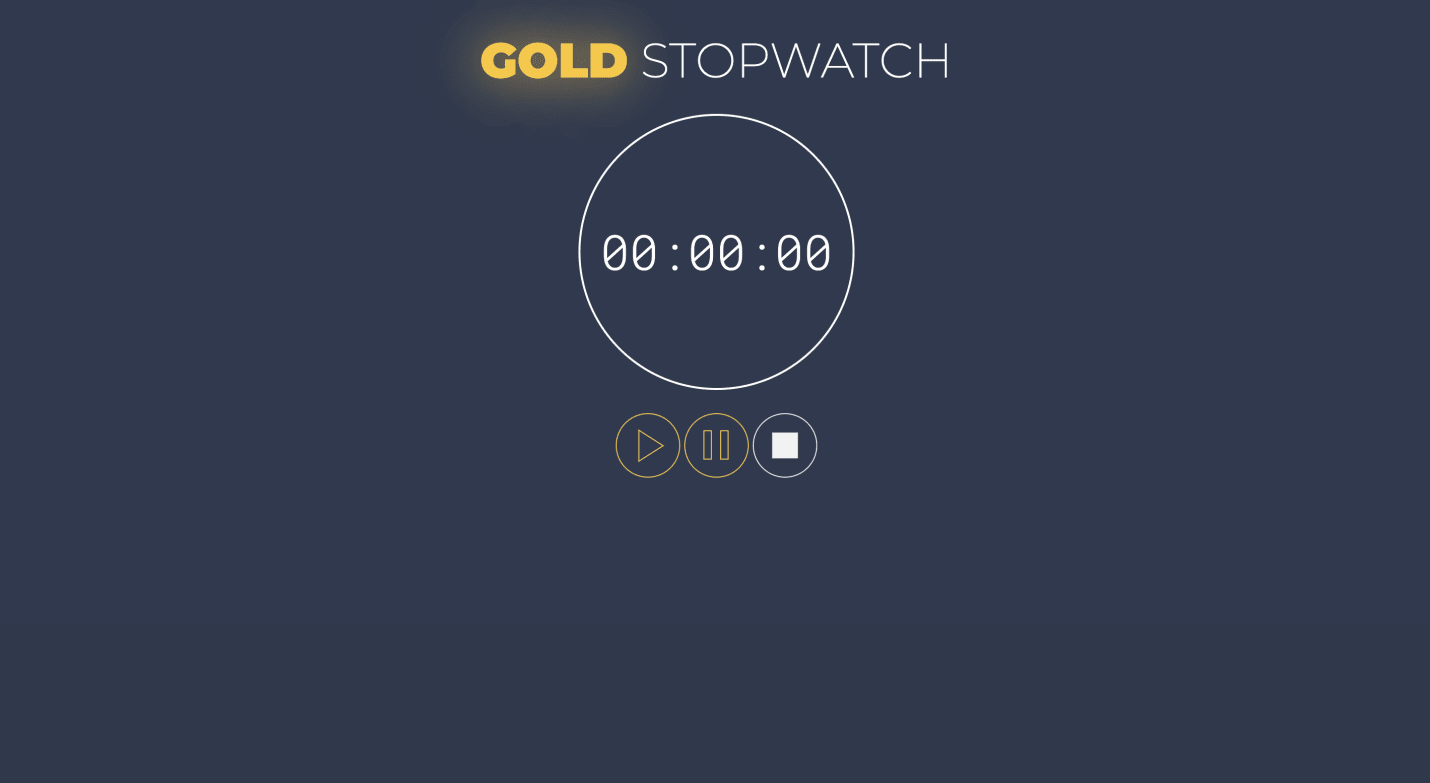
We get:
We successfully hide the Pause button
Note: we could use classes for playButton and pauseButton, but we use ids because it will be helpful in the second part of this series.
Style the cursor
Let's make our buttons have a hand/pointer cursor:
1button {2 cursor: pointer;3 background: transparent;4 padding: 0;5 border: none;6 margin: 0;7 outline: none;8}
Here is the result:
As a final touch, let's add a favicon, so our page has a proper tab icon in the browser:

Favicon
We can do this by adding a link tag to the HTML head that points to our icon svg:
1<link2 rel="icon"3 href="data:image/svg+xml,<svg xmlns=%22http://www.w3.org/2000/svg%22 viewBox=%220 0 100 100%22><text y=%22.9em%22 font-size=%2290%22>⏳</text></svg>"4/>
The head looks like this now:
1<head>2 <meta charset="UTF-8" />3 <meta name="viewport" content="width=device-width, initial-scale=1.0" />4 <title>Gold Stopwatch</title>5 <link rel="stylesheet" href="style.css" />6 <link7 href="https://fonts.googleapis.com/css2?family=Montserrat:wght@200;900&display=swap"8 rel="stylesheet"/>9 <link10 href="https://fonts.googleapis.com/css2?family=Roboto+Mono:ital,wght@0,300;1,300&display=swap"11 rel="stylesheet"/>12 <link rel="icon" href="data:image/svg+xml,<svg xmlns=%22http://www.w3.org/2000/svg%22 viewBox=%220 0 100 100%22><text y=%22.9em%22 font-size=%2290%22>⏳</text></svg>">13 </head>
Our stopwatch is also responsive. This is because we relied on CSS layouts like grid and flexbox to style the positioning of our elements.
Let's test it.
If we are on Chrome, we open the console (⌘+SHIFT+C for Mac or Ctrl+SHIFT+J on Windows) and select iPhone 5 SE (which is a small display size):
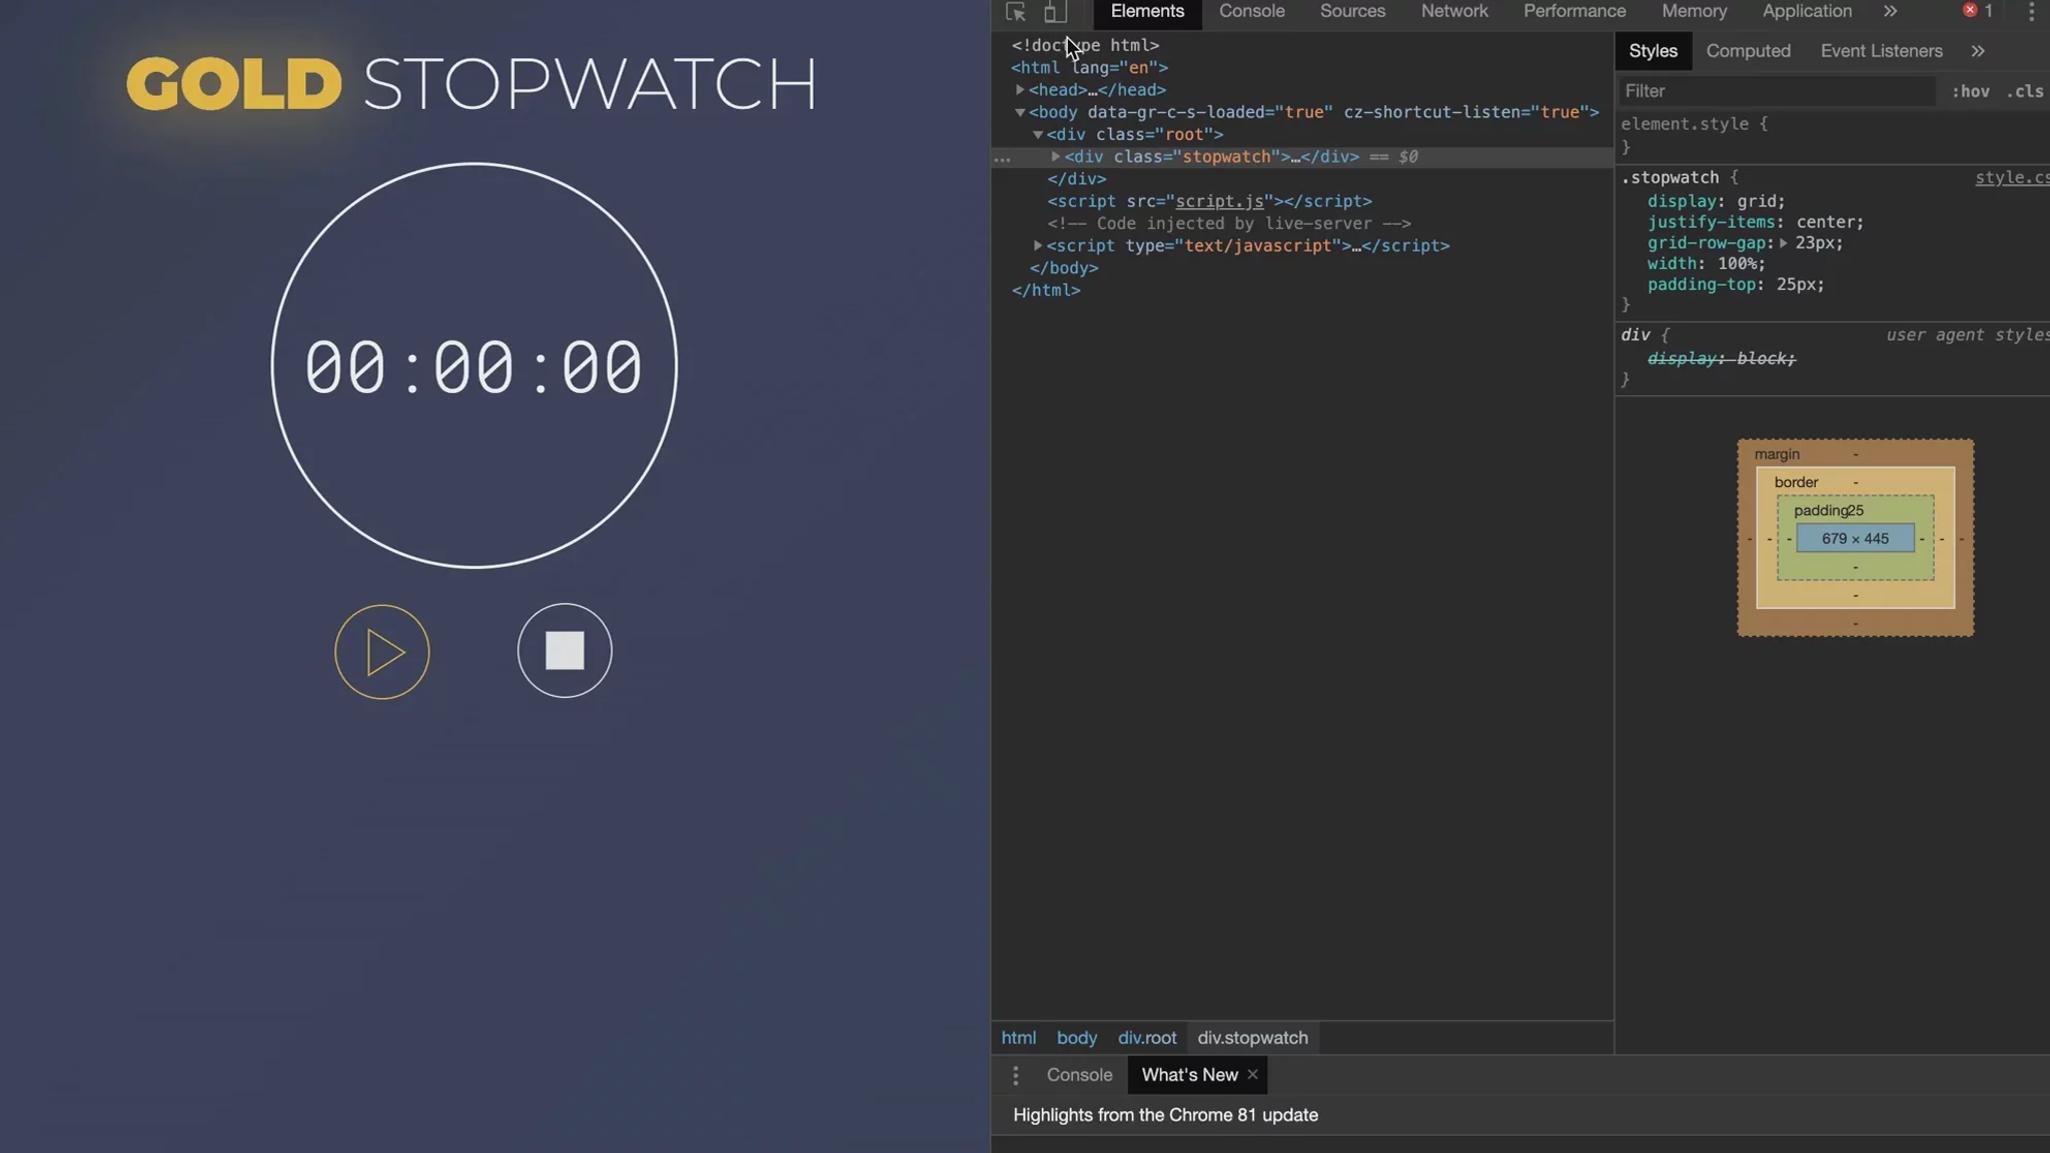
Great, it works.
In the next part of this series, we'll focus on the functionality of the stopwatch with JavaScript.