5th December 2022 • 4 min read
How to integrate Fathom Analytics into your Remix App

Basel Sababa
When it comes to building successful websites, it's important to gain insights and data about your website visitors in order to enhance their experience.
In this guide, we will go over the steps of integrating Fathom Analytics into a Remix application.
The first thing to do is to sign up for a Fathom account or sign in if you already have one.
Once you are logged in, navigate to your sites and create a new site by choosing a custom name for your site and clicking the "Create site" button.
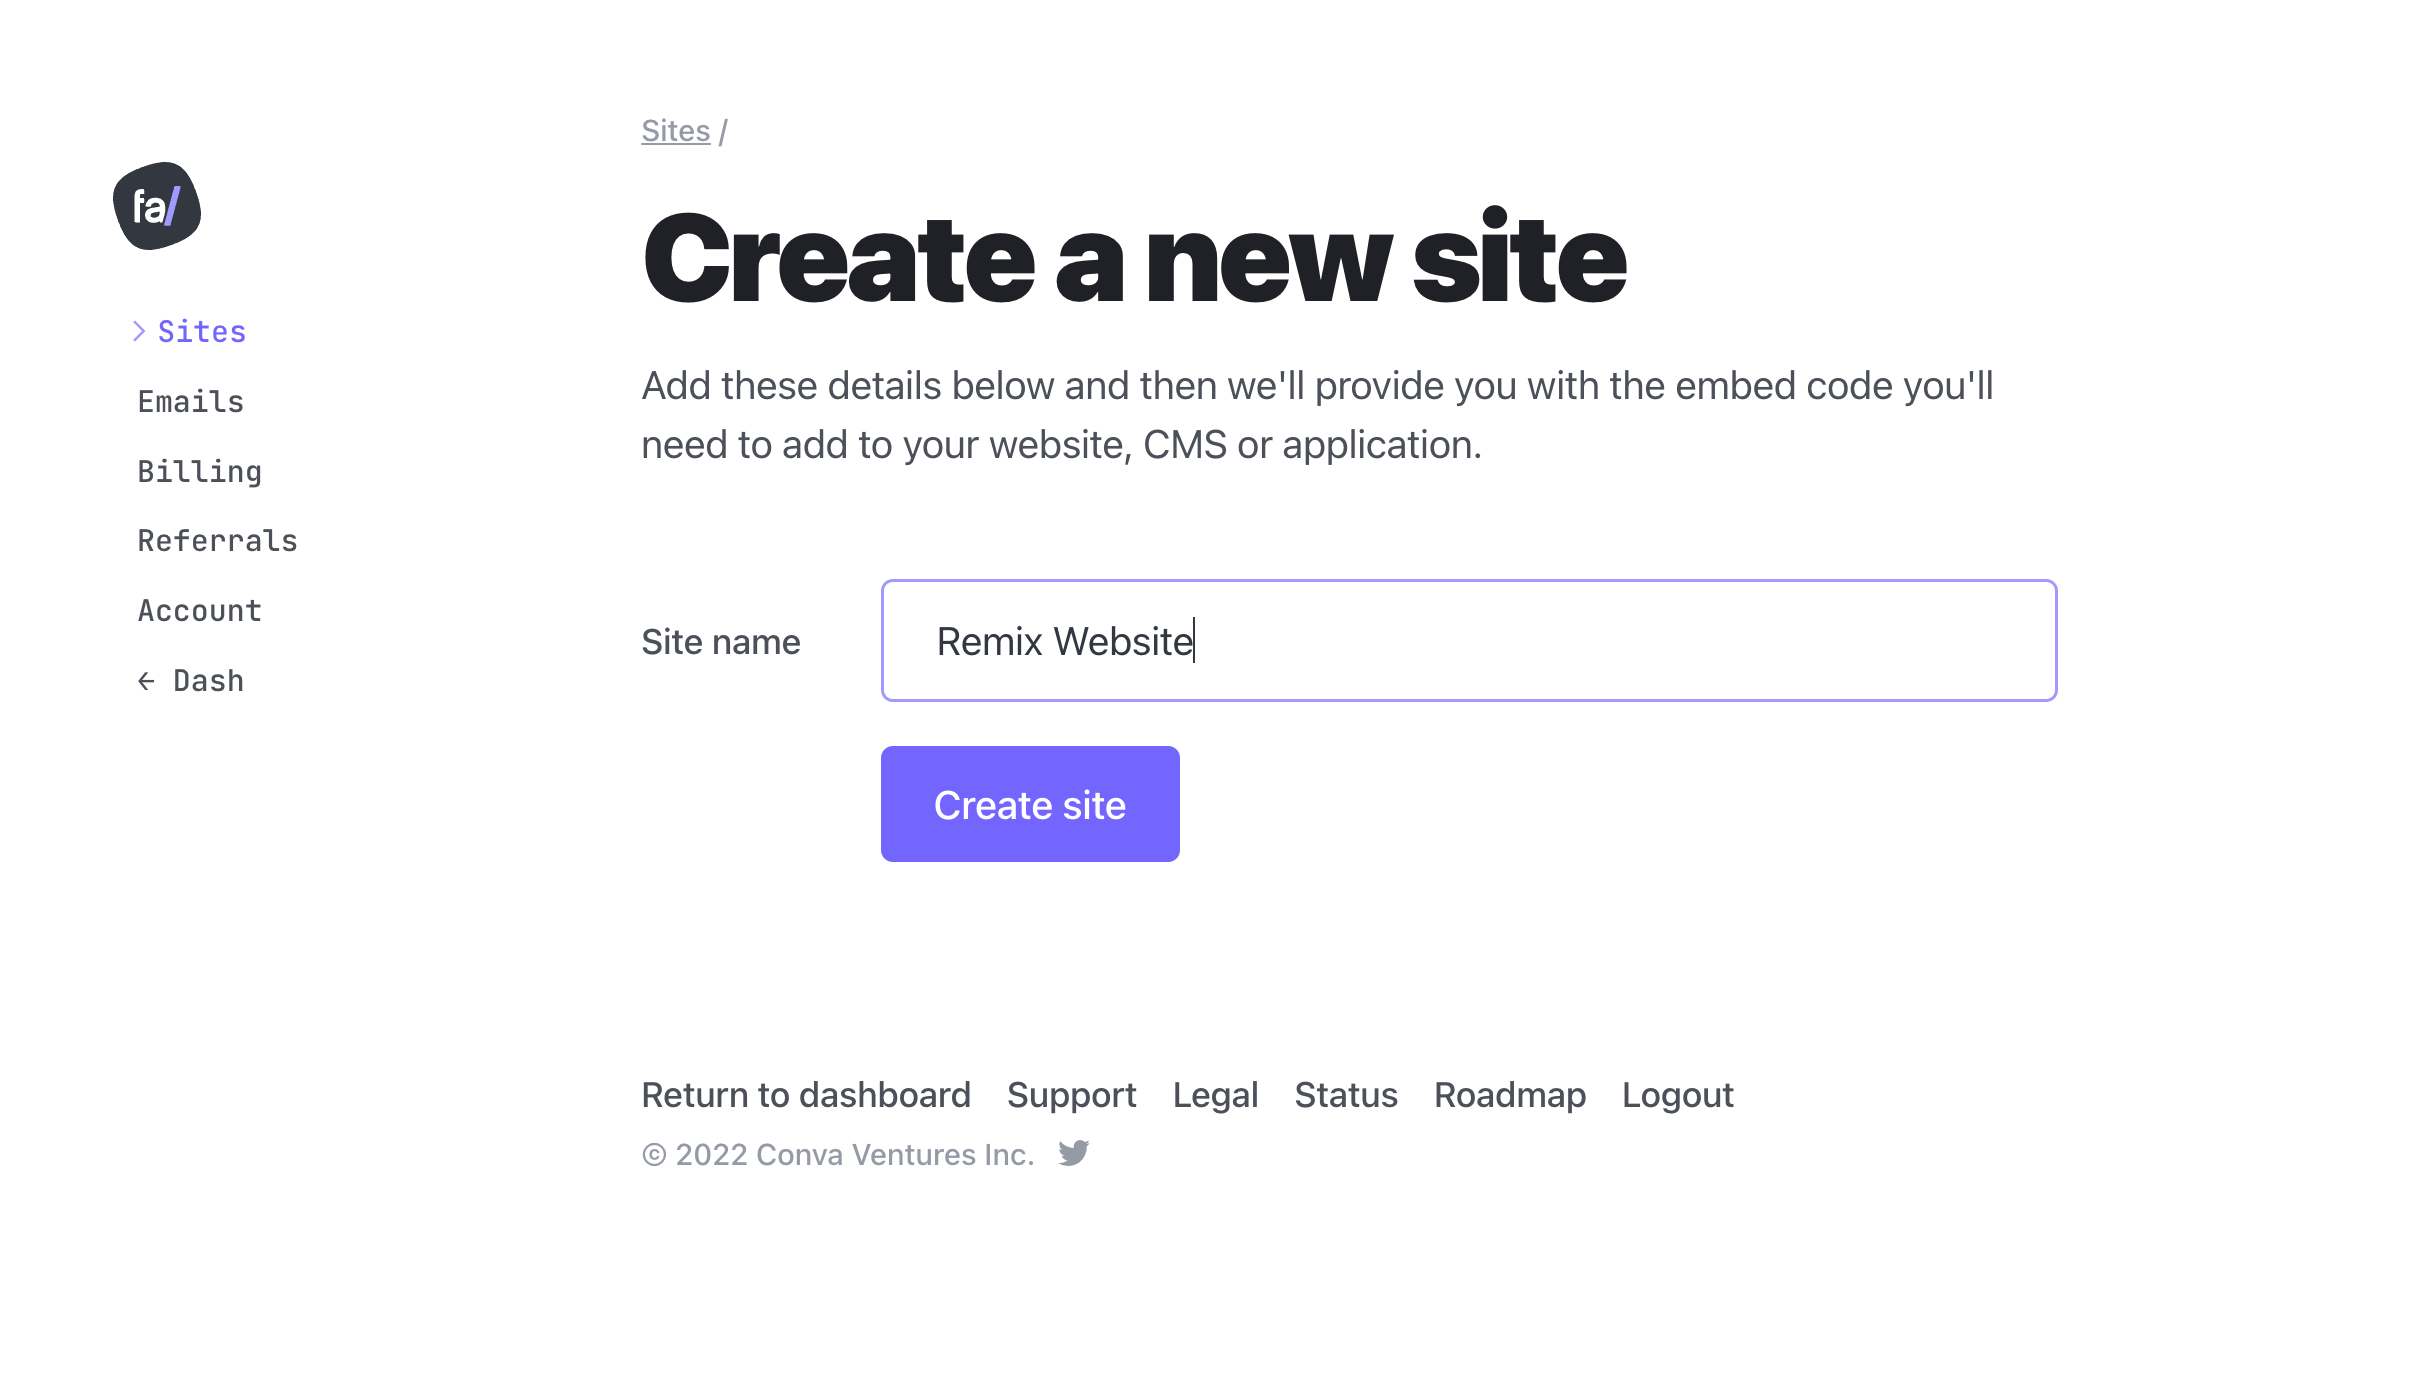
Create a new site on Fathom Analytics
Believe it or not, that's all the setup we need to do in Fathom!
Once the site is created, a pop-up will appear showing your site details as shown below, which can also be accessed any time by selecting your created site from your list of sites.

Keep the "Verify site code" button in mind, we're going to use it later to verify that our Fathom integration is working as expected.
The usual process would be to copy the HTML embed code provided by Fathom and pasting it into the HTML head tag. However, this would overlook route changes on the client-side in our case since we have a Single Page Application.
In order to get around this, we are going to use fathom-client, which is a JavaScript client for Fathom Analytics. Let's start by installing it using:
1npm install fathom-clientOnce the library is installed, we are going to create a React component as follows:
1import { useLocation } from '@remix-run/react'2import { load, trackPageview } from 'fathom-client'3import { useEffect } from 'react'45const Fathom = () => {6 const location = useLocation()78 useEffect(() => {9 load('YOUR_SITE_ID', {10 includedDomains: ['your.site.domain'],11 })12 }, [])1314 useEffect(() => {15 trackPageview()16 }, [location.pathname, location.search])1718 return null19}2021export default Fathom
In short, this component is responsible for loading Fathom script once it is mounted then listens to changes on the pathname and search parameters, and instructs Fathom to "track" any new page the user visits.
Do not forget to replace the strings in the component with your site details.
Once we have the component, the only thing left to do is use it. We need to make sure that this component is rendered at all times. Therefore, we are going to place it in our root component in root.tsx (or root.js if you're not using TypeScript) file inside the body as follows:
1<body>2 <Fathom />3 <!-- Your other components -->4</body>
Now that we have everything in place, let's go back and use the "Verify site code" button. Before clicking it, make sure that the application is either deployed with our Fathom component or you have it running locally.
After clicking the verify button, you should see a success message (you might need to access your website in the browser for the verification process).
Once the site has been verified, there should be a "Go to Dashboard" button that will take you to your Fathom Analytics dashboard for your site, where you'll be able to access a variety of analytics data about your visitors.
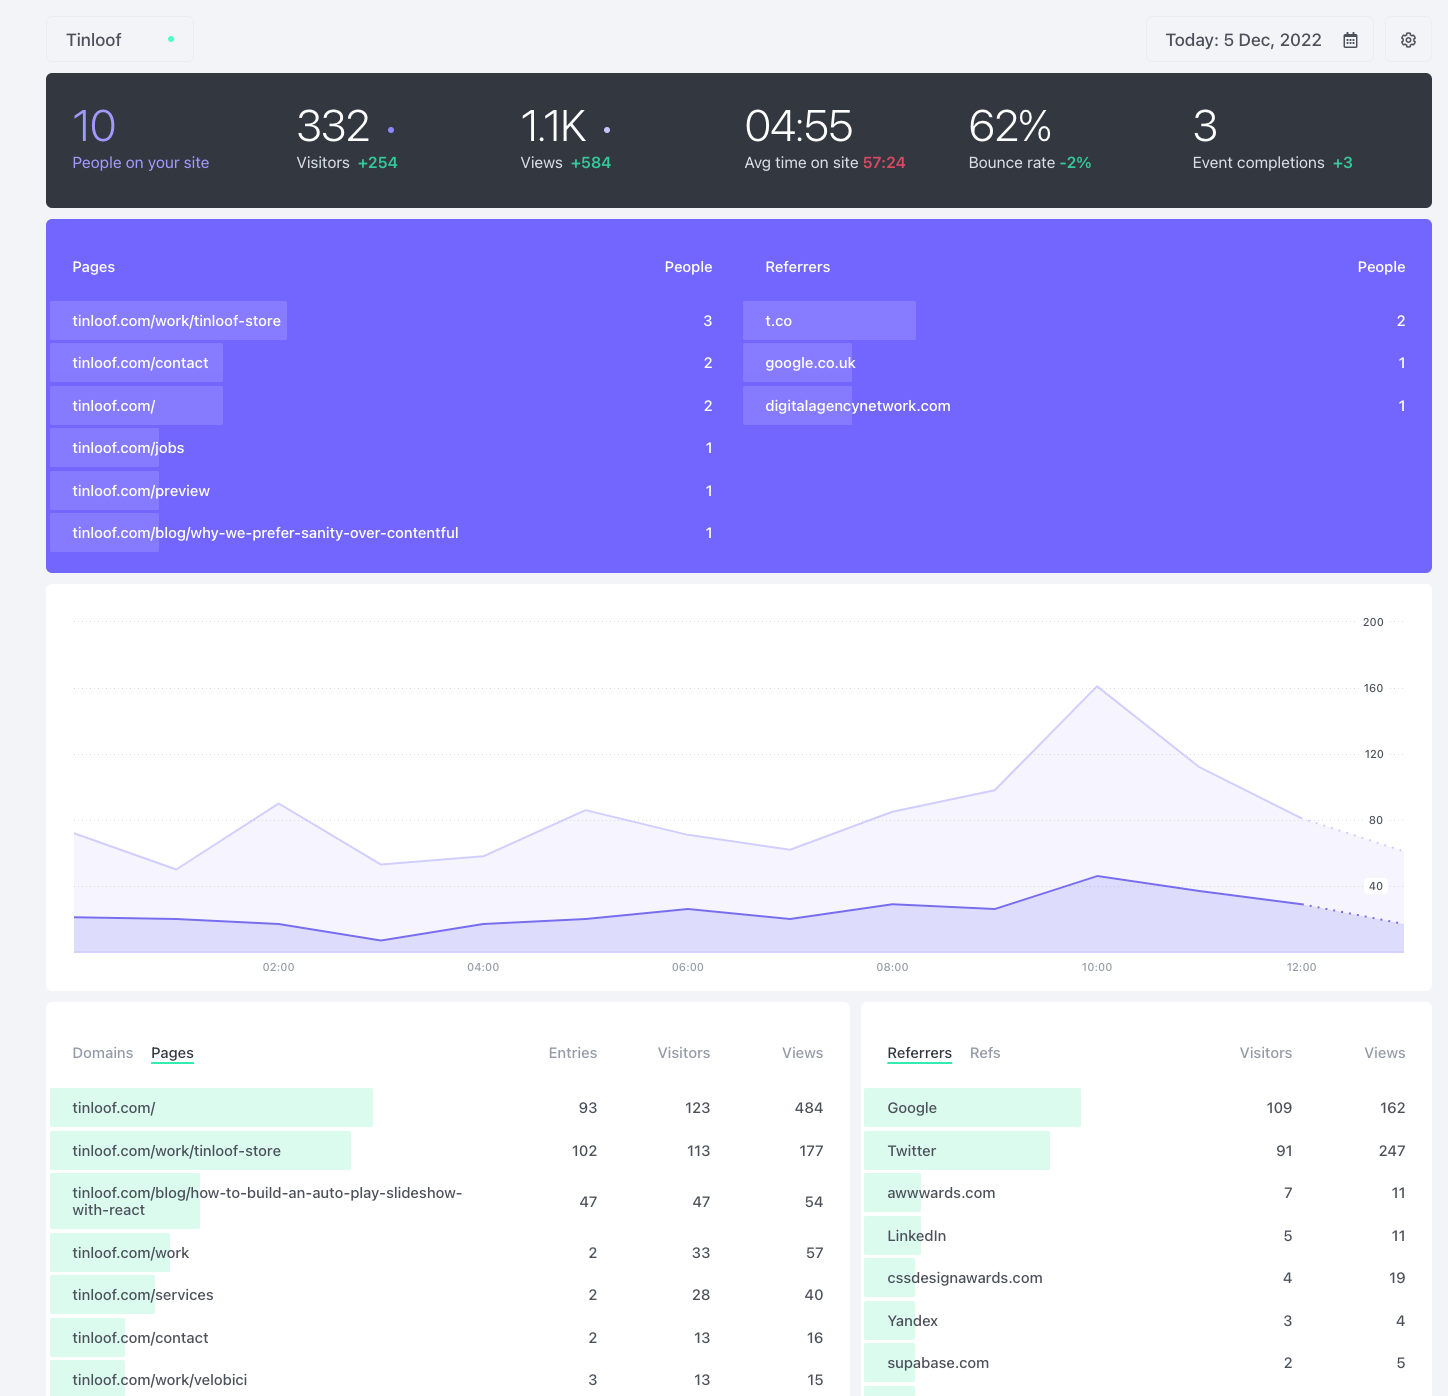
Below we have embedded Tinloof's public Fathom dashboard for you to interact with: