21st July 2023 • 18 min read
Managing Tinloof-powered websites

Omar Benseddik
If your website was built by Tinloof, you should be able to self-manage it without any guide.
We wrote this article just to make sure you're not missing out on any feature that helps you manage your website more effectively.
Initial view
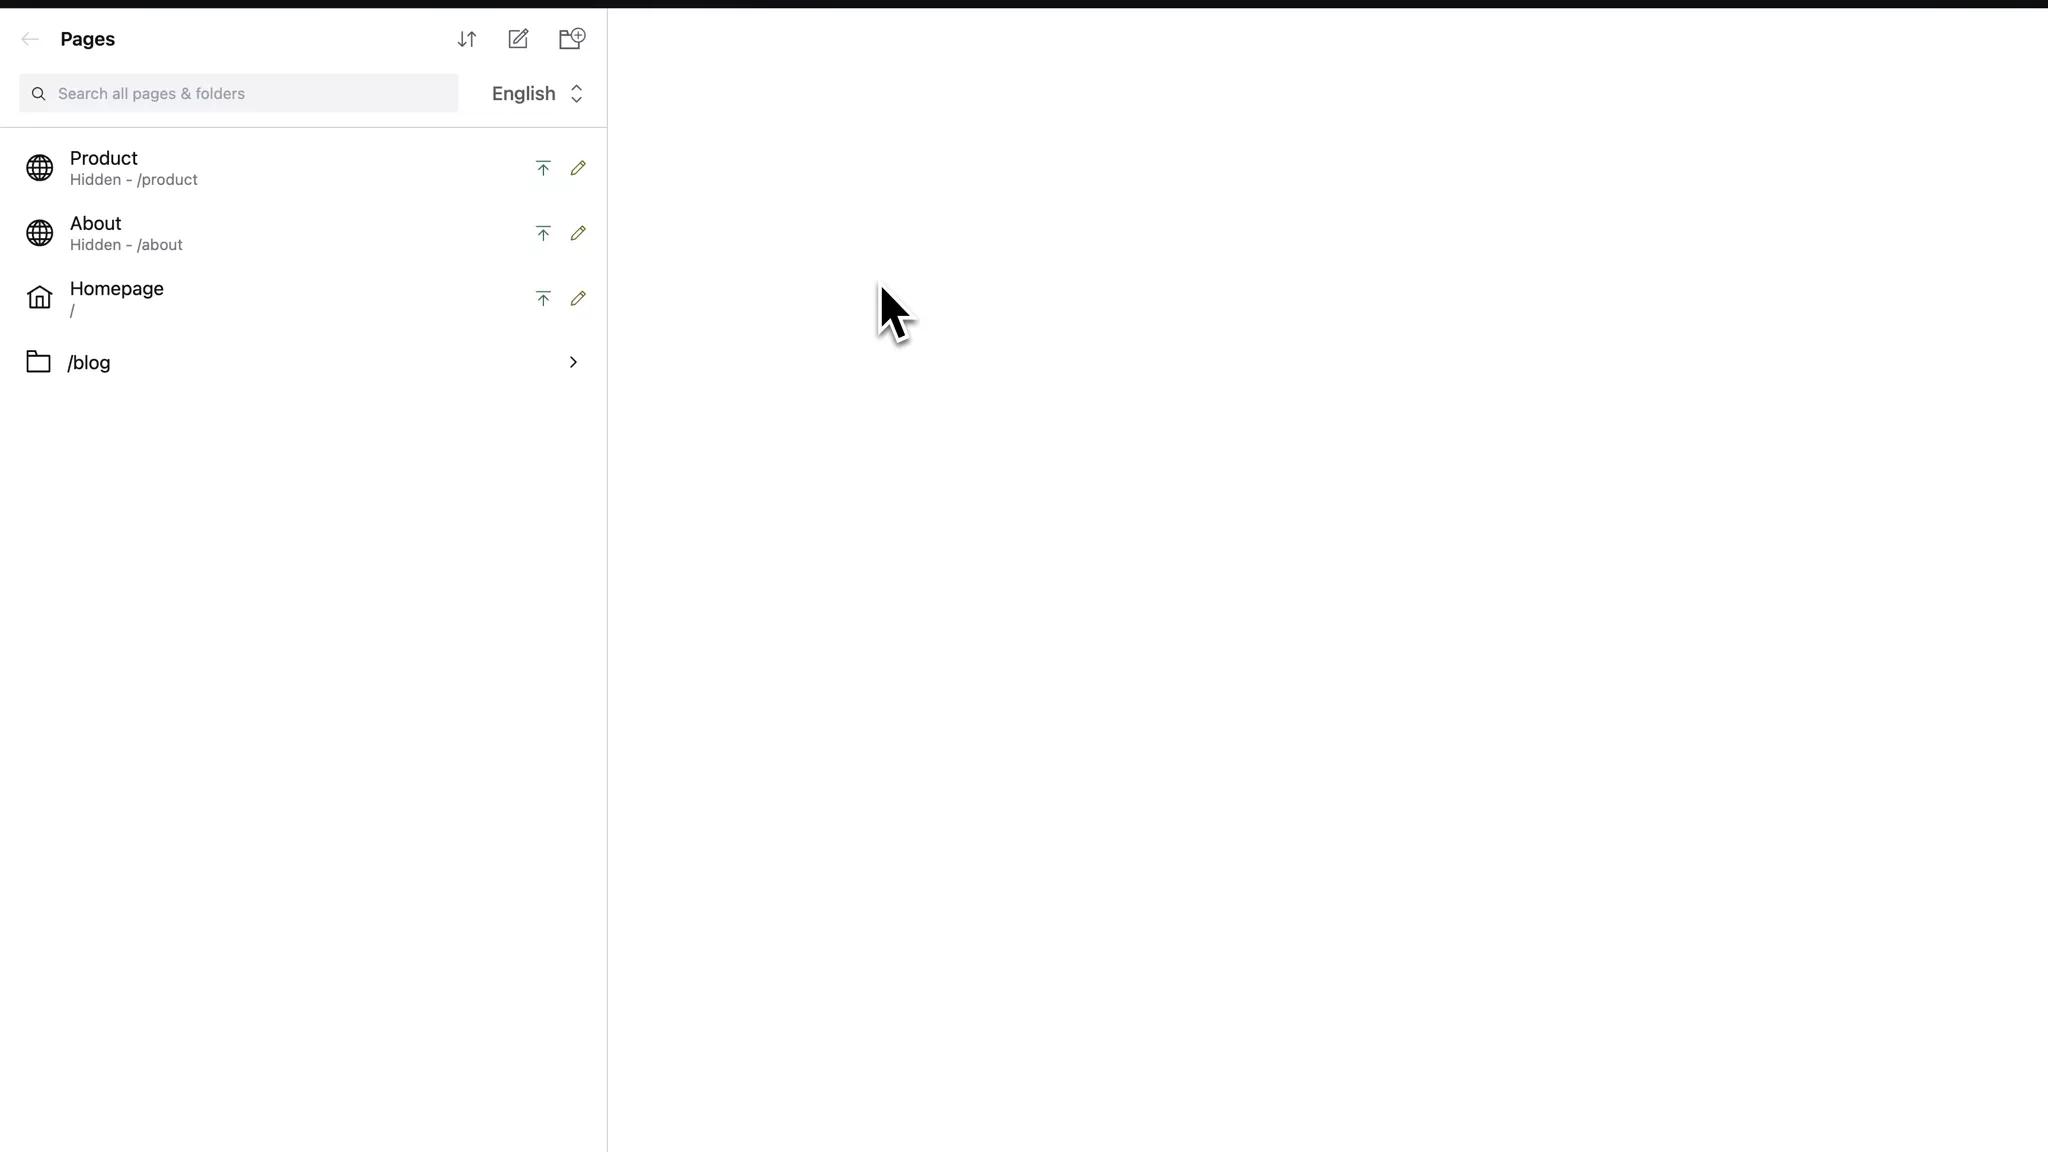
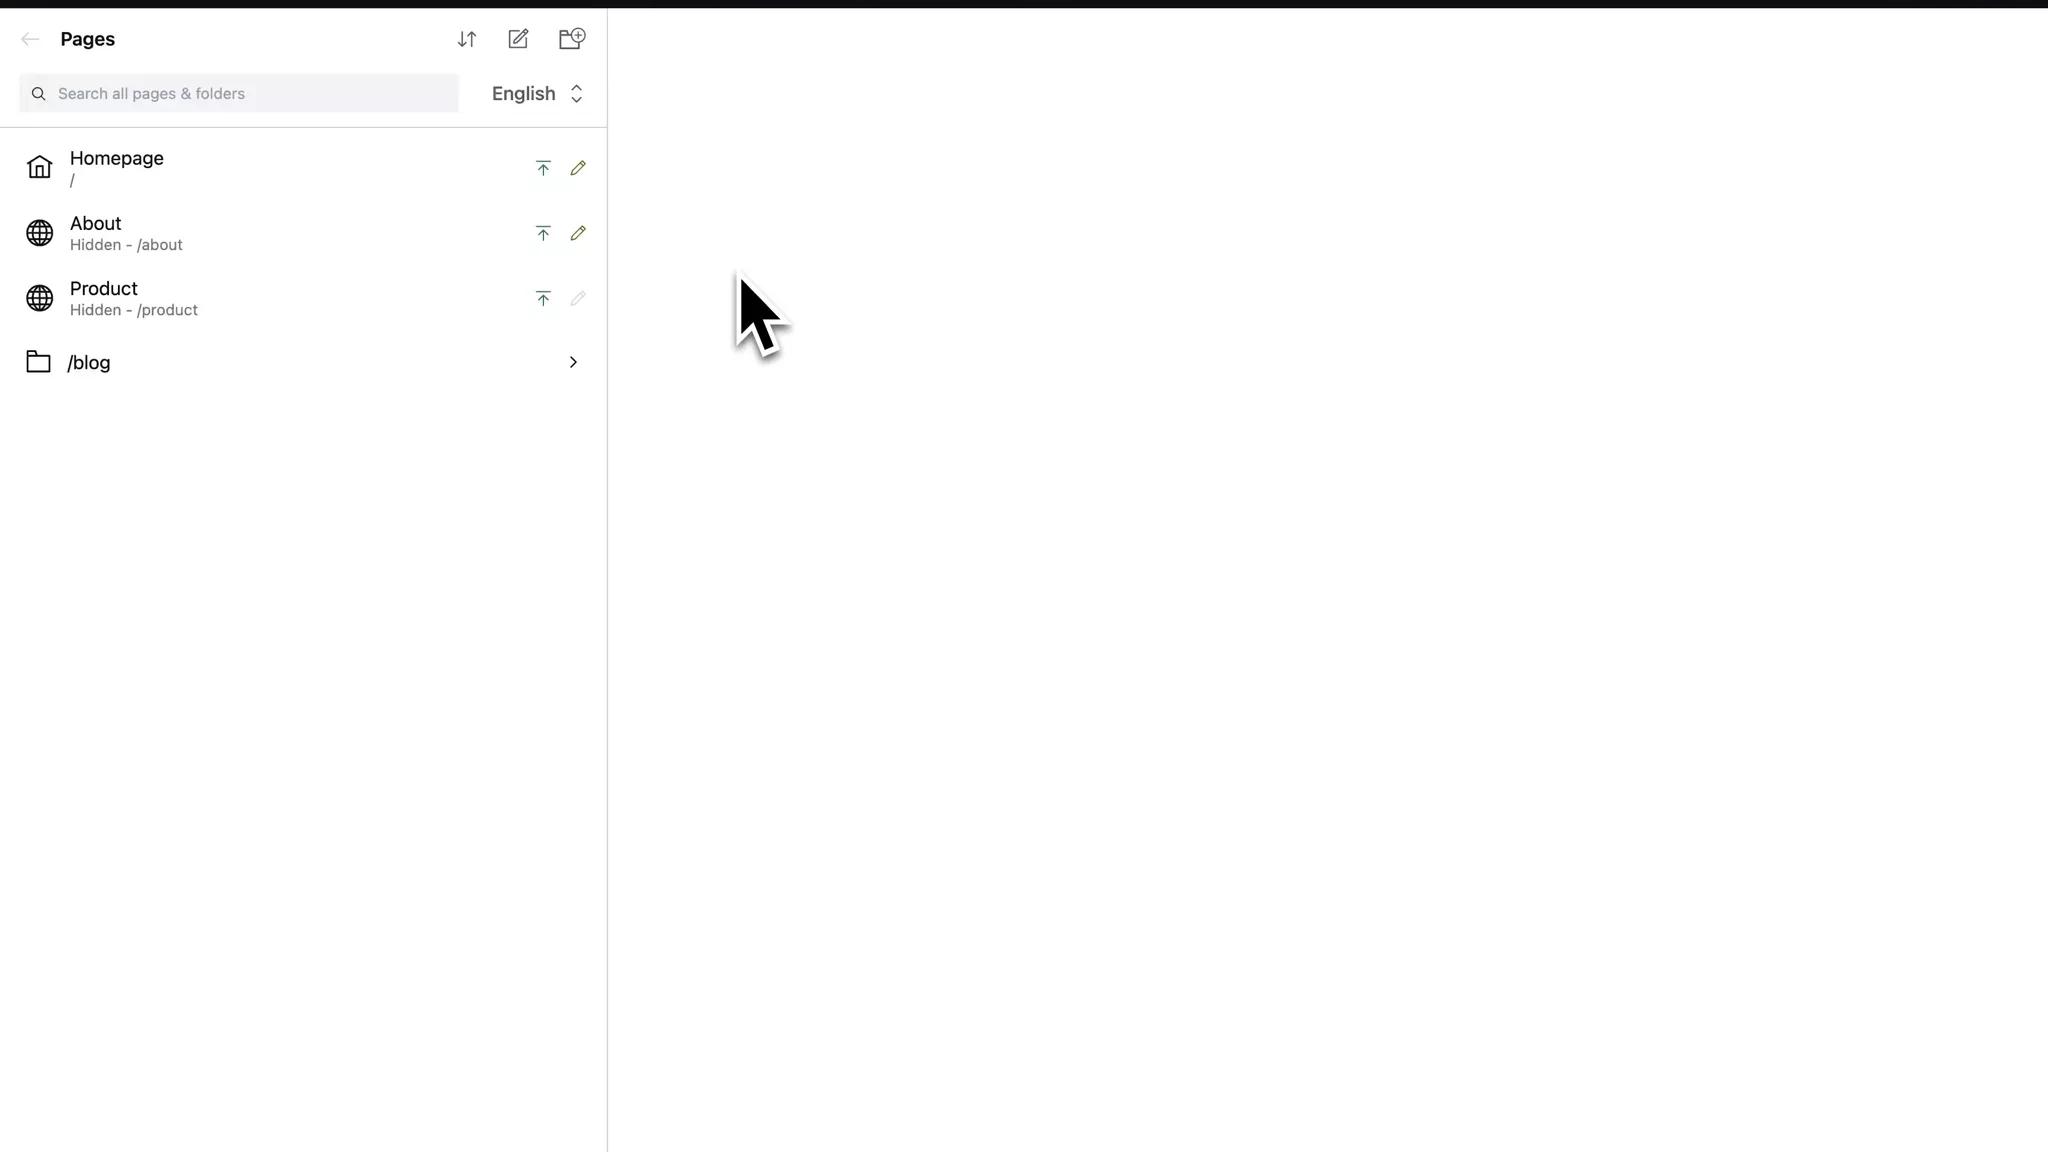
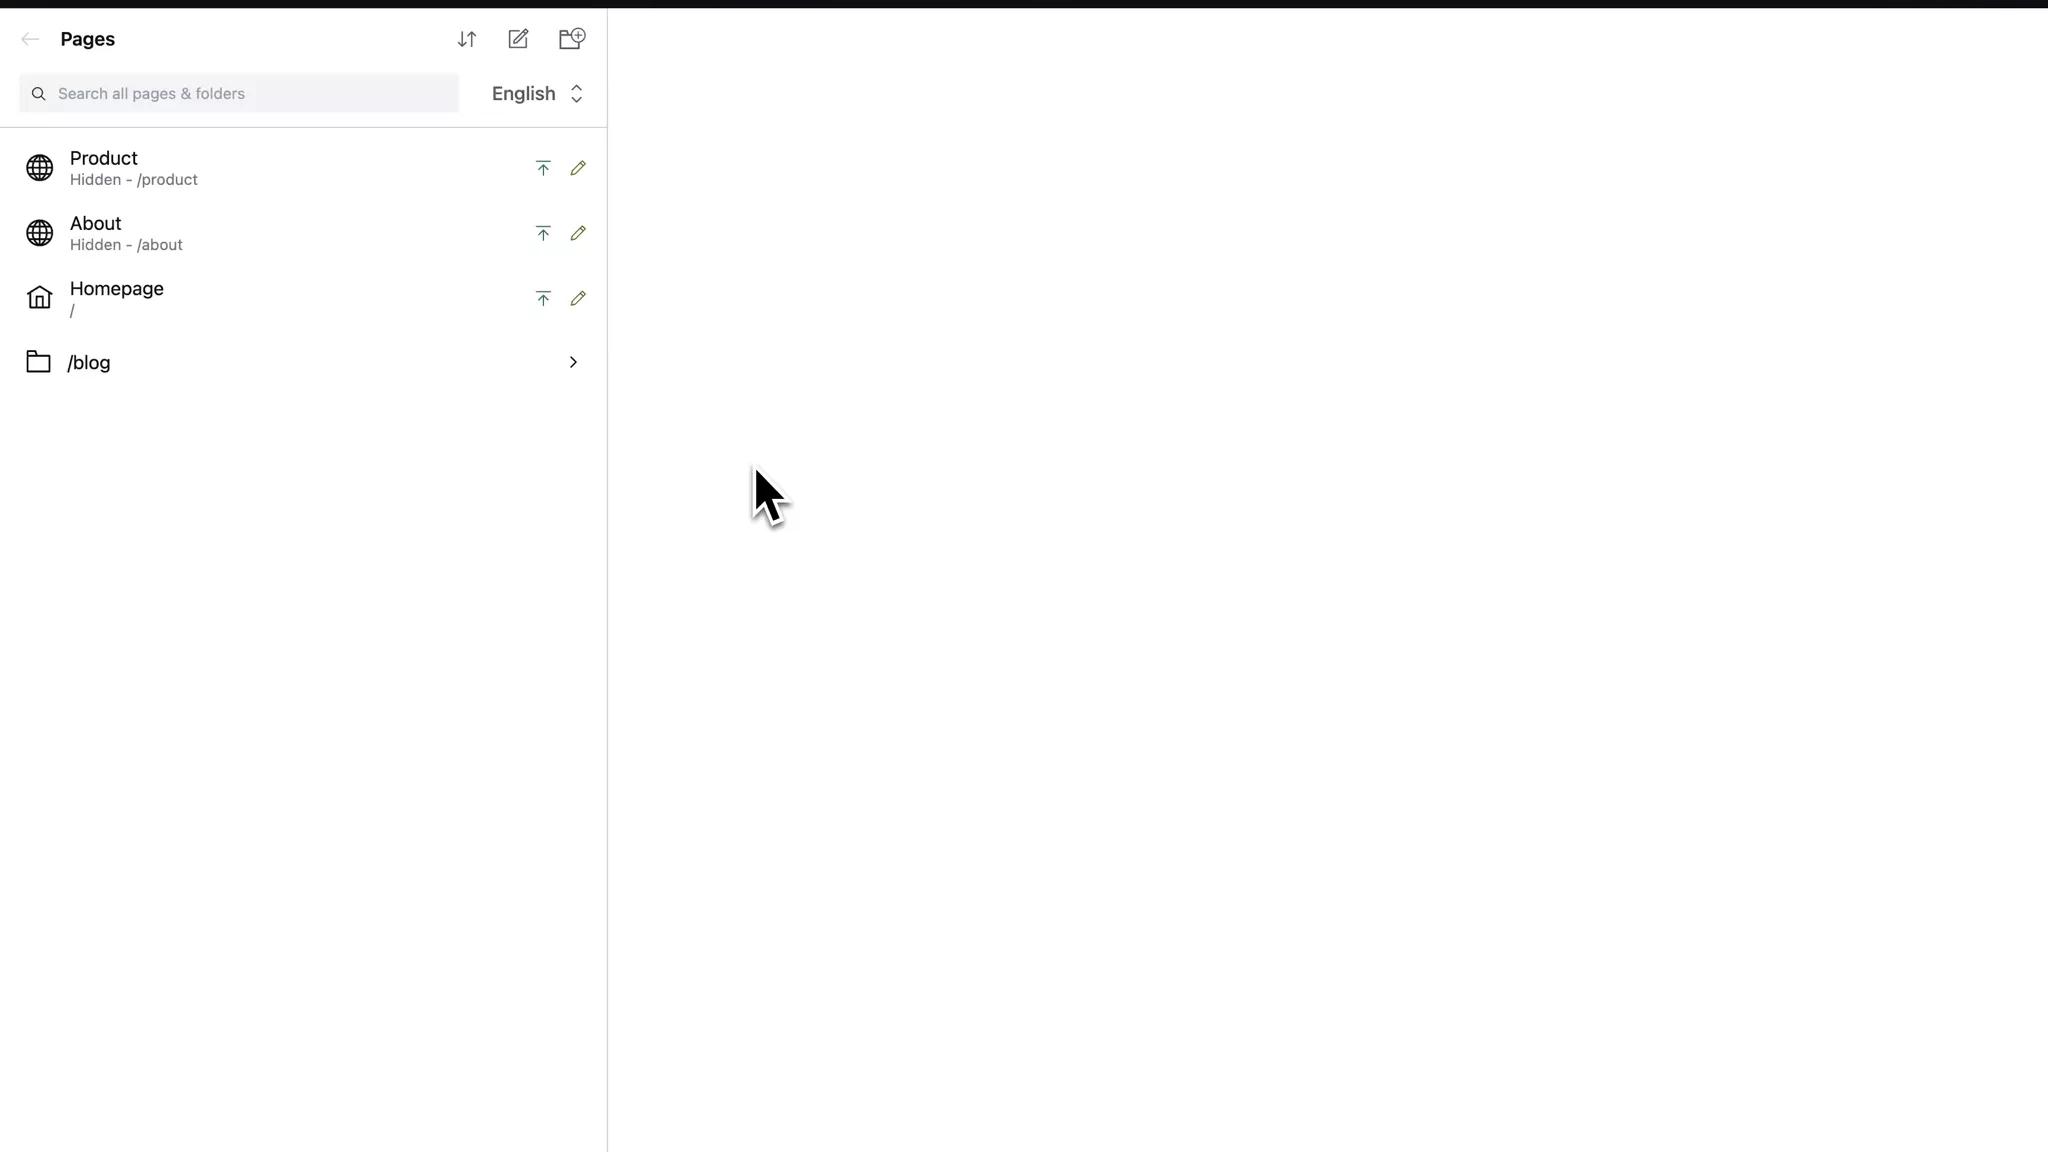
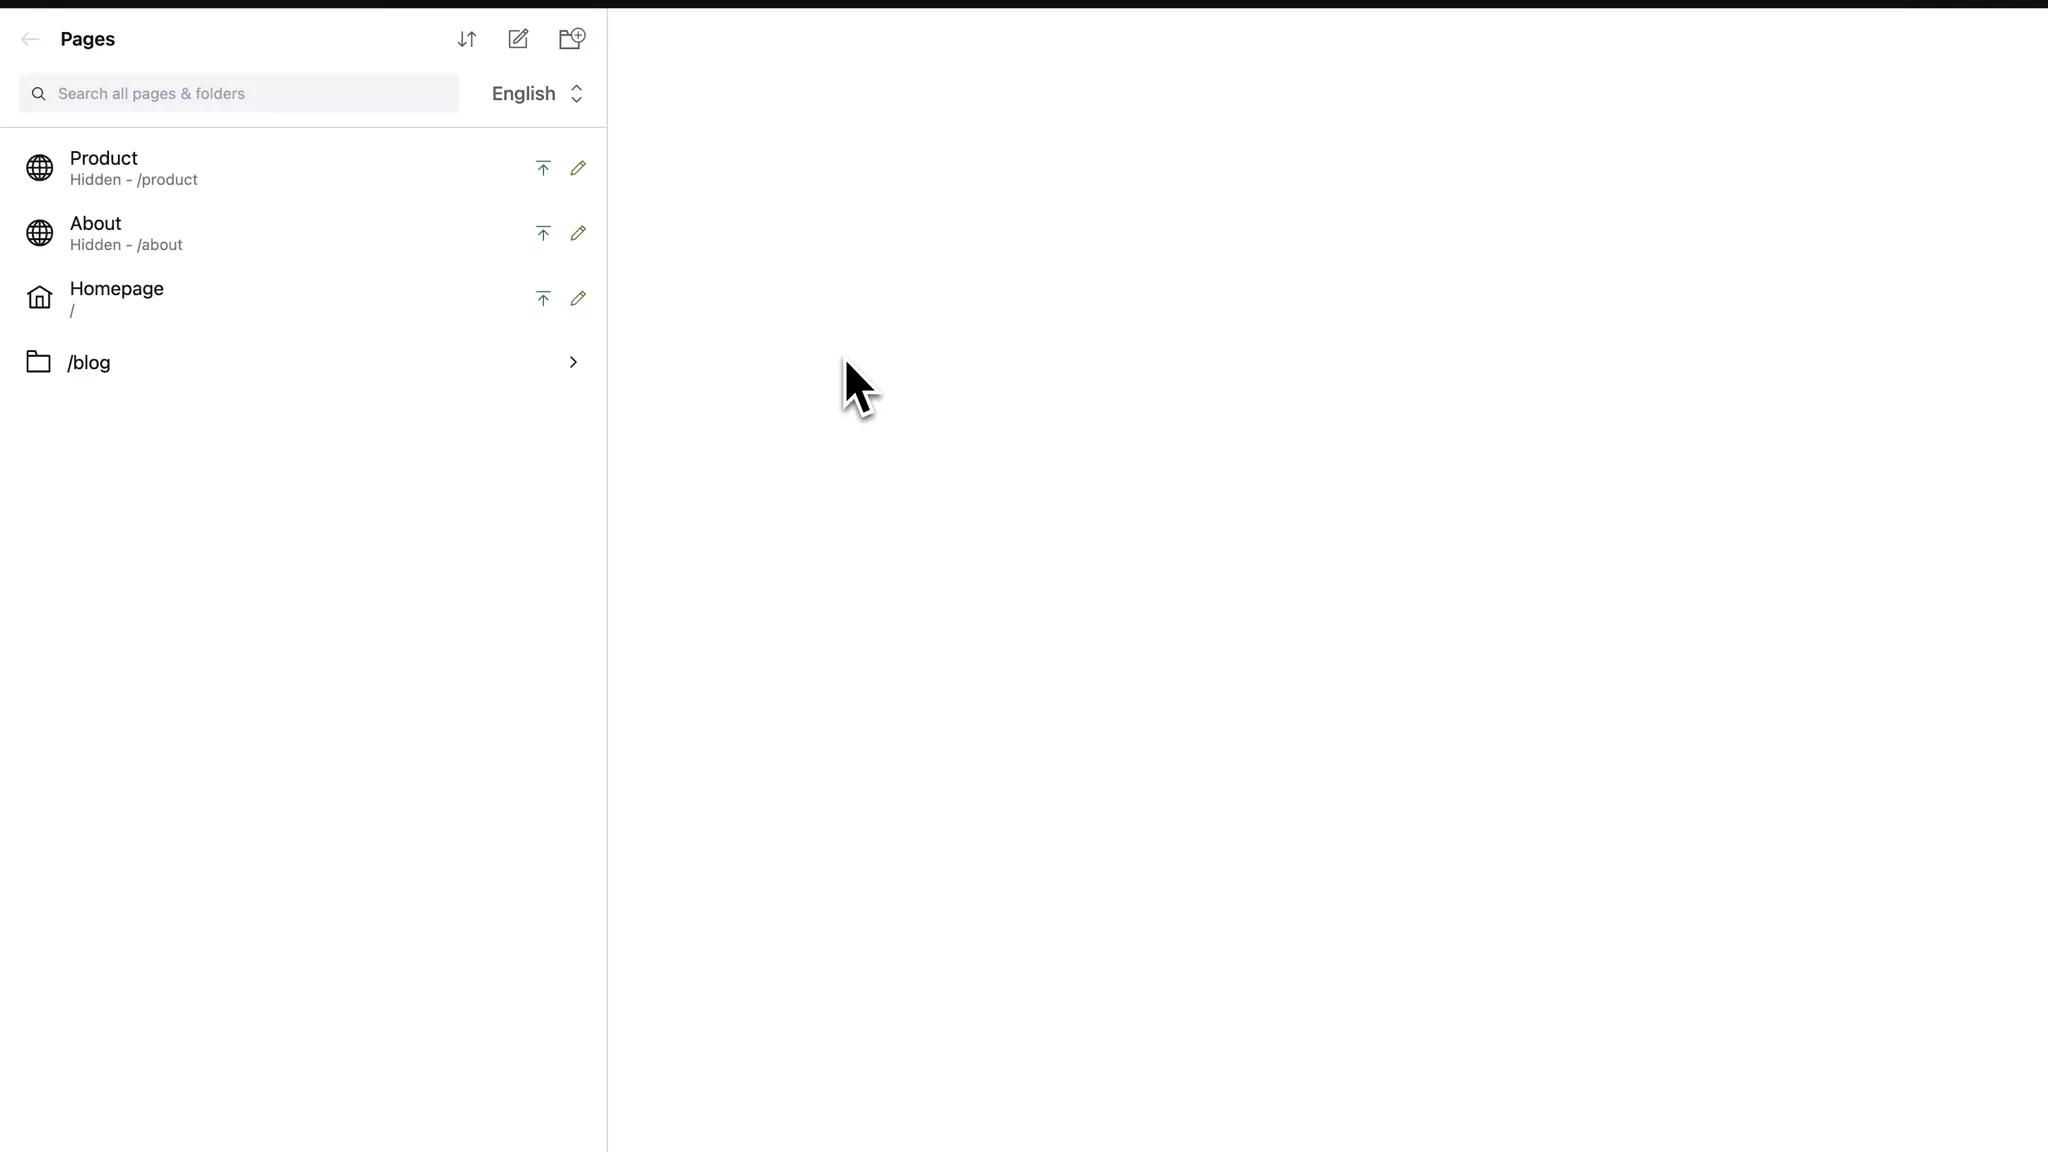
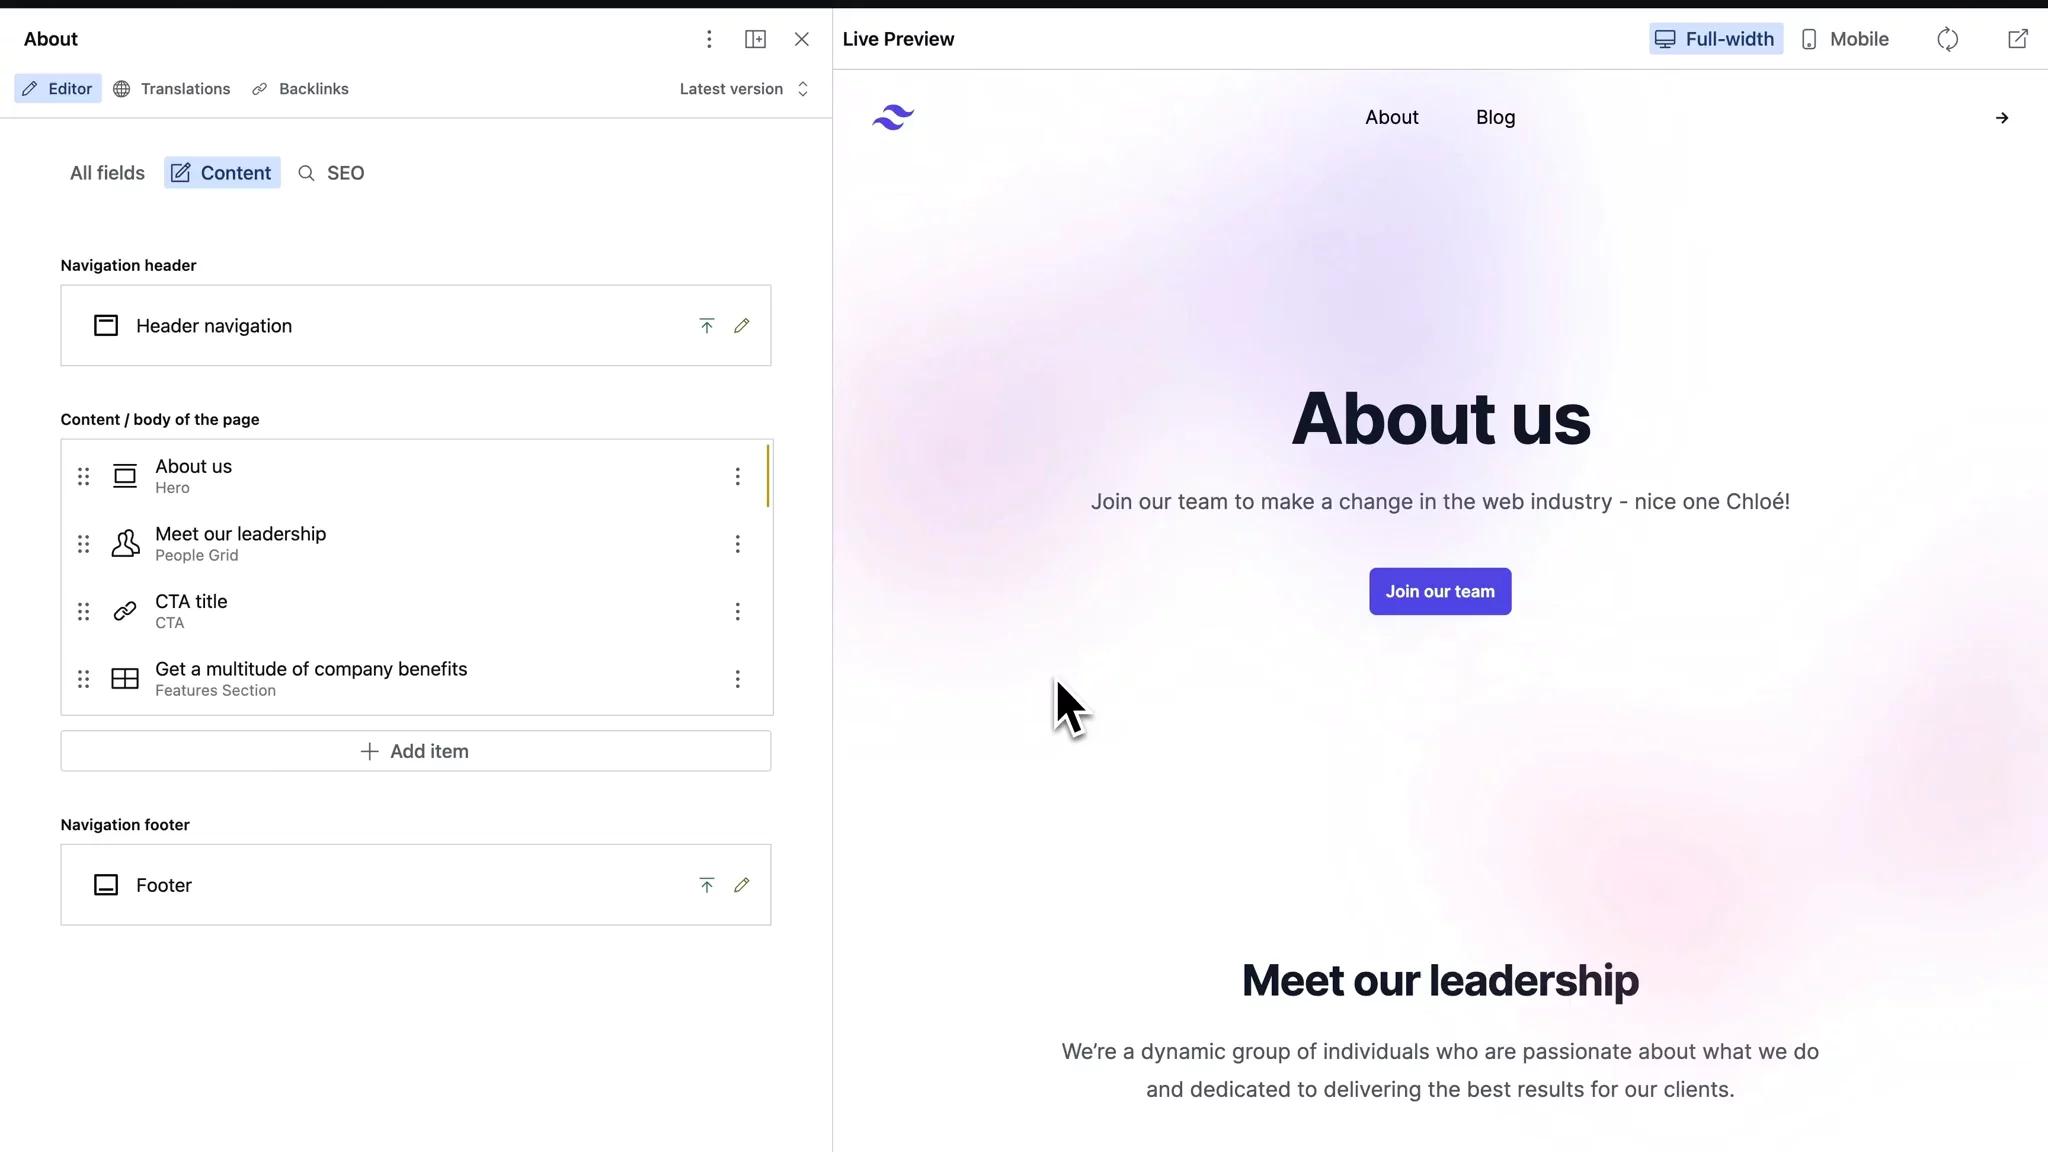
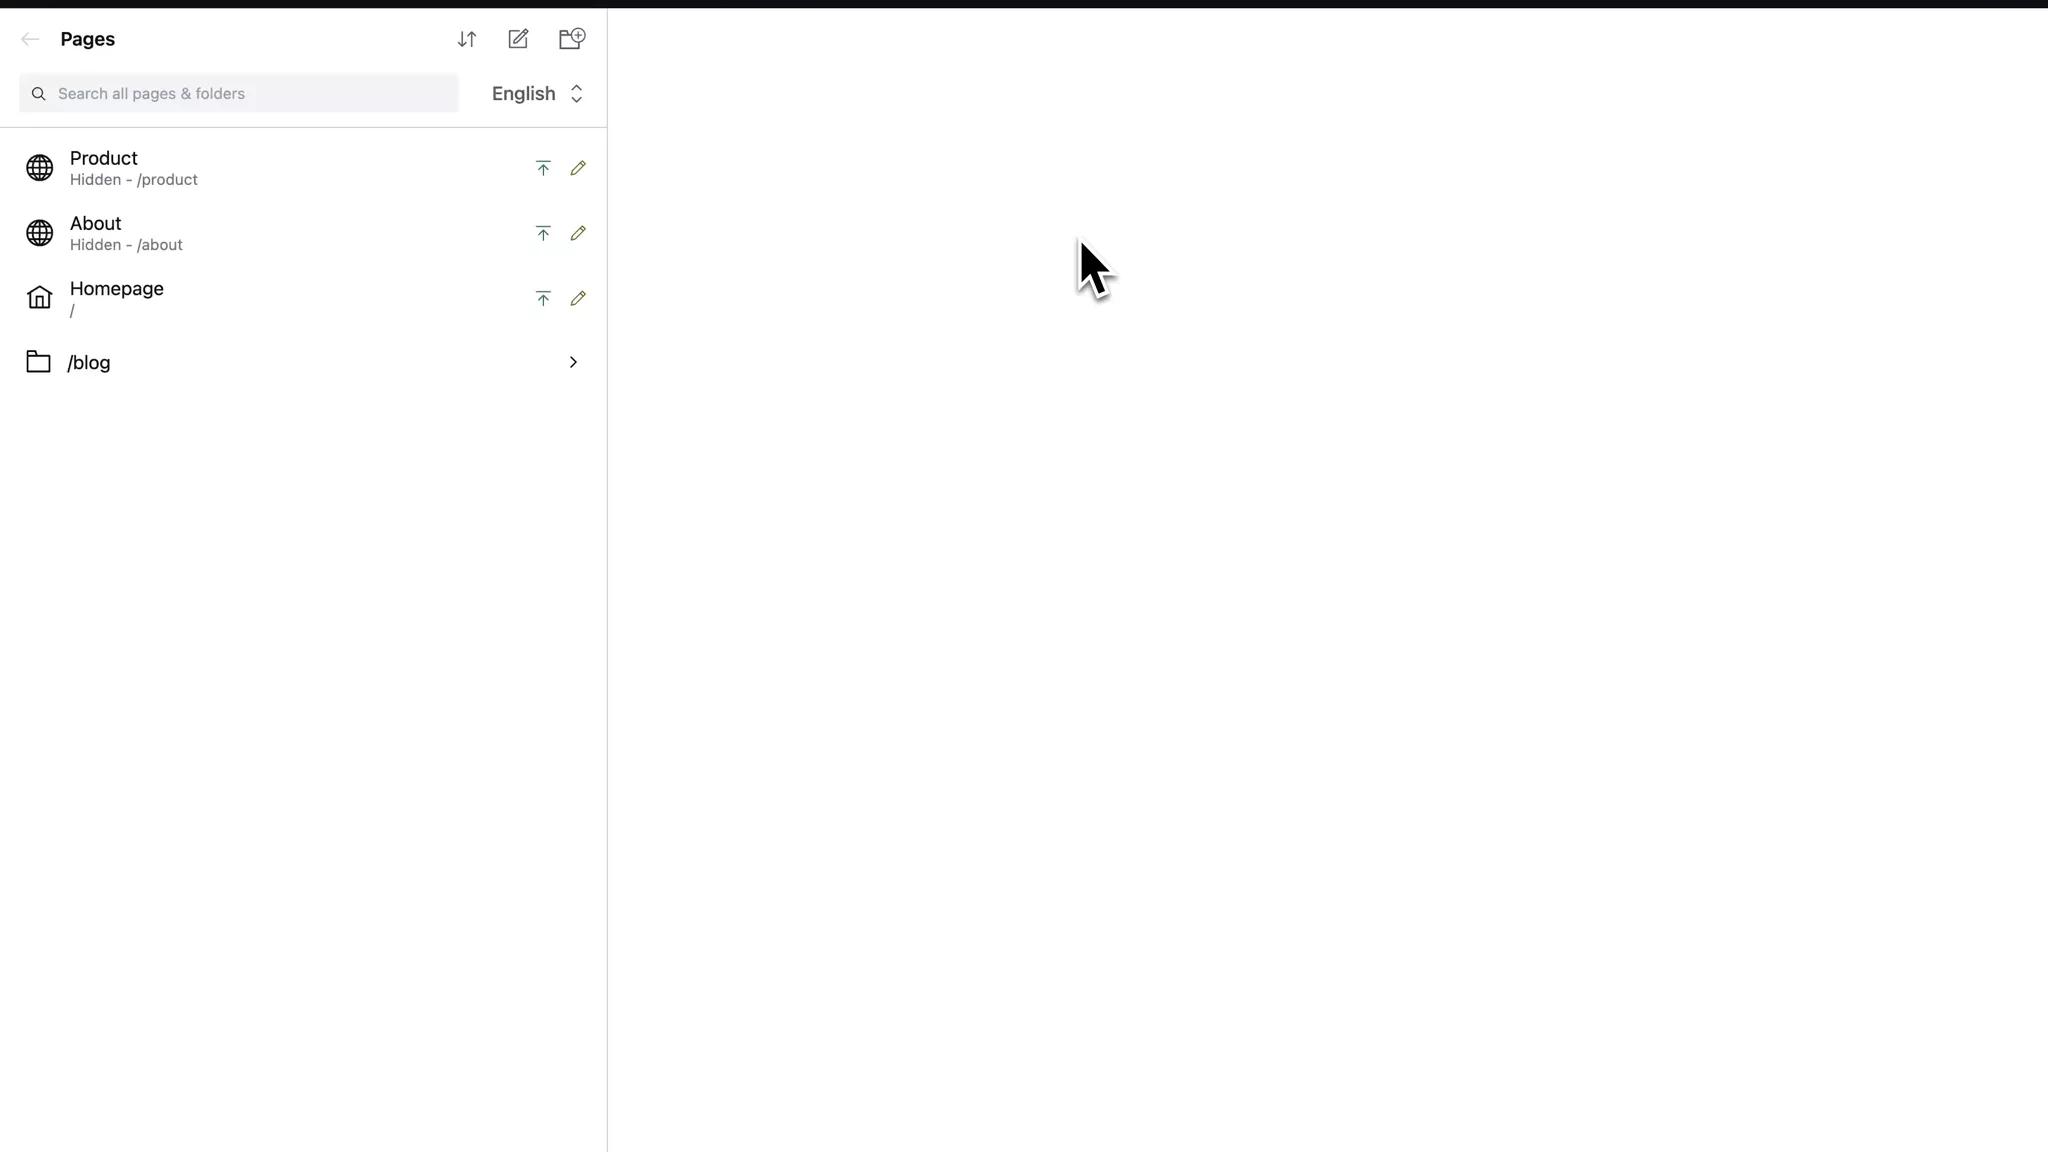
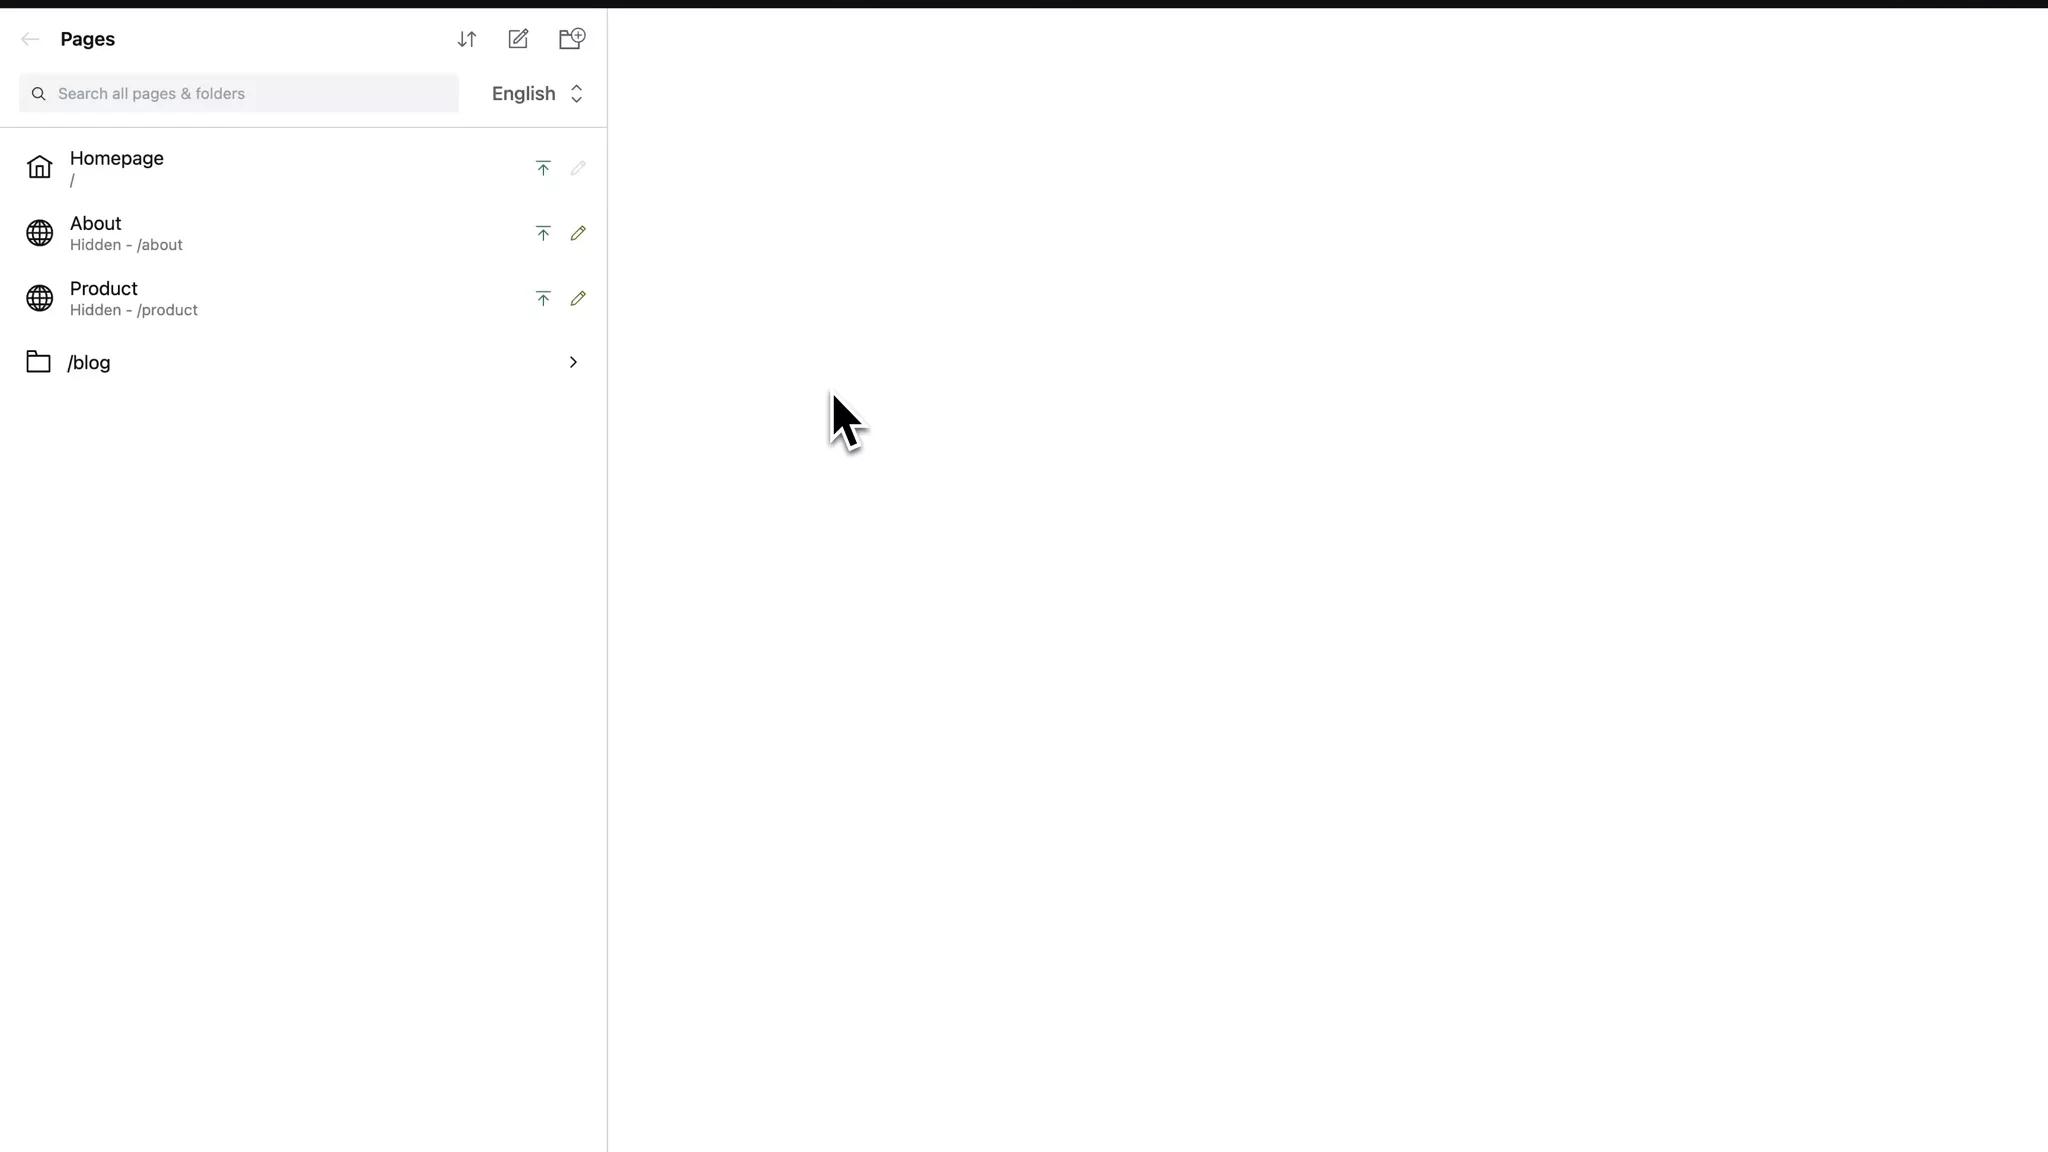
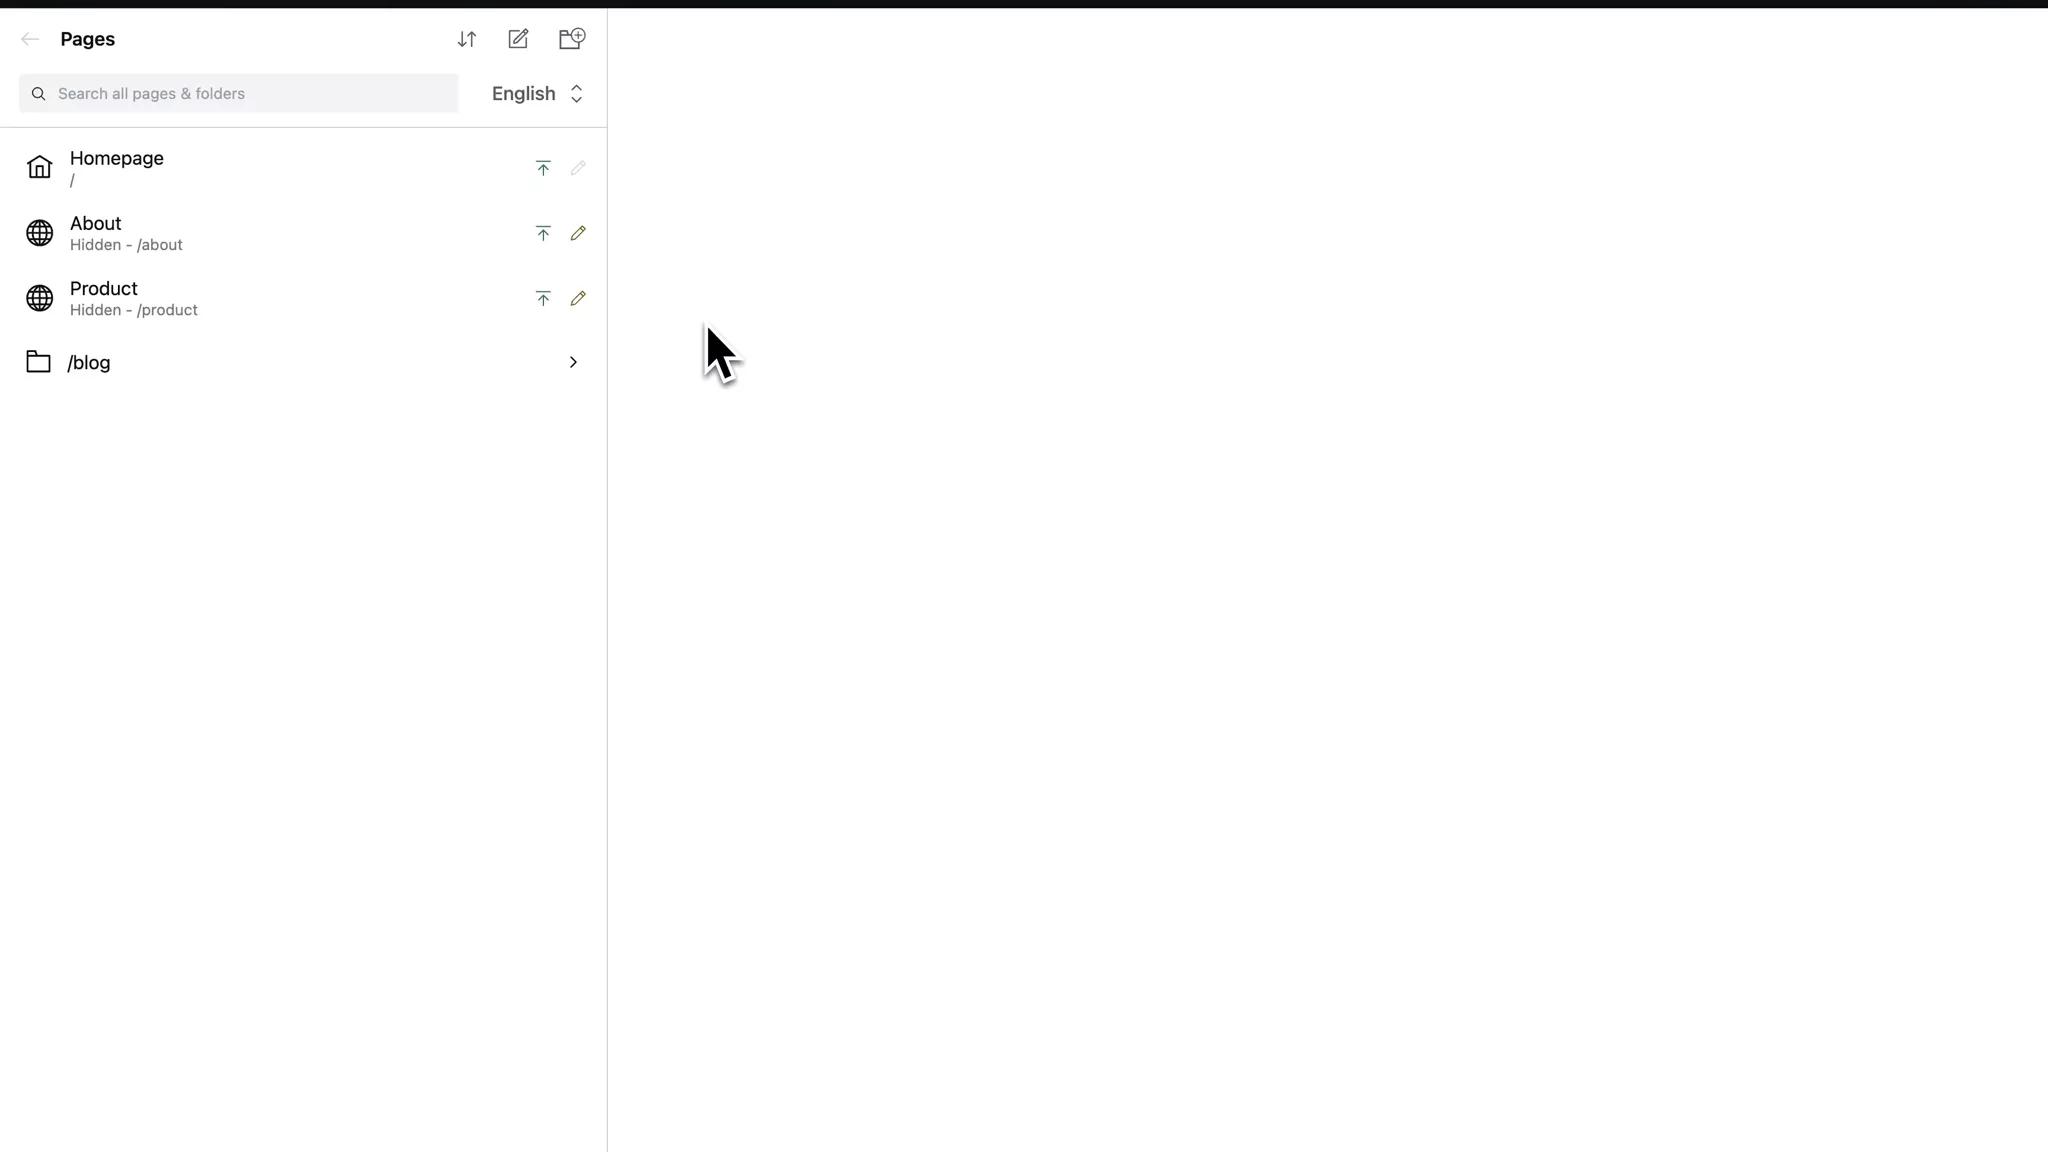
When you launch the CMS, a sitemap navigation panel is available on your left, providing direct access to every page on your website.
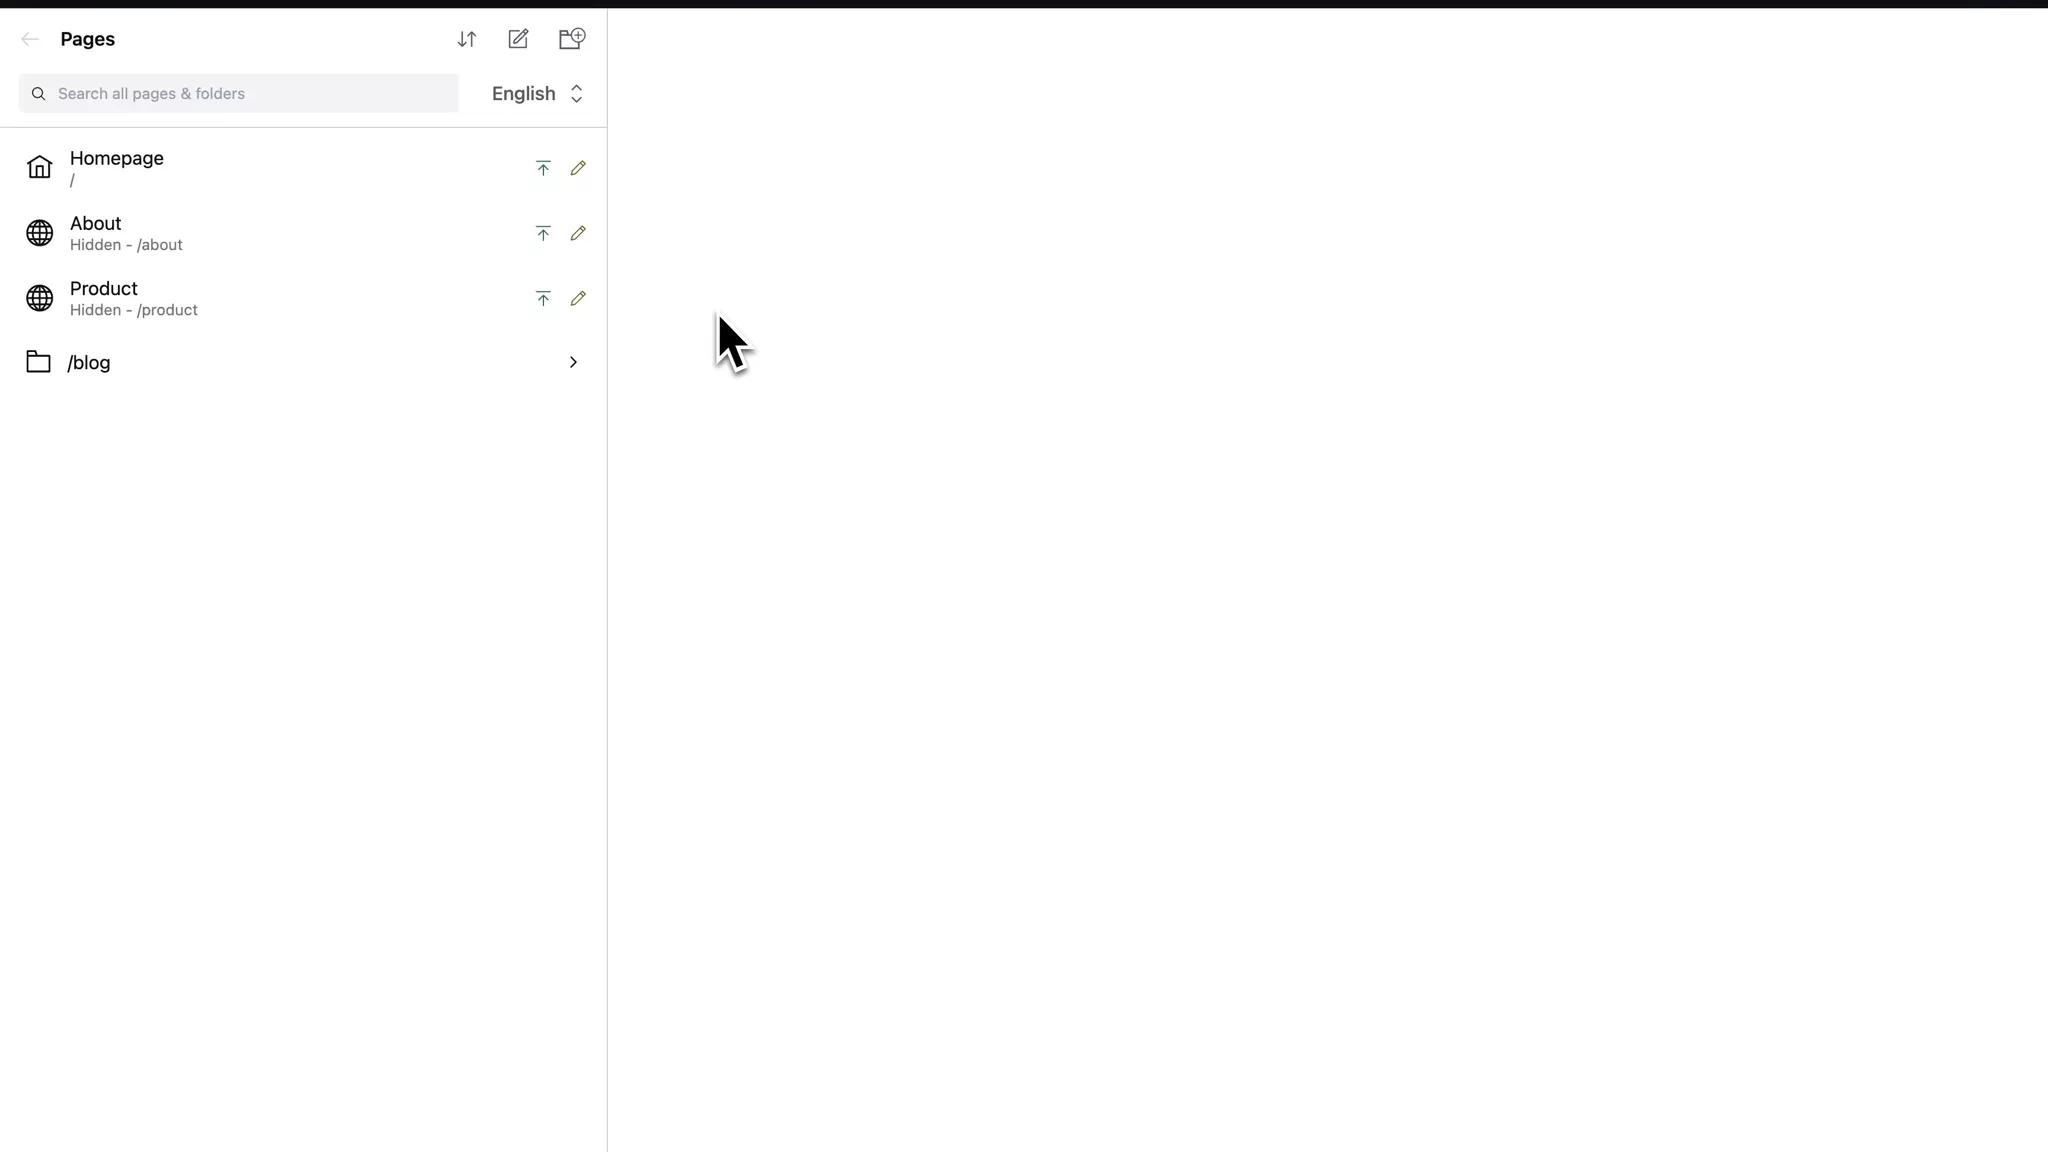
Sorting and search are available so you can easily find any page.
Page view
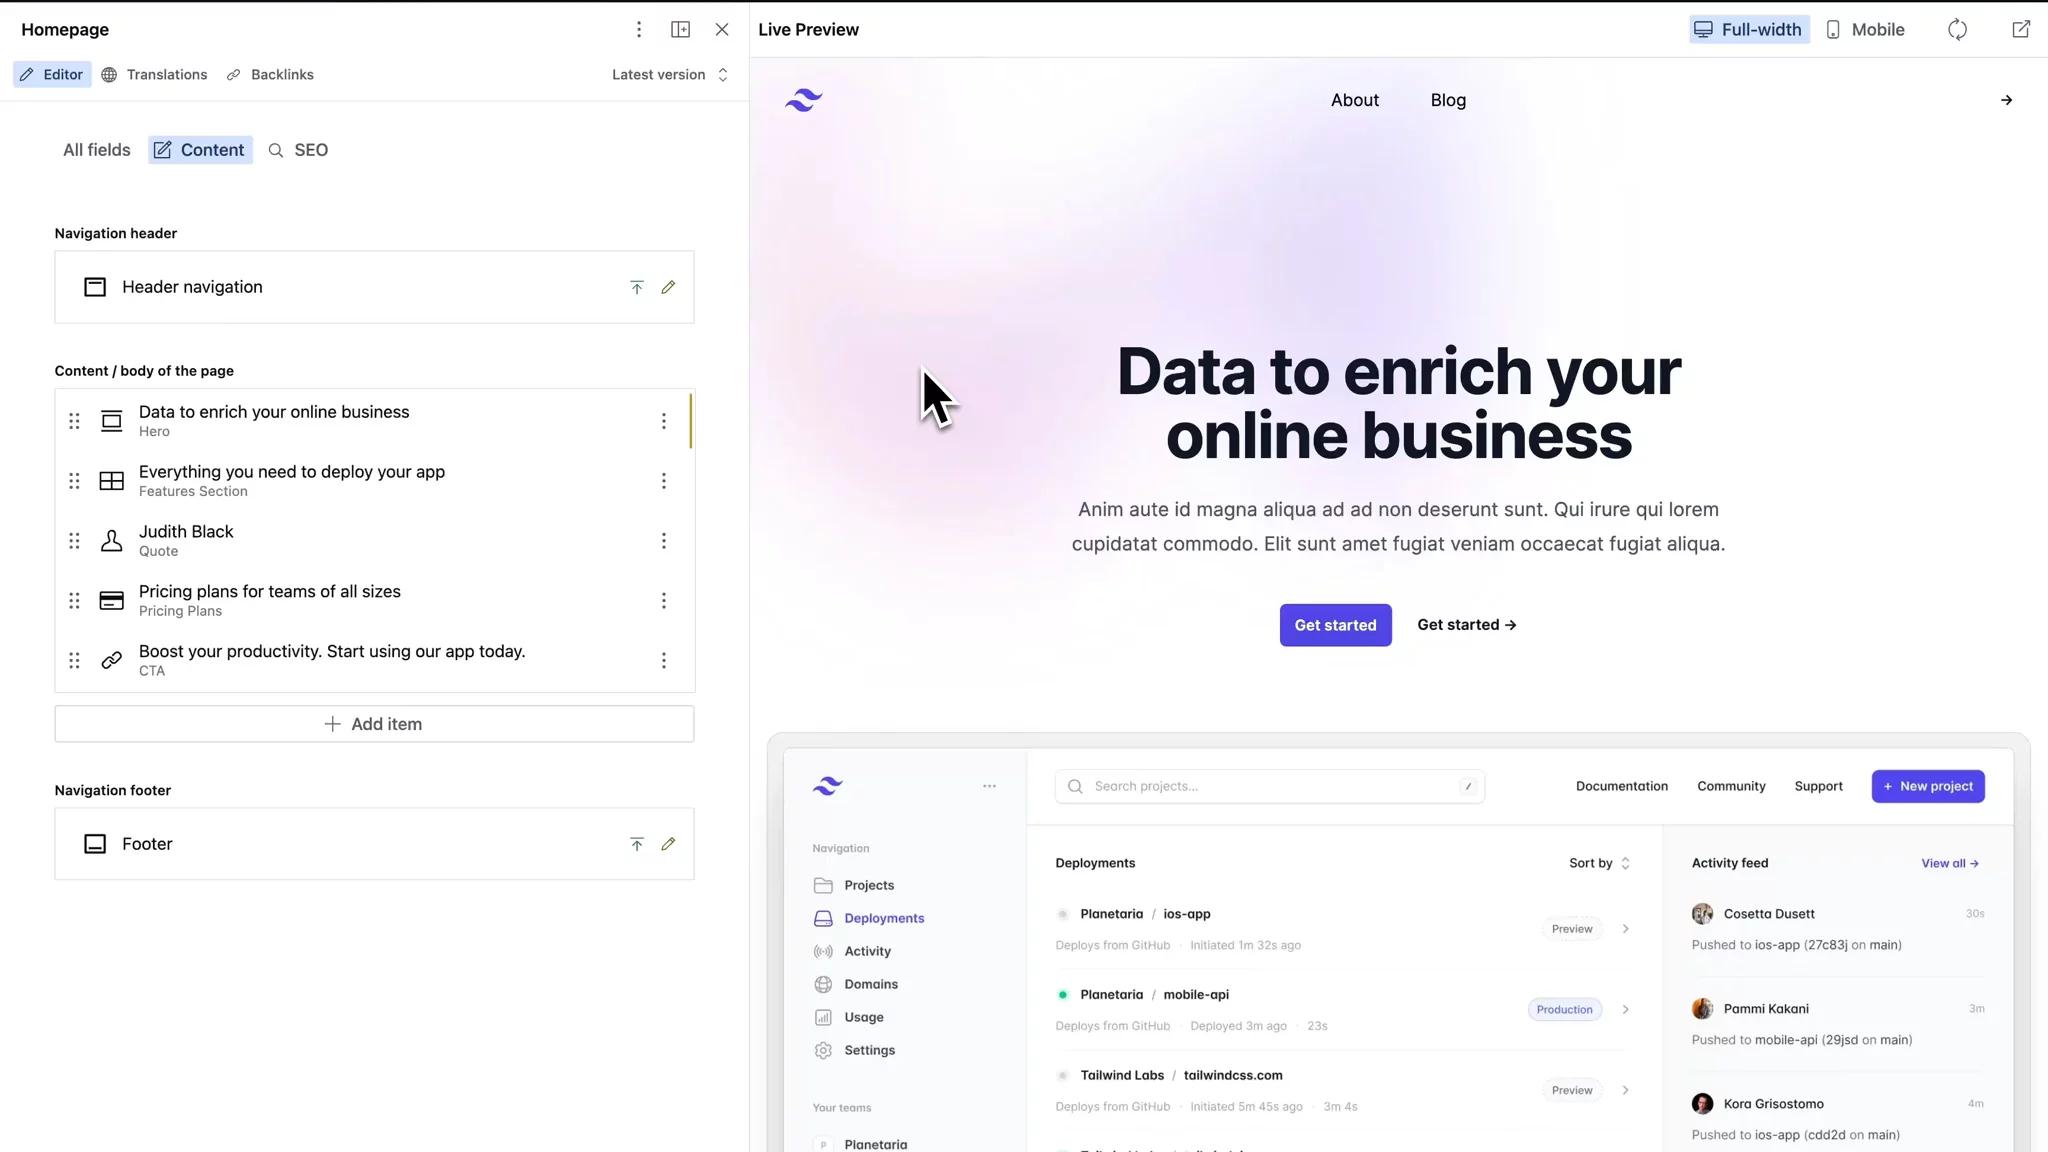
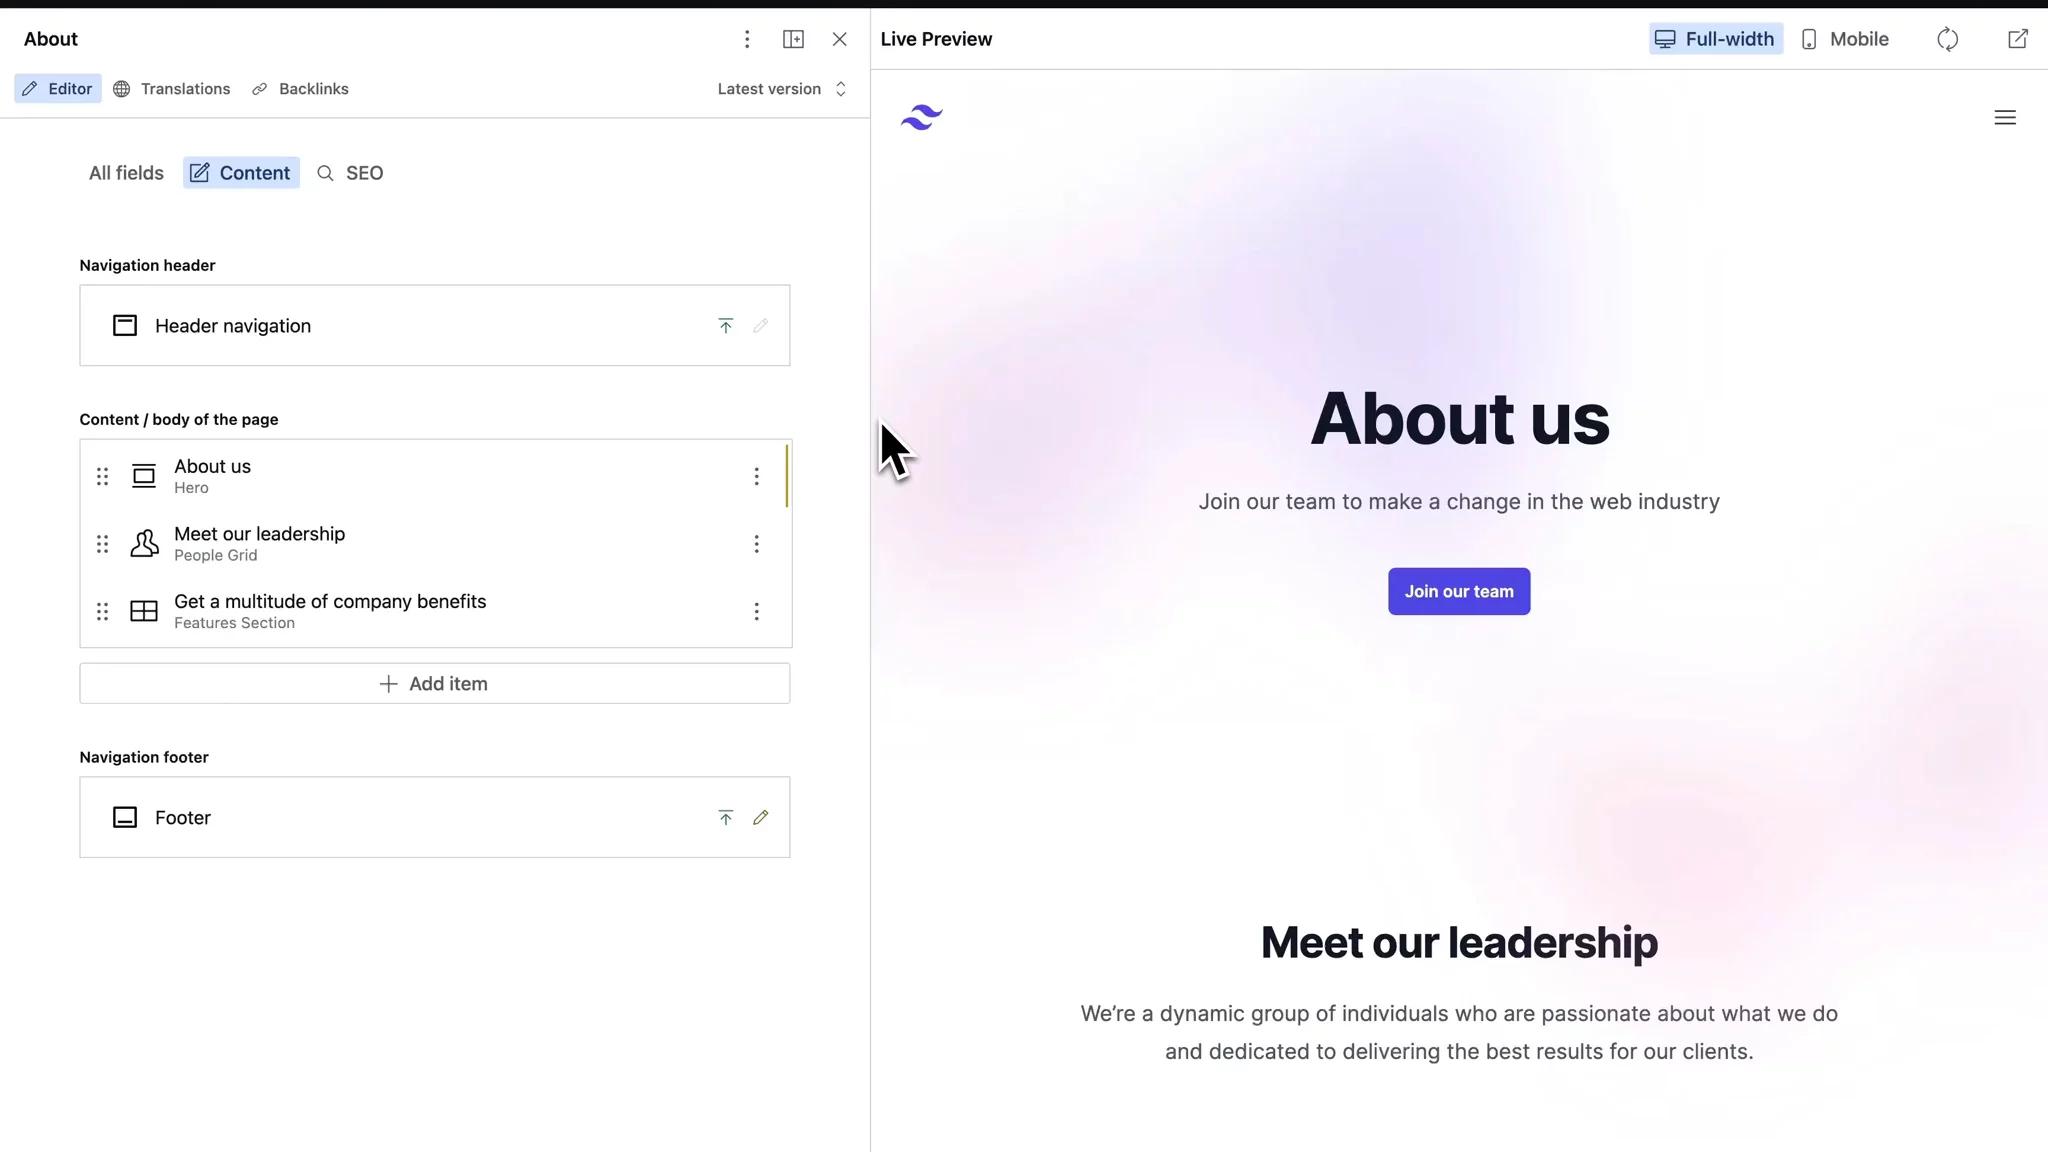
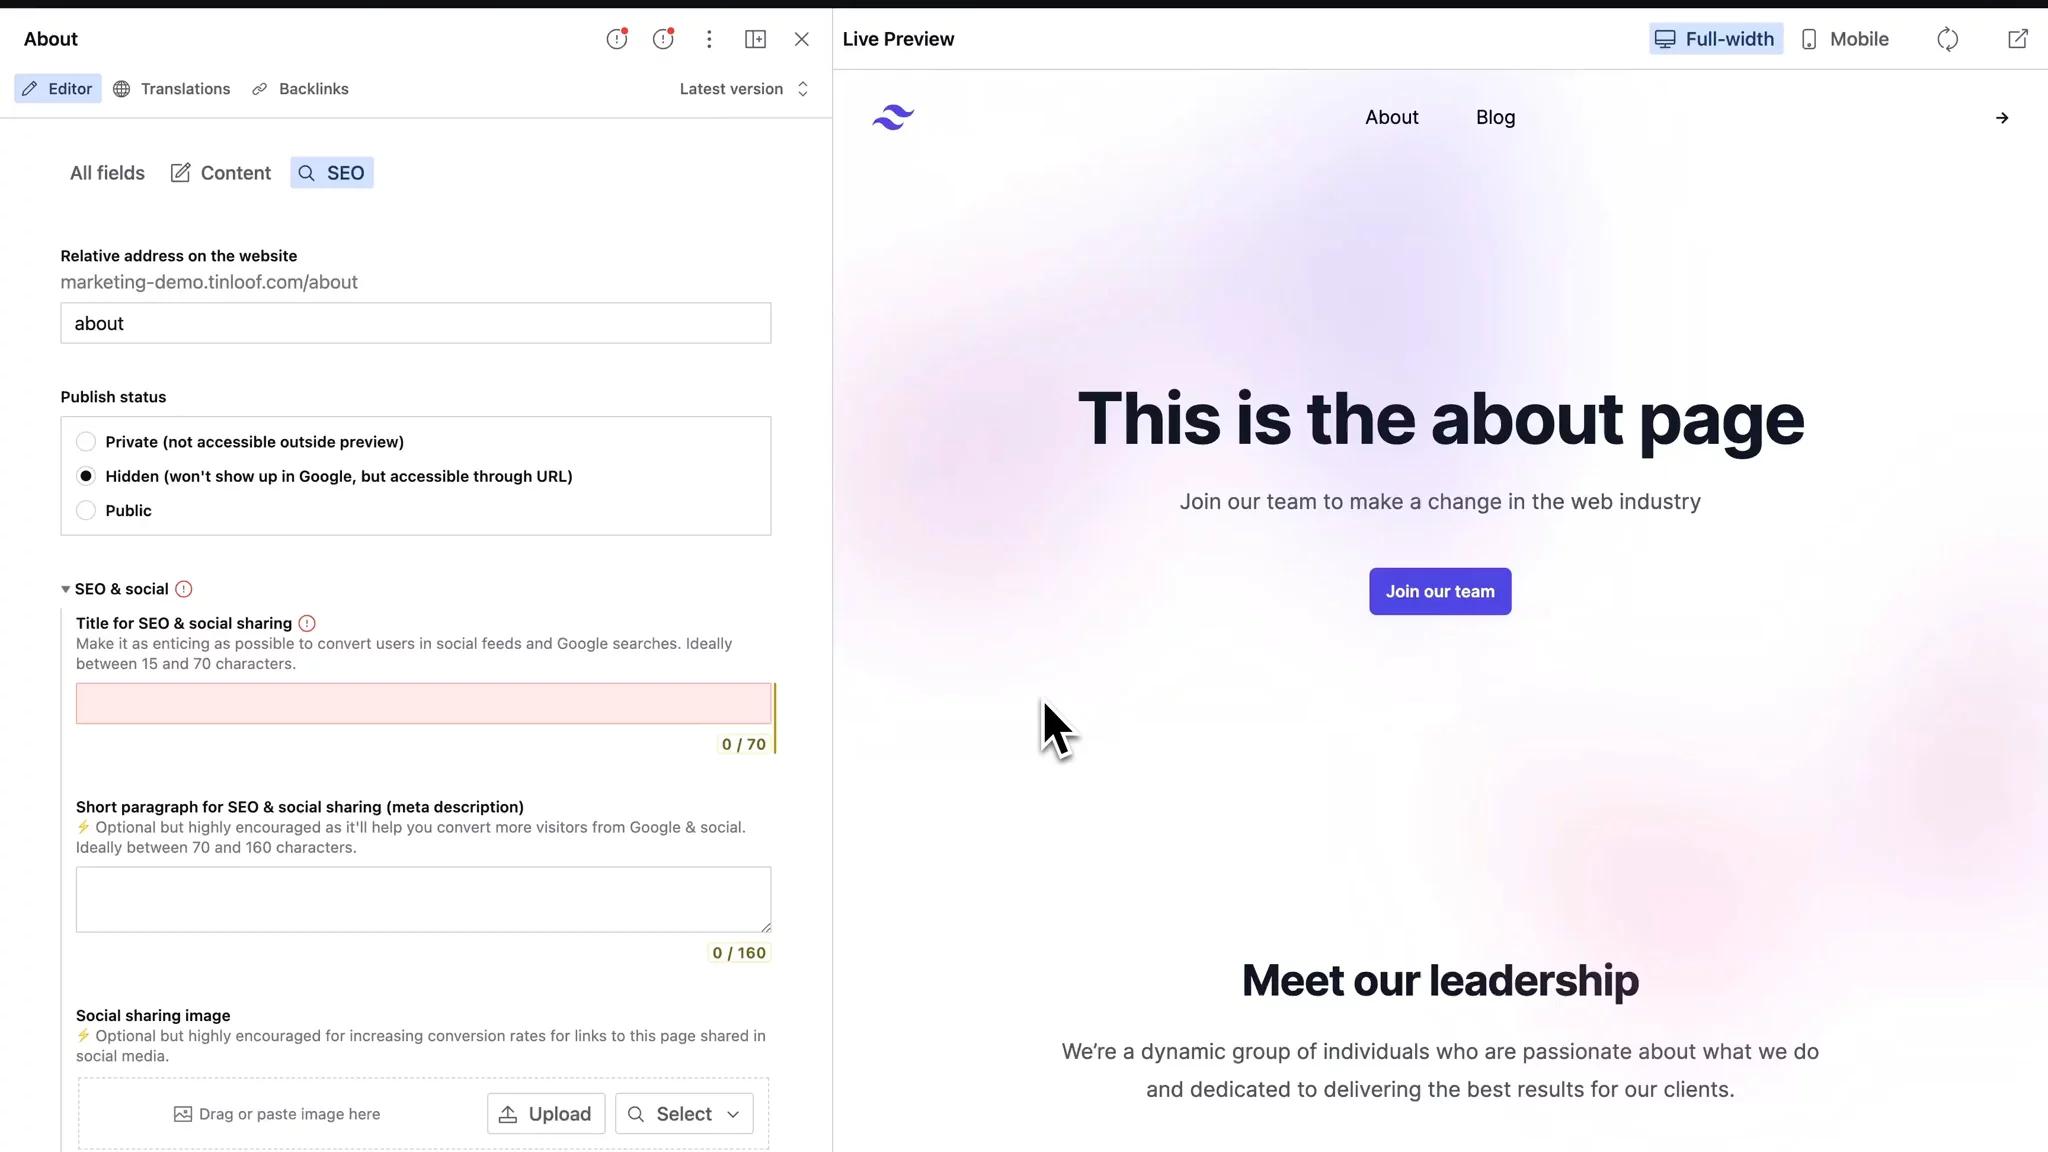
When you enter a page, you will immediately get a screen on the right that shows you how the page looks like and updates while you're editing it.
On the left, you have the content panel
In there, you're able to make changes to the page, adjust the URL, modify SEO elements, and update the social sharing image.
From the action button on the bottom right, you can unpublish, delete, and duplicate a page, or discard draft changes.
You also have access to a version manager, to review recent changes and revert to earlier versions if necessary.
On the right, you can have the live preview screen
You can pick the device responsiveness, refresh the live preview, and open it in a new tab.
You can also resize drag the panel around to resize it and see how your page looks like on different viewports.
You can use the actions menu on the top right of the navigation panel of any folder, including the root one, to create a new page in the folder.
When creating a page, you have access to multiple page models (e.g. blog post, modular page).
When you create a page, it will be in "Draft" mode so it's not visible to your users.
The "Publish" green button is available to you as soon as your page has enough content and has no errors. Once you press it, your page is immediately published and available to users.
While some content elements remain exclusive to specific pages, others like the header, footer, or author information for blog articles are reusable across the website.
Most popular page models
Page models are created when modelling the content of your website.
Let's go through the most popular ones.
Modular pages
Most of your website pages probably use this page model
These pages are built with a series of blocks stacked sequentially (e.g. Hero, Video, CTA).
These blocks are custom-designed according to your brand guidelines and can be used on any page and filled with unique content.
When you choose to Add item, a Blocks Picker is presented, allowing you to search for a block, preview different variants, and then add them to the page.
You can easily adjust the order of blocks, even inserting a block before or after a specific existing block.
Pages with rich text
Pages like blog articles or legal pages have a Medium-looking rich text field.
The content is mostly textual (headings, text in bold/italic) but you can also embed images, videos, or any other type of content that is fitted to such pages.
For example, you can write a blog article and embed a CTA block or Youtube video at any point of the article.
Collection pages
These pages are typically dynamically generated, with limited content that requires editing.
For example, a blog page retrieves all blog articles and displays them. The page header might be edited by content managers, but the remainder is usually a grid displaying the latest blog articles.
Dynamic generation benefits these pages by automating features such as pagination, filtering, and tagging.
You can edit the URLs of most of your pages:

And place them in a subfolder:

URL field while editing
After completing typing the URL, the folder gets "locked", and can be "unlocked" by clicking on the pencil icon:

You can change the subfolder at any time, and even have nested subfolders:

In certain instances, you cannot change the URL of some of the pages, like the Homepage, some fixed pages, and if you are connected to Shopify, product and collection pages.
Where to find all your images
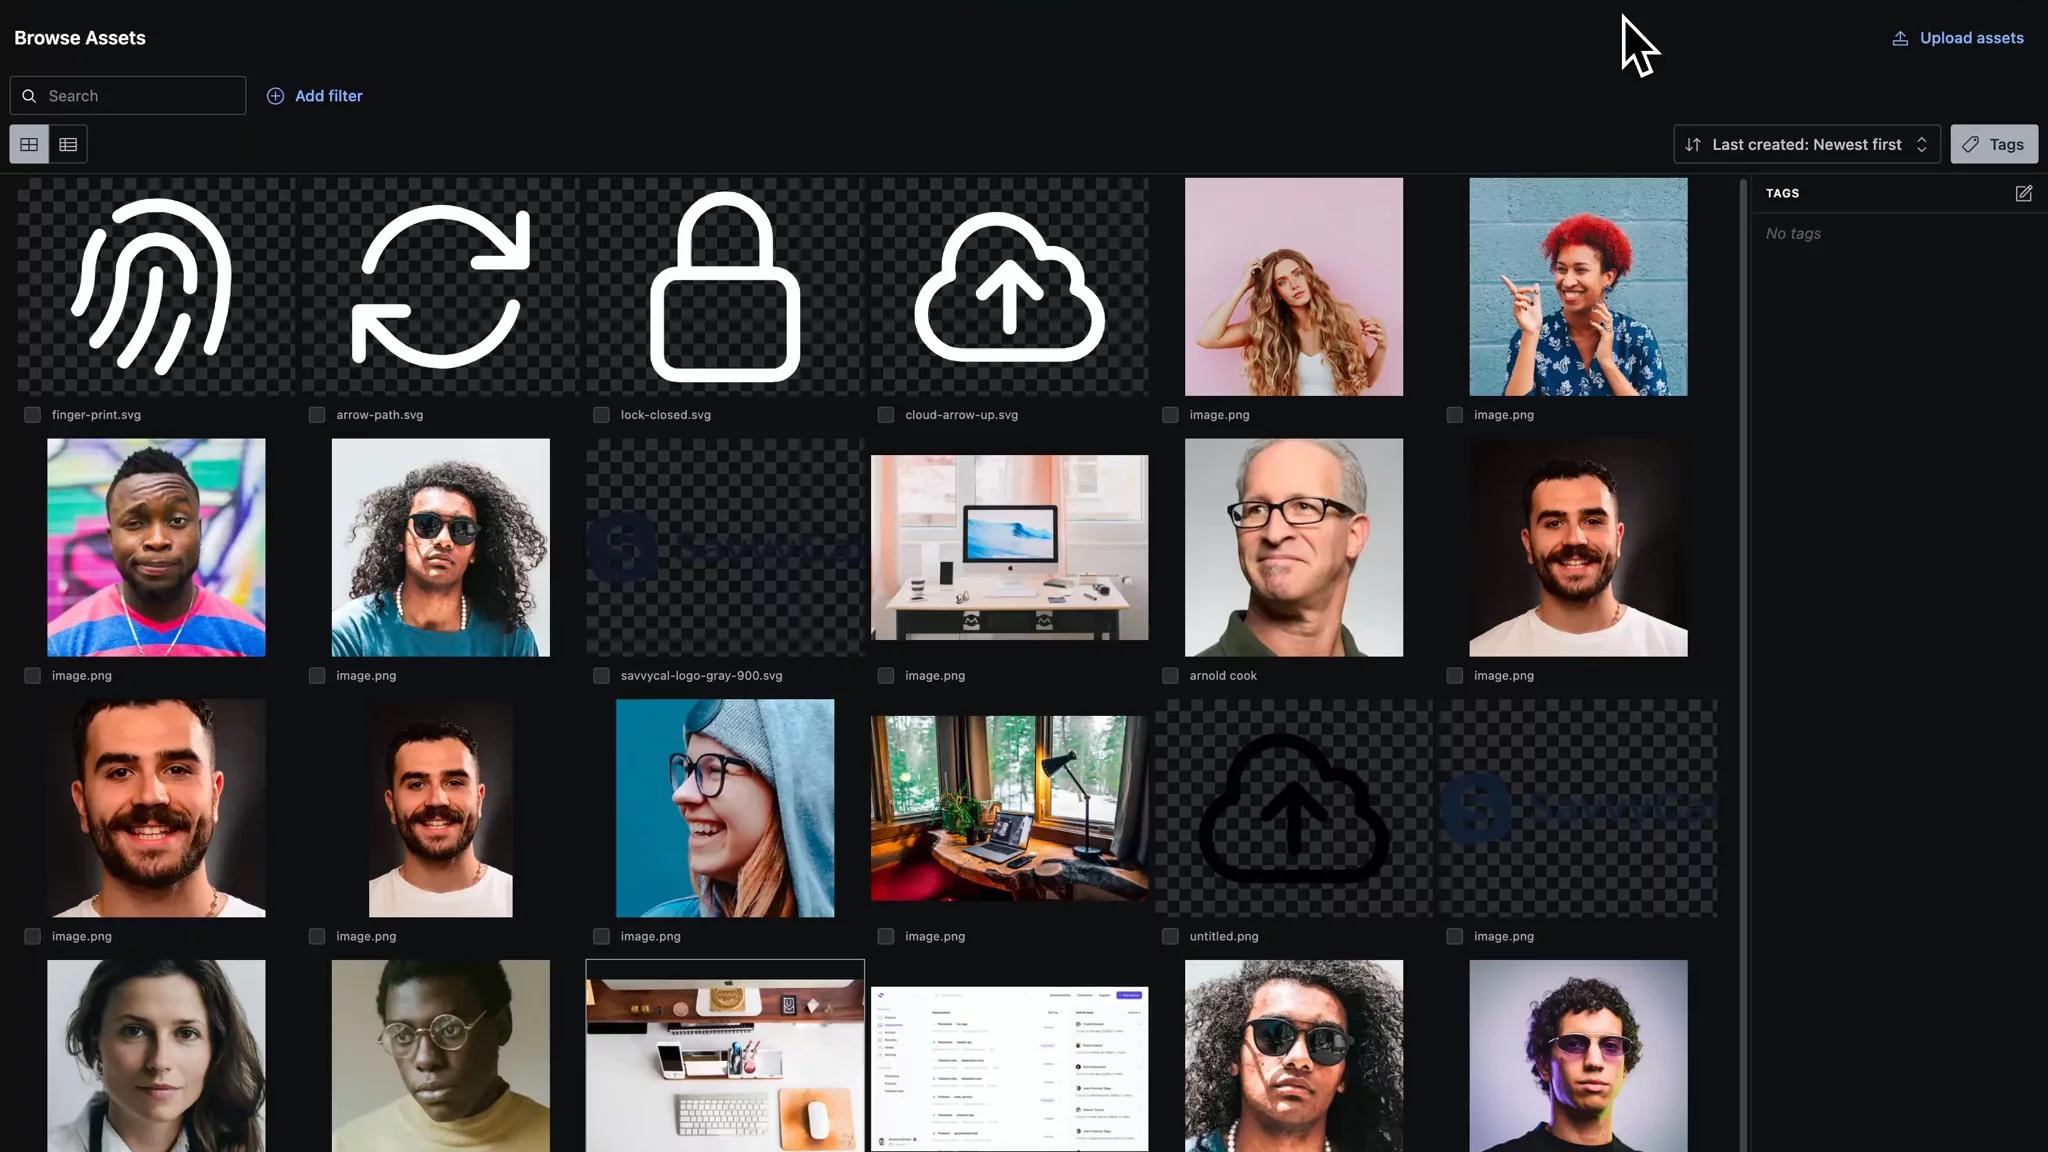
Images can be found under the “Media” tab of the CMS.
There, you look for your images through a free text search or various filters such as the title, alt text, file type, size, and many more.
Organising images through tags
The number of images will naturally grow with your website content so it’s a good practice to create tags to organise your images through tags.
Uploading images
You can upload images from the field where there are directly used.
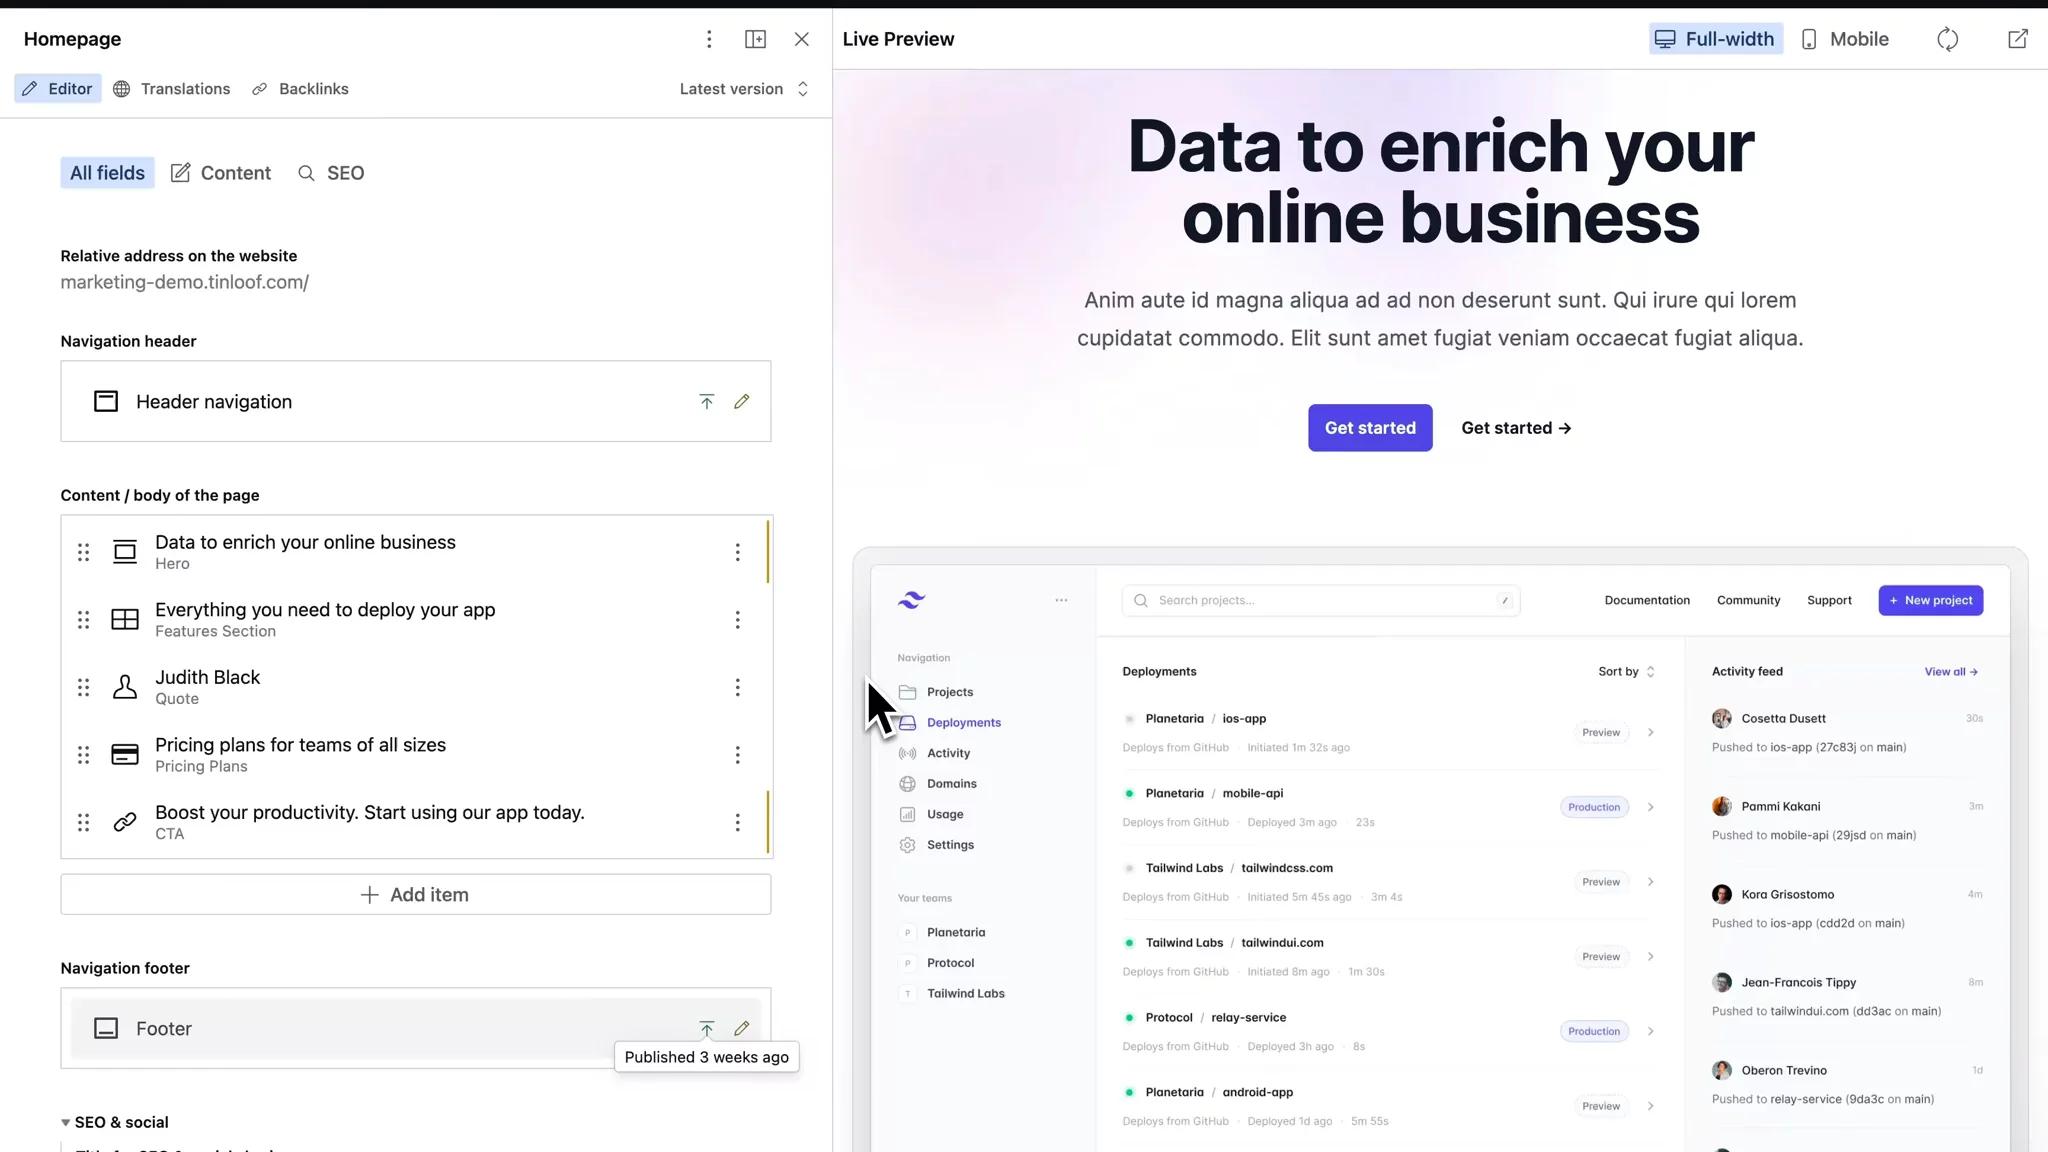
Here’s an example of uploading an image in the hero of the homepage:
You can also upload images from the Media tab. This is especially helpful if you’d like to upload images in bulks:
Cropping images
It is useful though to crop images if they don’t have the right aspect ratio or if you want to only have a specific part of the image visible to users.
You can crop an image by pressing the Crop icon on the top right corner of the image field.
You’ll then select an area of the image you always want visible and the frontend will automatically take that into consideration when displaying the image:
Best practices when uploading images
Upload the highest resolution possible.
This will make sure the image is crisp regardless of the user’s device.
You don’t have to worry about the size served to your websites’ users, as this is automatically adjusted by the frontend code.
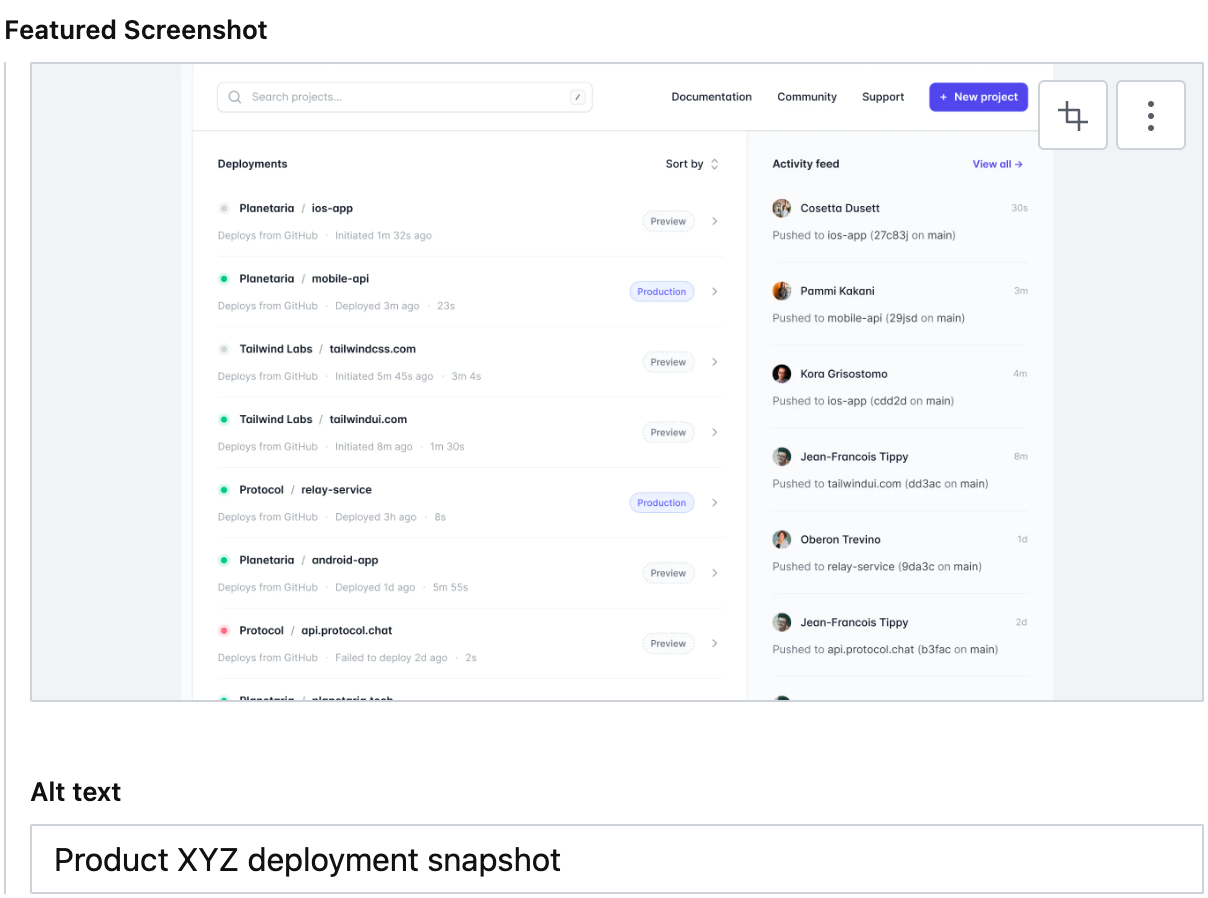
Provide an alt text to images when uploading them
To ensure the accessibility of images and their ranking on search engines, make sure to add an adequate Alt Text when uploading them.
To streamline video upload and delivery, we rely on a video-streaming Sanity partner called Mux.
Managing videos with MUX
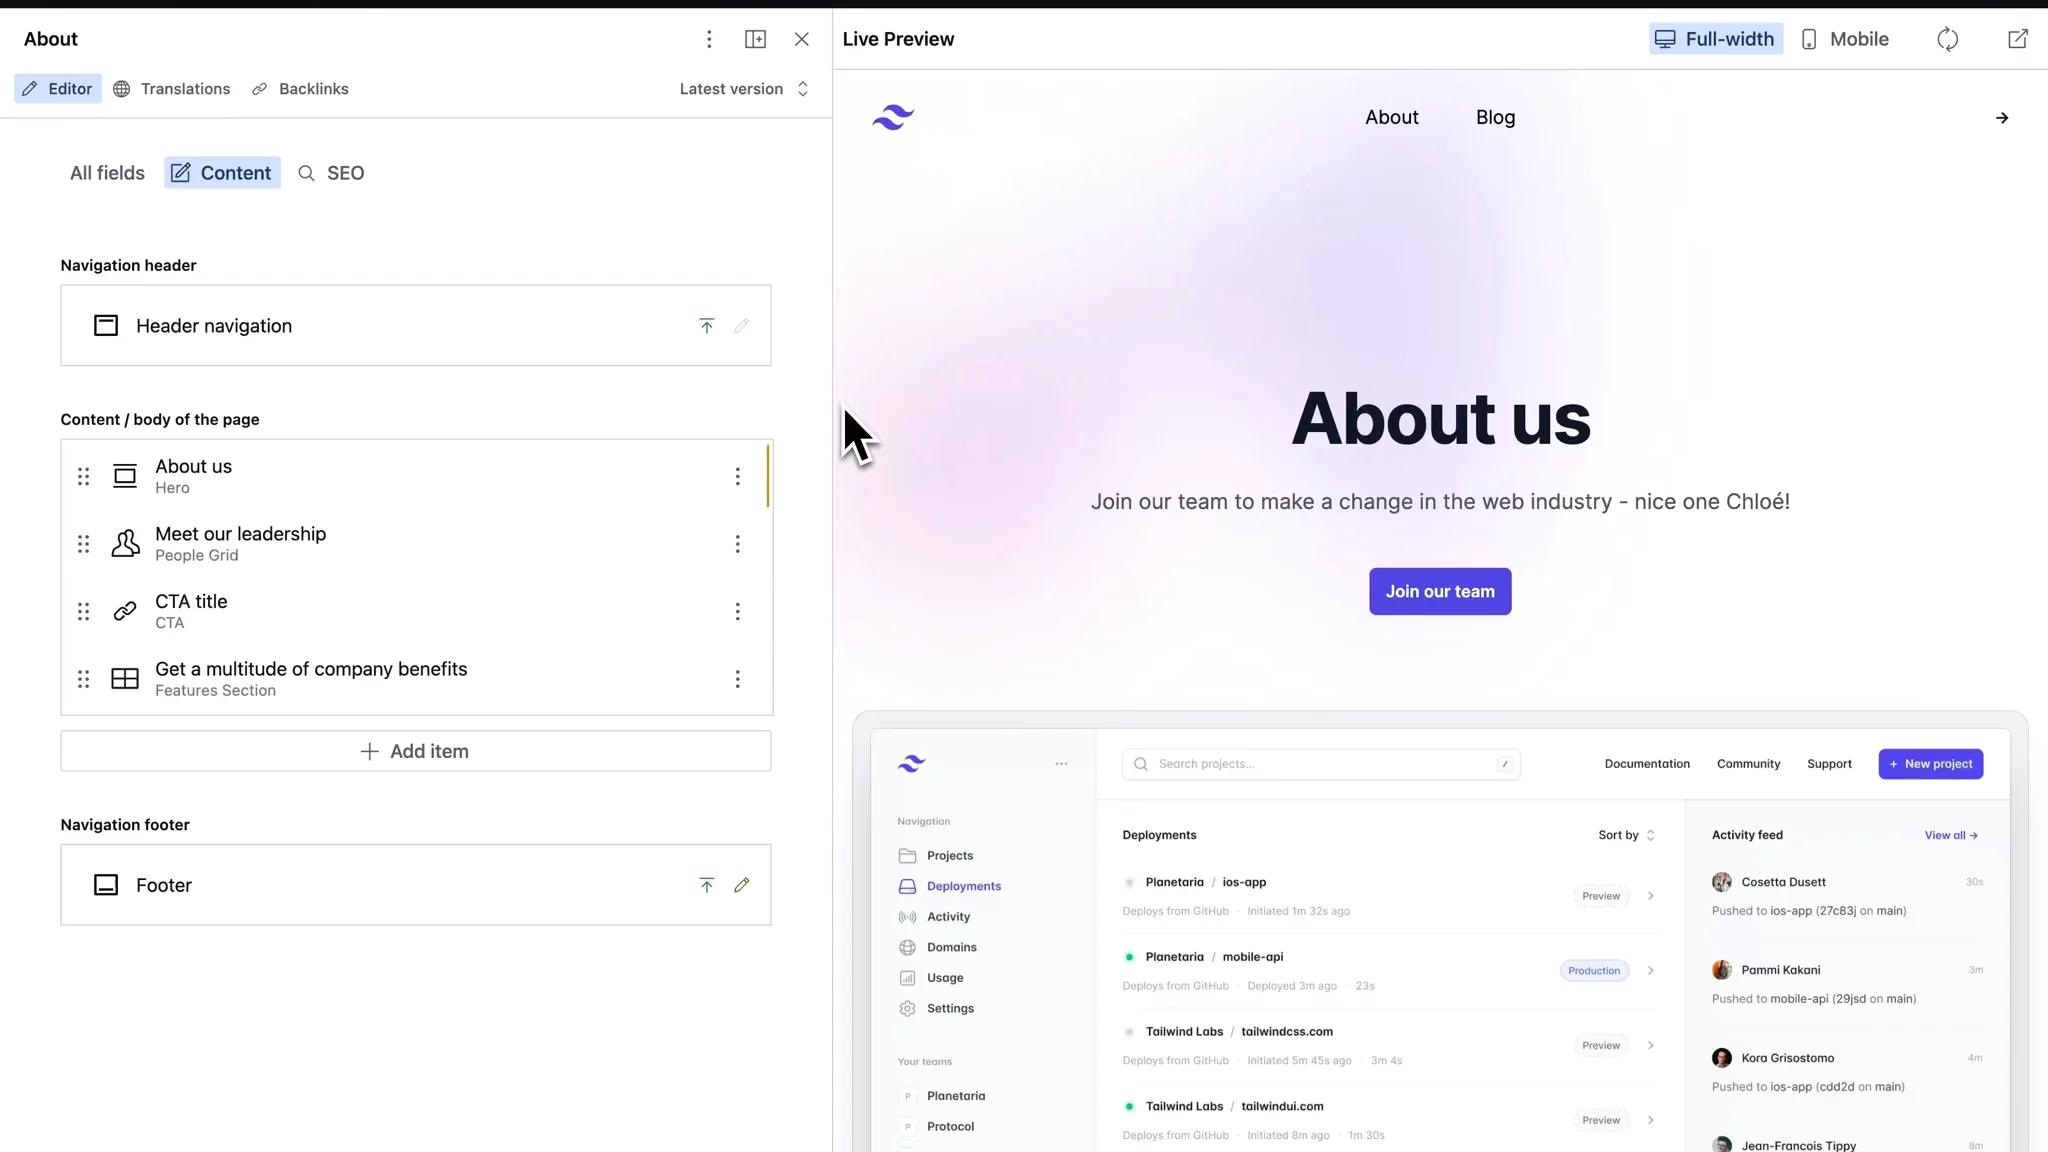
When integrated into Sanity, MUX provides a minimalist video input where you can upload videos directly in the content where they are used.
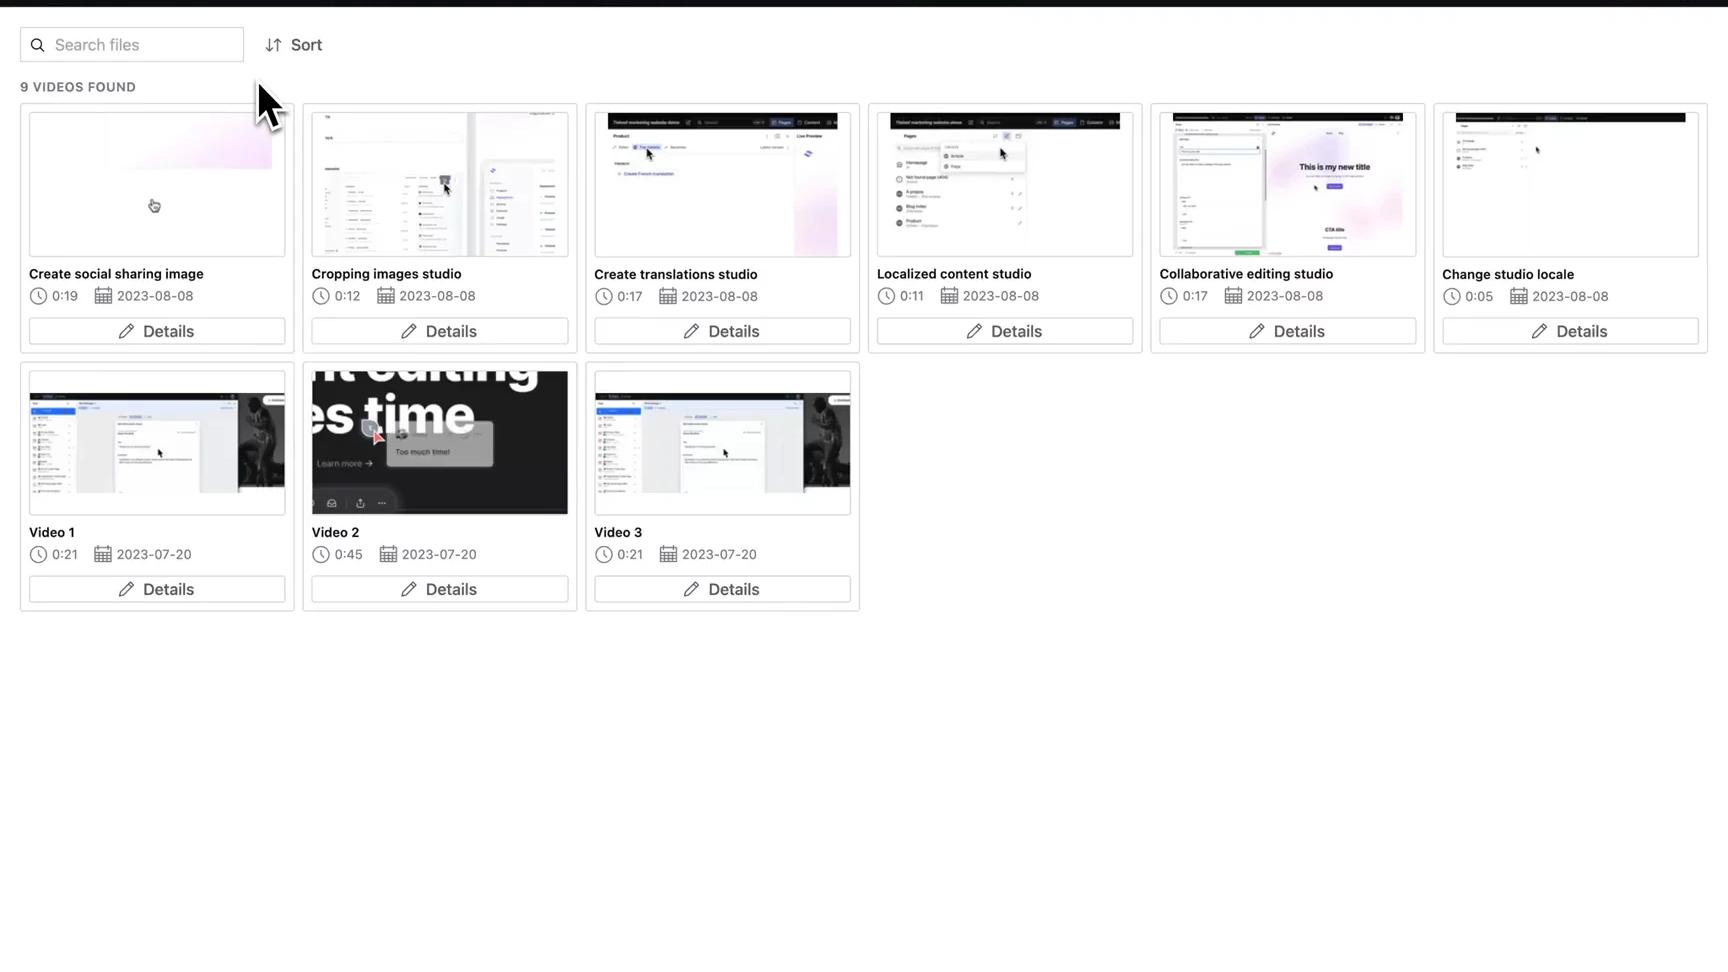
You can also browse already uploaded videos and select one of them:
Poster images
MUX makes it possible to generate poster images that show while the video is loading.
The great part is that it’s done automatically from the frontend code by selecting the first frame of the video.
Video delivery
MUX makes it possible to deliver videos in the smartest and fastest way possible.
The frontend code uses their APIs to deliver videos in the optimised sizes and formats based on the user’s browser.
You have the capability to create links to both external and internal webpages, with the option to open these links in a new window.
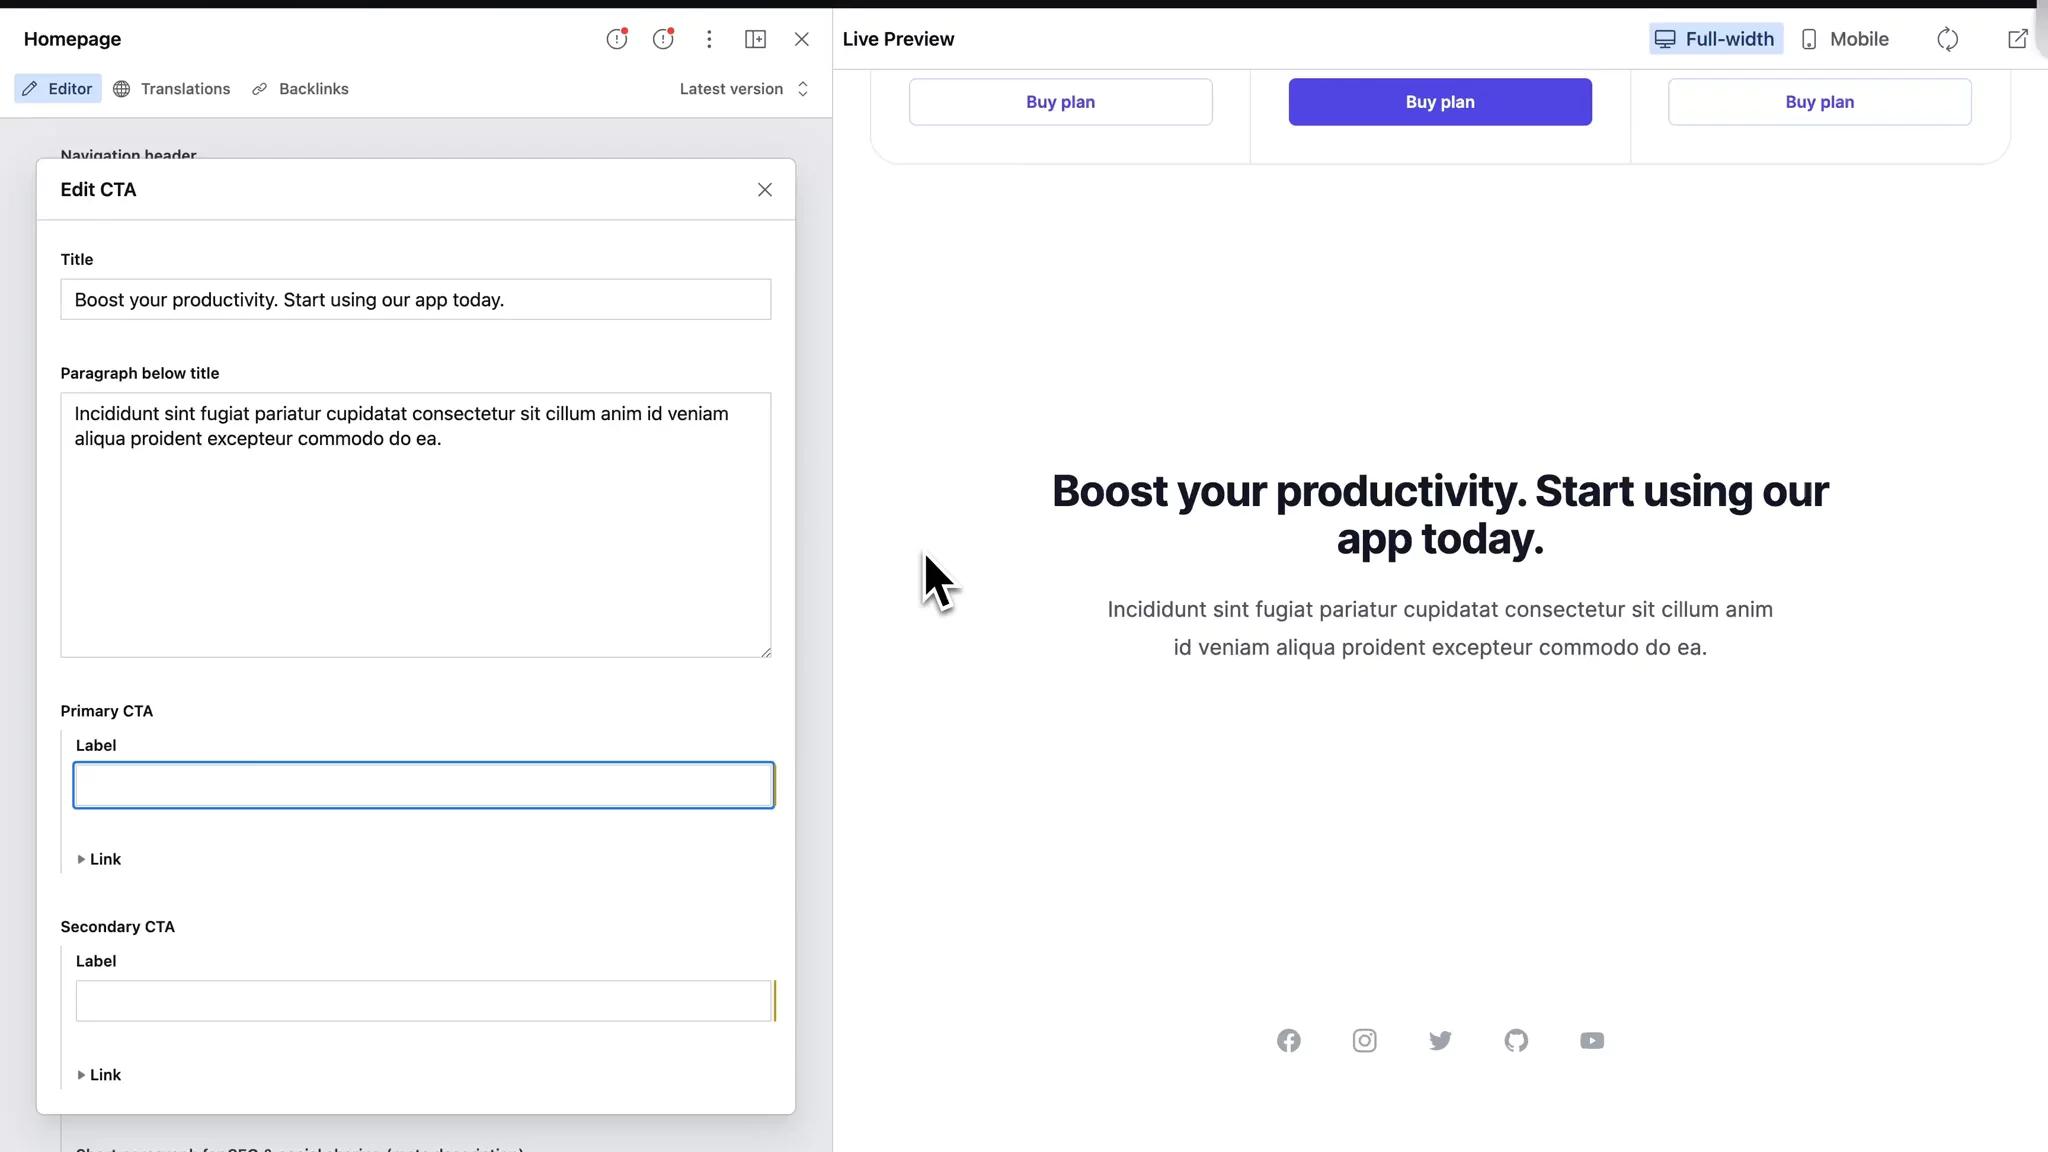
To link to an external page, simply input the full URL, such as https://www.website.com, into the designated text field.
When linking to an internal page, use the search box to find the page directly or use the dropdown menu to navigate through all the pages currently on the site.
Choosing an internal page from the dropdown or search results, rather than manually entering its URL, safeguards against broken links. If the URL of the linked page changes in the future, this method ensures the link will still direct to the intended page, avoiding any 404 errors.
You also have the flexibility to link to specific sections of a page and to add UTM parameters for tracking purposes. This makes it easy to guide your users to the exact information they need while also keeping track of traffic sources and campaigns.
If you are on a Sanity paid plan, you have the Scheduled Publishing plugin installed to schedule content for future publications and organize upcoming releases - here's how to use it:
1 — Go on any page
2 — Click on the dropdown next to "Publish"
3 — Select date and time
4 — Click on Schedule
5 — You can manage all the scheduled content in the top navigation under Schedules
We'll see how to manage your website content across languages and countries.
A key term here is 'locale', which refers to the language and/or country of your audience. For instance, 'en' is for English speakers, while 'en-us' is for English speakers specifically in the U.S.
We'll explore how to navigate, create, and manage localized content, making your website globally accessible.
Navigation
Navigating between website translations
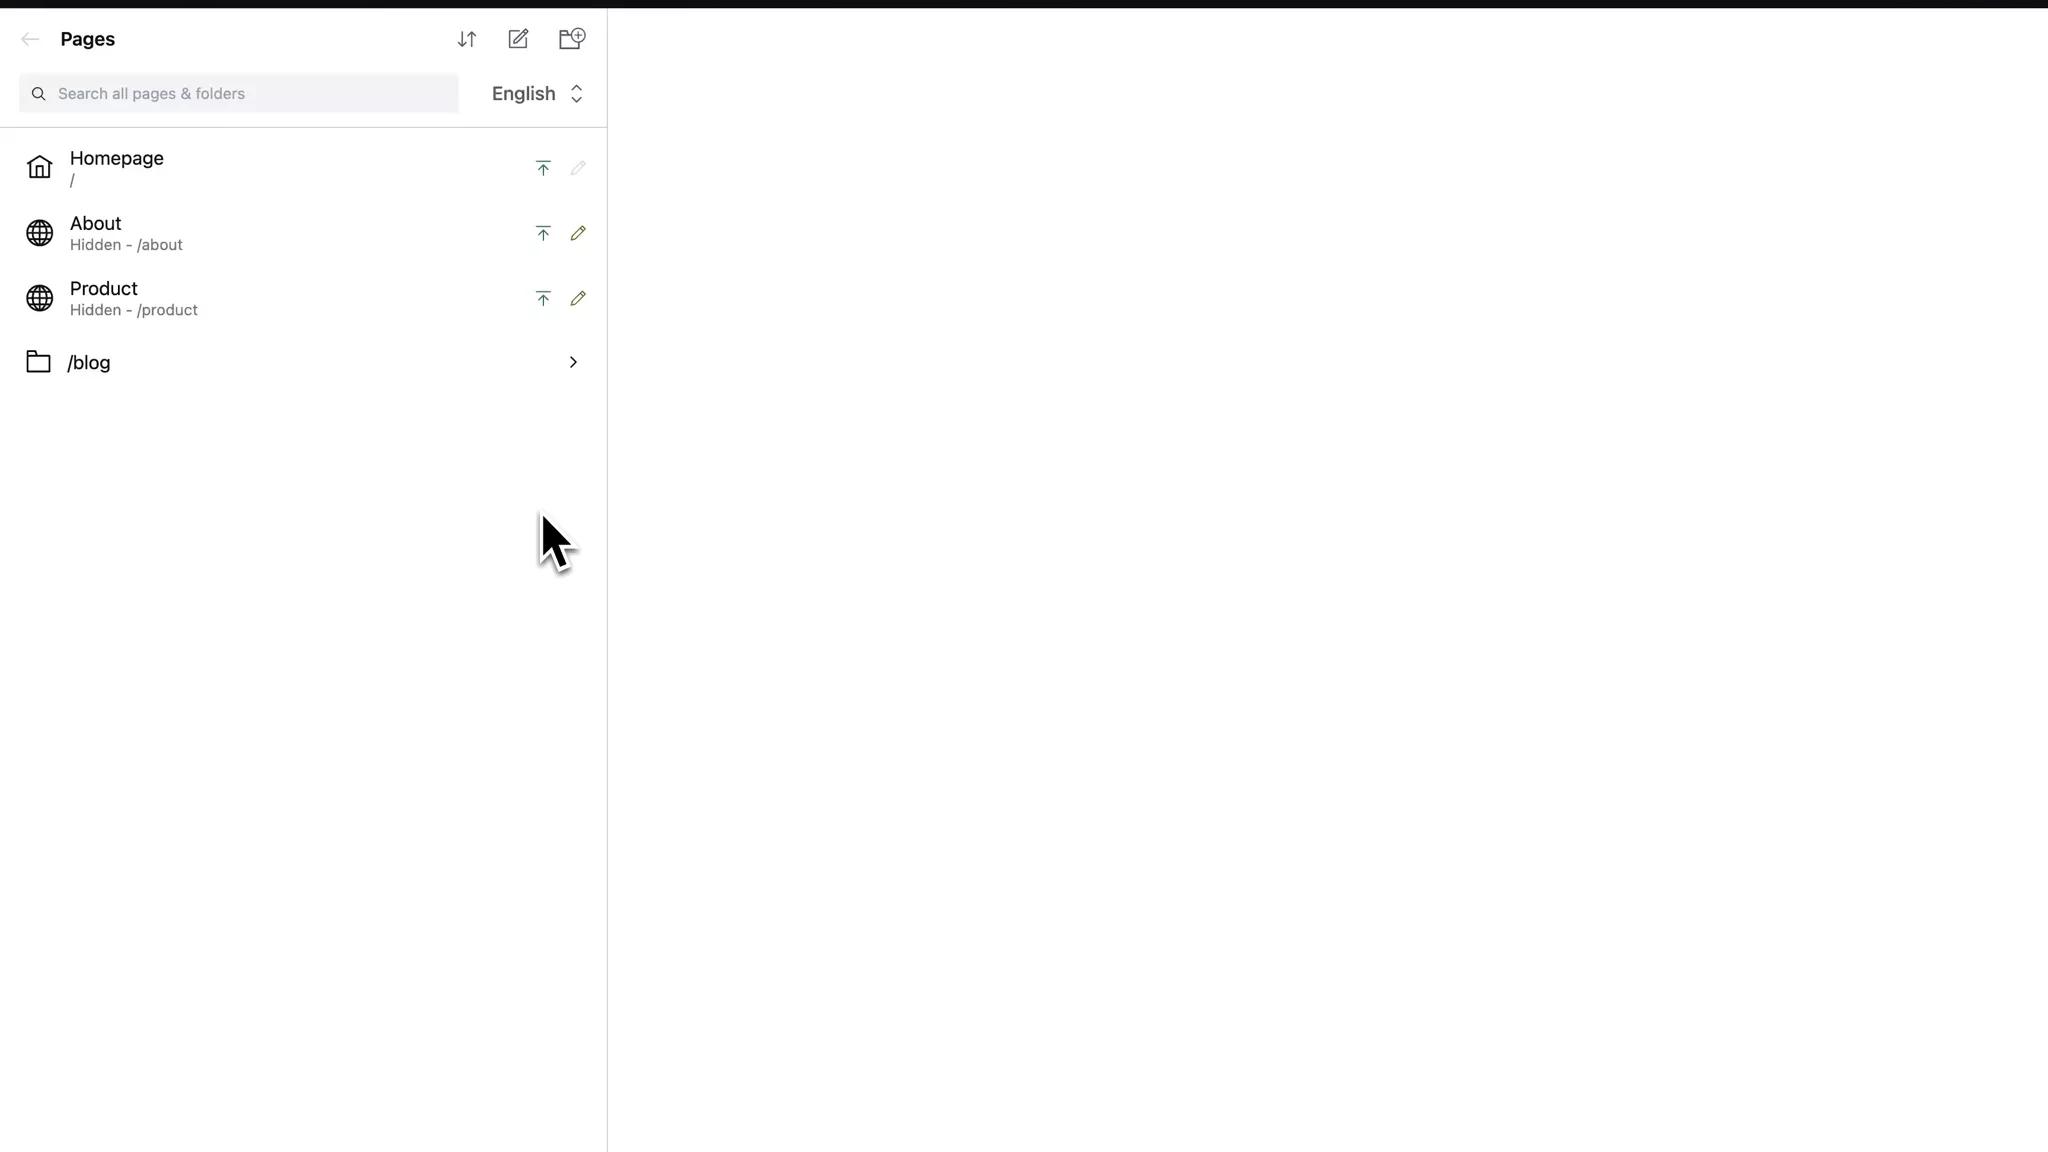
You can use the locale selector, which is visible in the header of the left content editing pane, to navigate between various localised versions of the website.
Navigating between translations of a specific document
When you’re editing a page or a reused document (e.g. Header), you can use the “Translations” tab to navigate between various translations (i.e. localised versions) of the pane.
Content creation
Creating a localised page
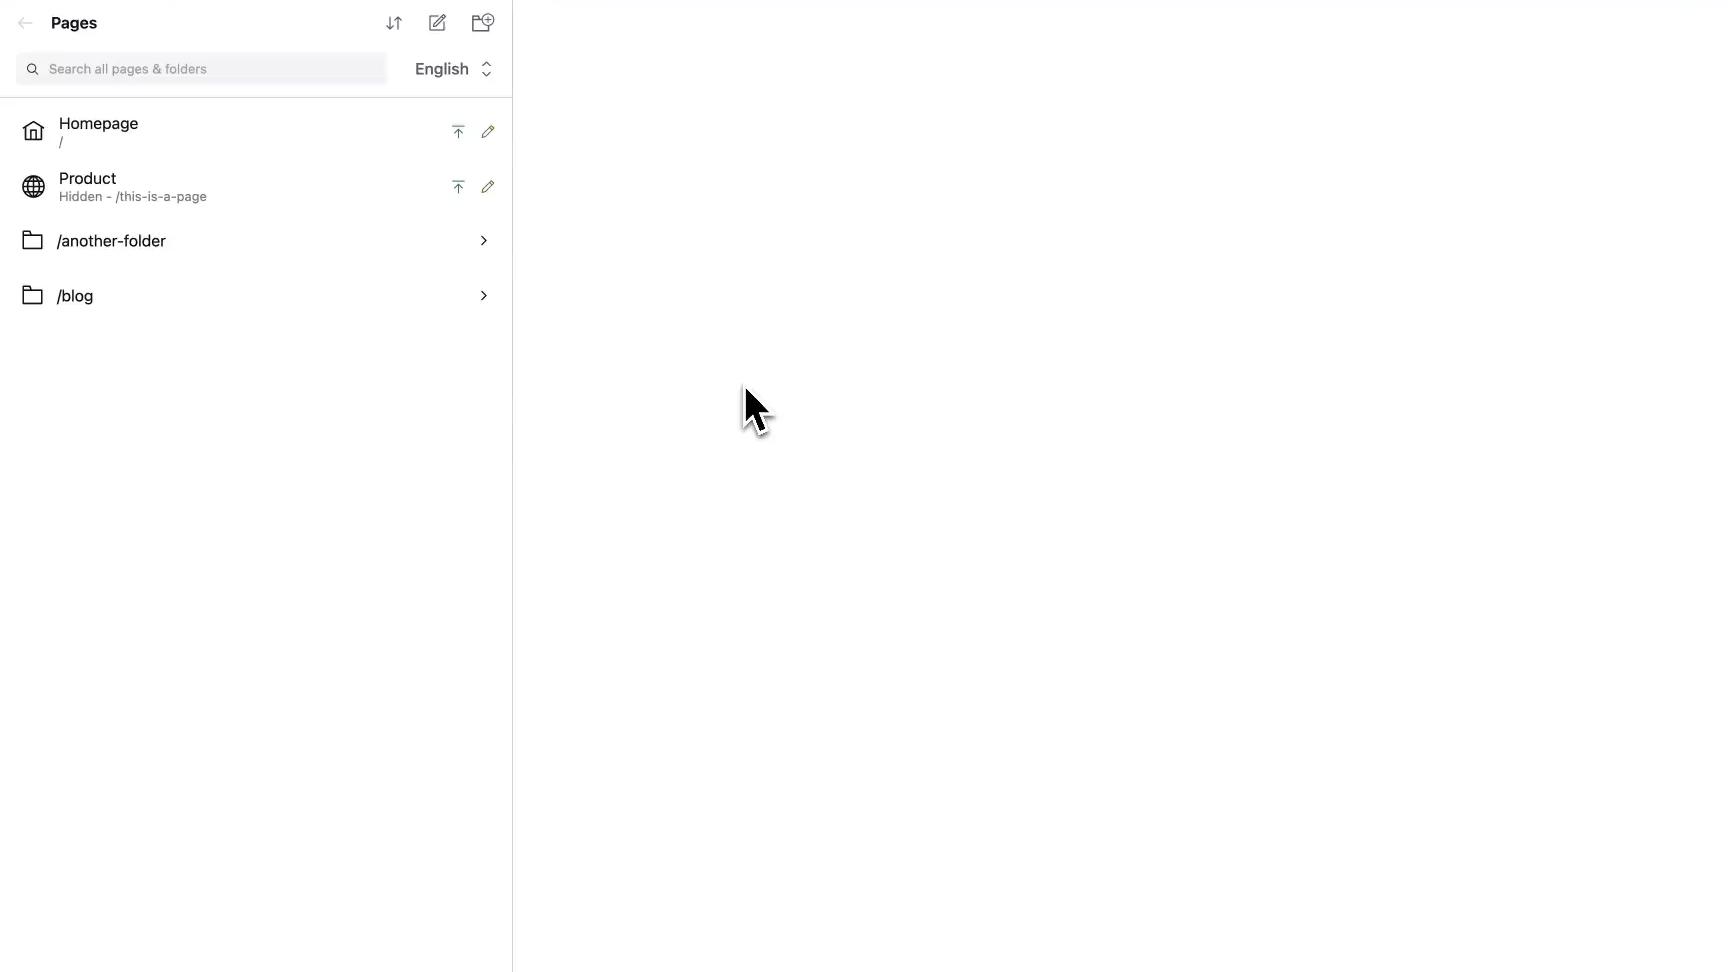
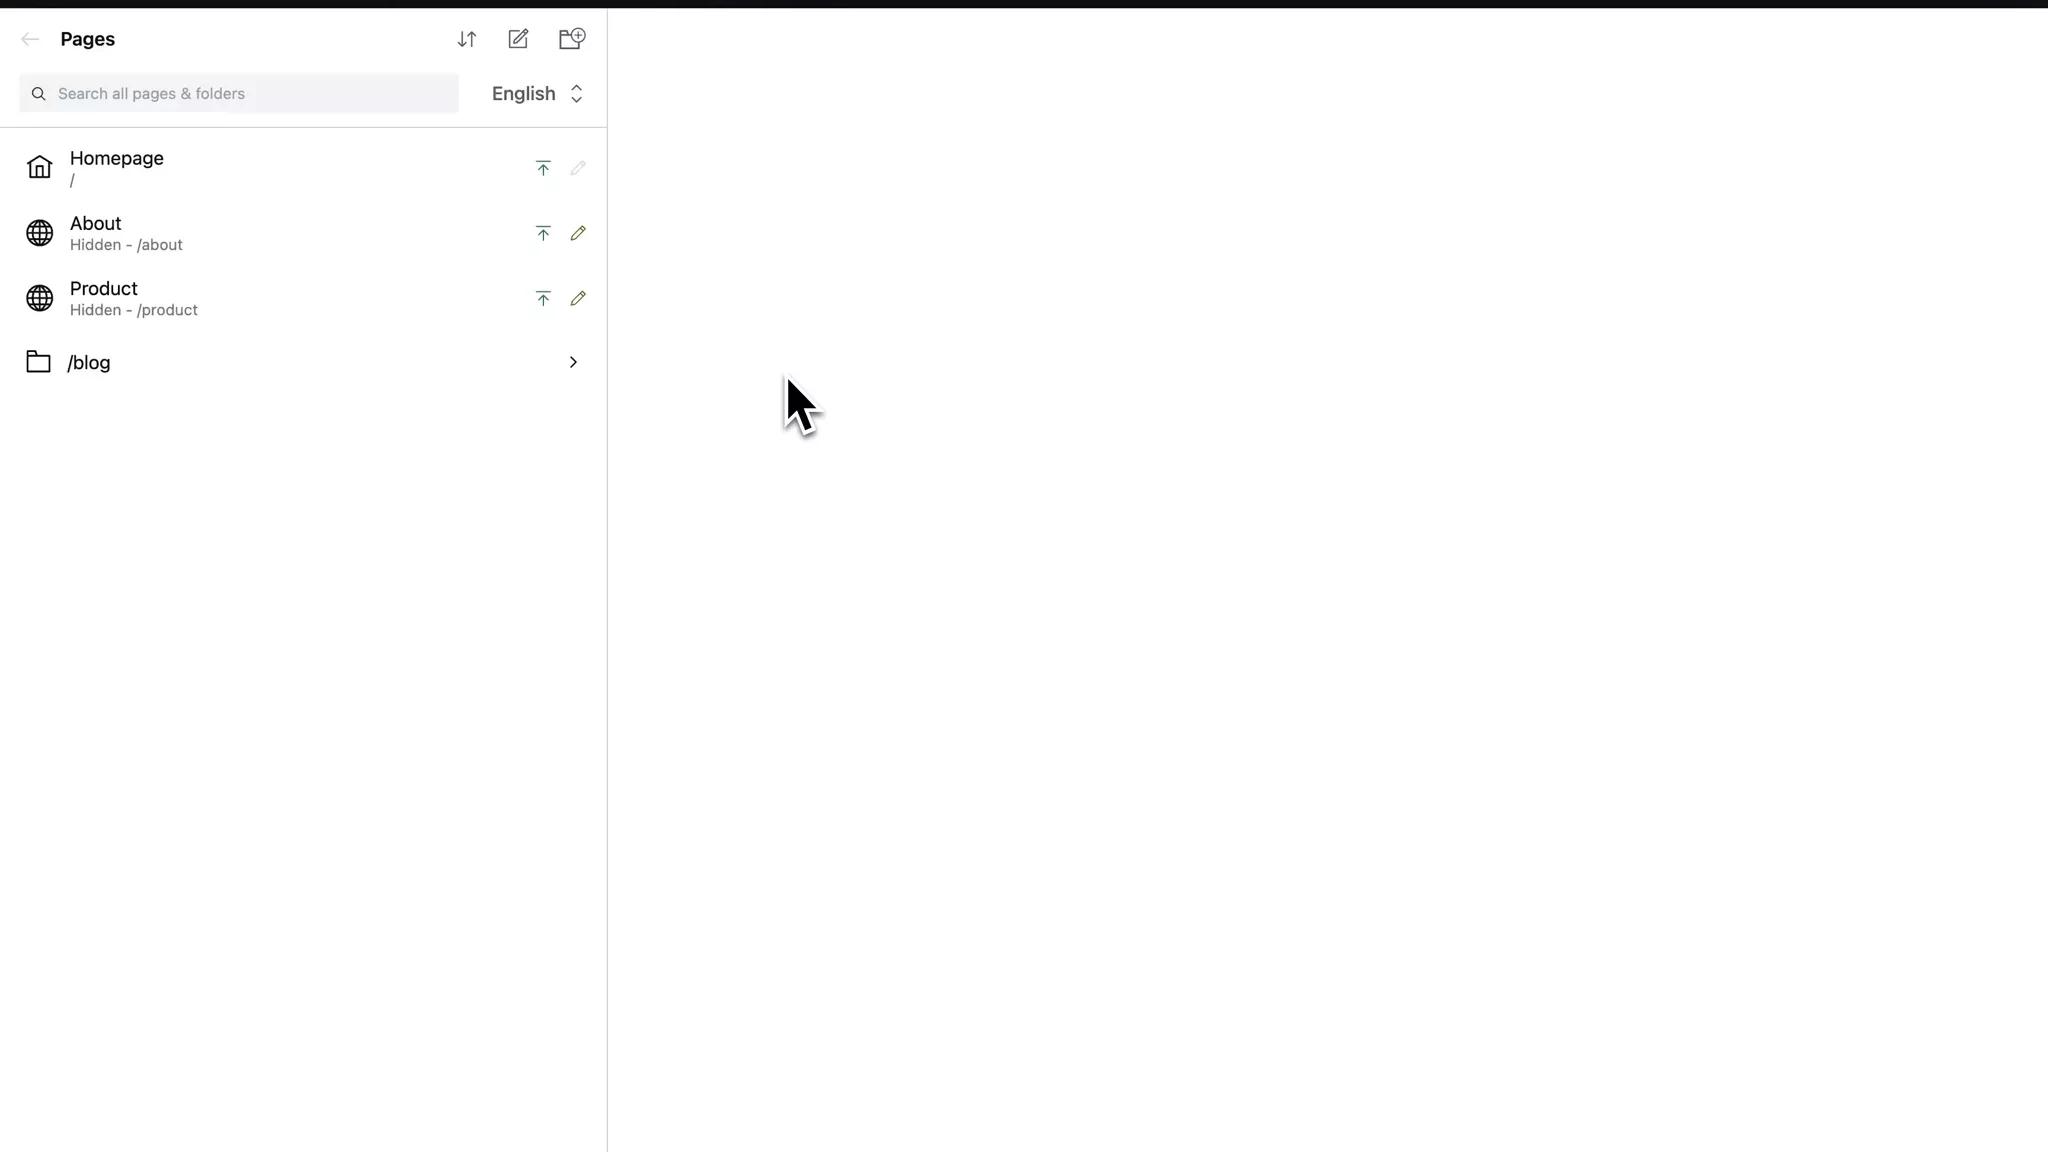
From the pages browser, select the locale you want the page to have.
Select the page model you’d like to use (e.g. modular page or article).
Translating content
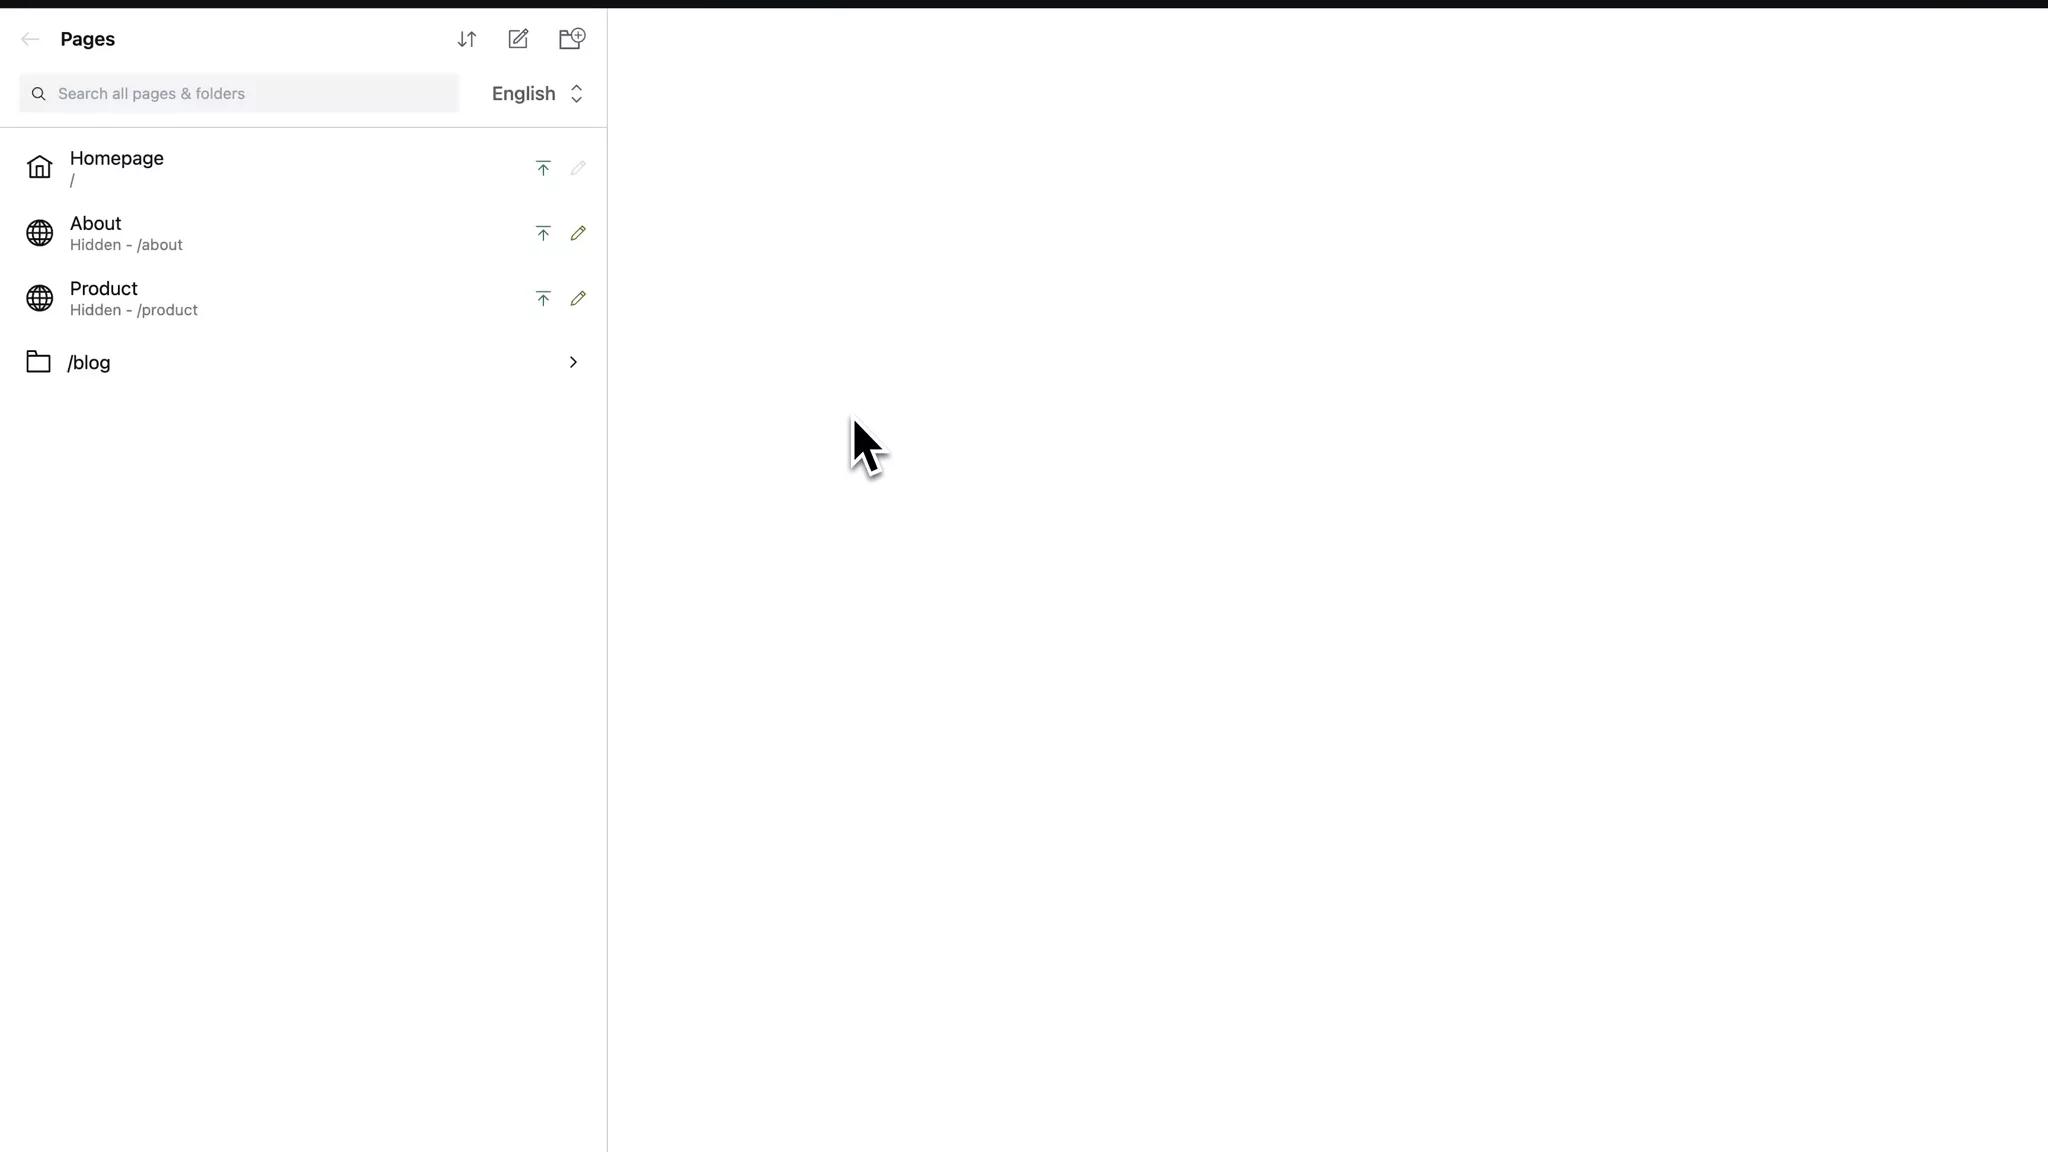
On the content editing pane of the page or document you’d like to translate:
Navigate to the “Translations”.
Press the “Create translation” of the locale you want to have for the new page.
The new translation should have the same content as the translated page.
Copying content from 1 locale to another
Let’s say you want to content from the English homepage to the French one:
Navigate to the “Translations” tab of homepage.
Under the “French” locale, press the “Reset” button.
To avoid any confusion, you’re presented with a popup where you can confirm your action.
The CMS is engineered with SEO guidelines in mind. You can customize on-site elements on a per-page basis, while most technical SEO components are automated.
On-site elements
Indexation
Each page can be set to one of three states:
Private - Only accessible via Live Preview.
Hidden - Published online but not crawlable by Google. Useful for PPC teams who want to separate organic and paid traffic.
Public - Accessible online and crawlable by Google.
Title
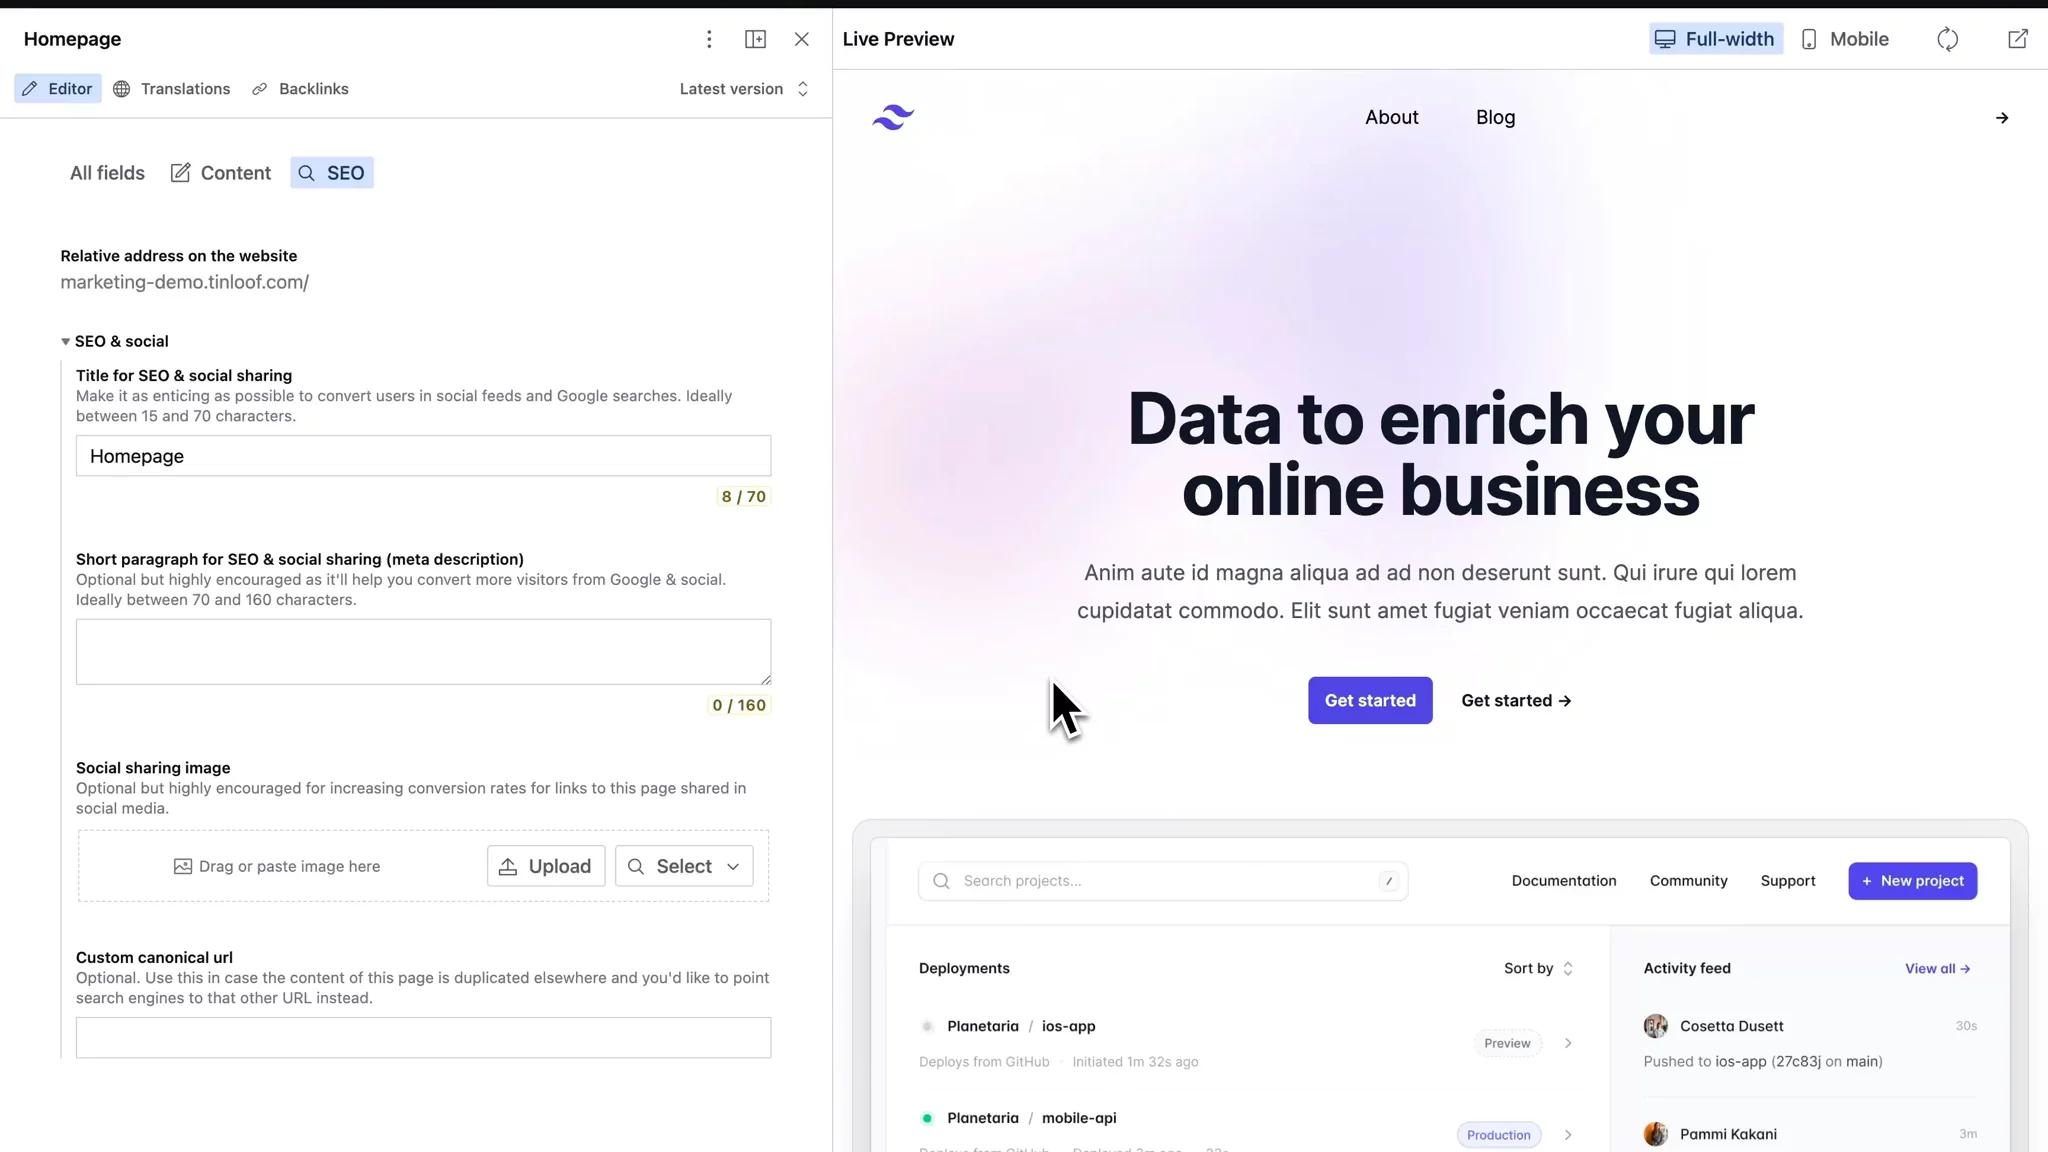
Set the page title, with guides in place to help maintain recommended character lengths. Automation for this process can be configured based on client needs.
Meta description
Create a concise overview of the webpage's content. Guidelines are provided to ensure character limits are met. Automation is available depending on client preferences.
Alt text
Alt text for images can be manually entered or edited as needed.
Canonical URL
To avoid issues with duplicate content, a page can be designated to point to an original or more relevant page.
Sitemap generation
An automated process ensures that Google Search Console always retrieves the latest sitemap, eliminating the need for manual updates by content managers. Image sitemap generation is also available when needed.
Headings (H1, H2, H3)
These are automatically generated in the frontend, and decided on at the design phase.
Hreflang
For multi-language sites, hreflang tags are generated automatically.
Schema markup
Structured data enhances the search results and provides engaging rich results for search engines such as Google. According to Google, this can result in increased traffic and better engagement.
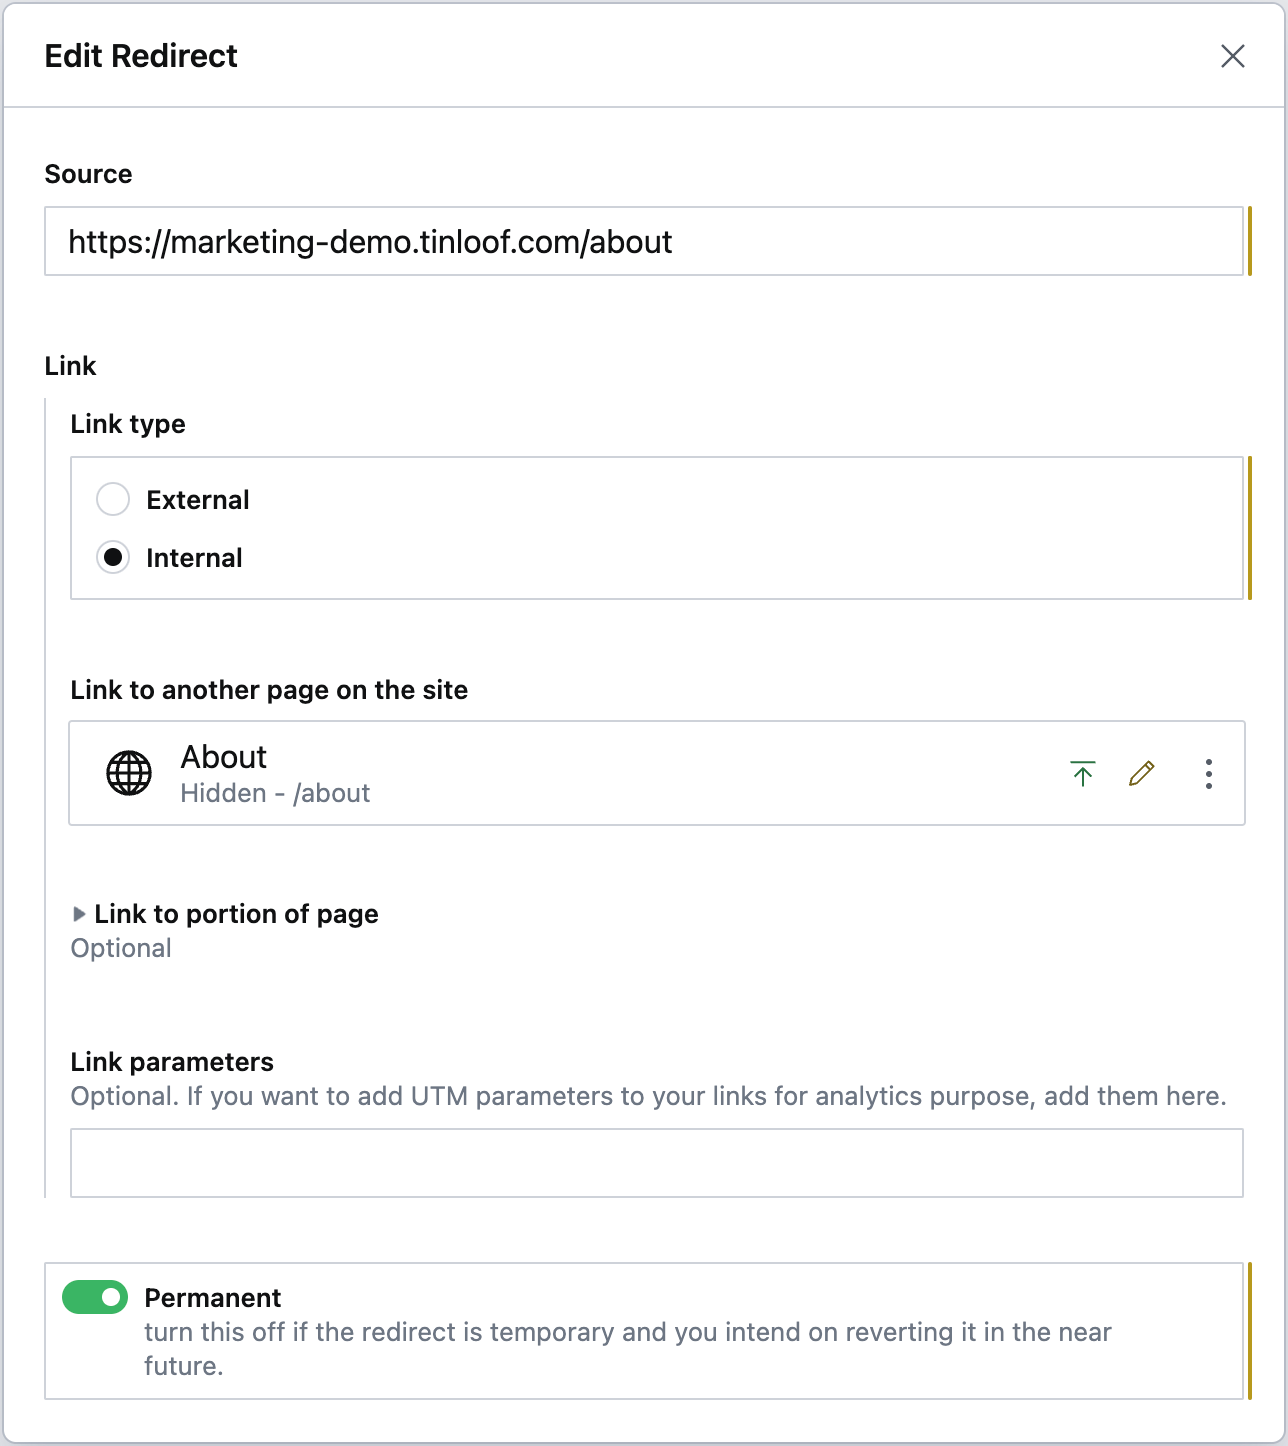
Redirects
Redirects can be managed directly from within the CMS.
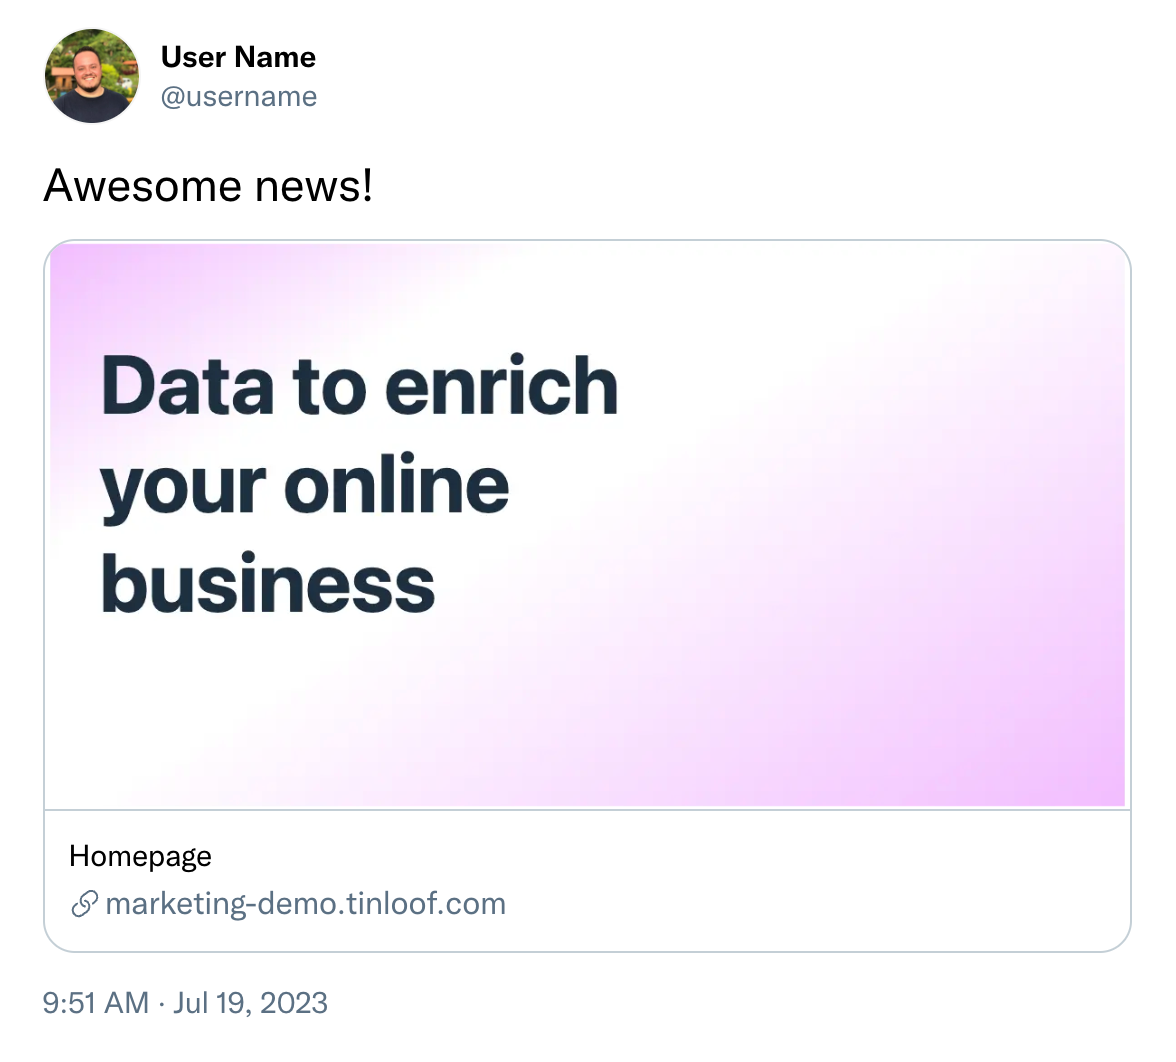
A social sharing image, also known as OG (short for Open Graph) image, is the image that accompanies a link to your website when it's shared on social media platforms like Facebook, Twitter, or LinkedIn.
When you post a link, the social media platform automatically fetches and displays this image along with the title and description of the page, if such metadata is available.
When done right, it can increase conversion rate.
Social images within the CMS can be managed individually for each page. There are several methods to upload these images:
Drag and drop or paste the image directly into the designated area.
Select an existing image from the media library.
Use a dynamic template that aligns with your brand guidelines to generate the image. This template has to be created at the design phase.
If needed, you have the flexibility to have social images generated automatically, and manually override it whenever required.
This is how it would look like on Twitter:
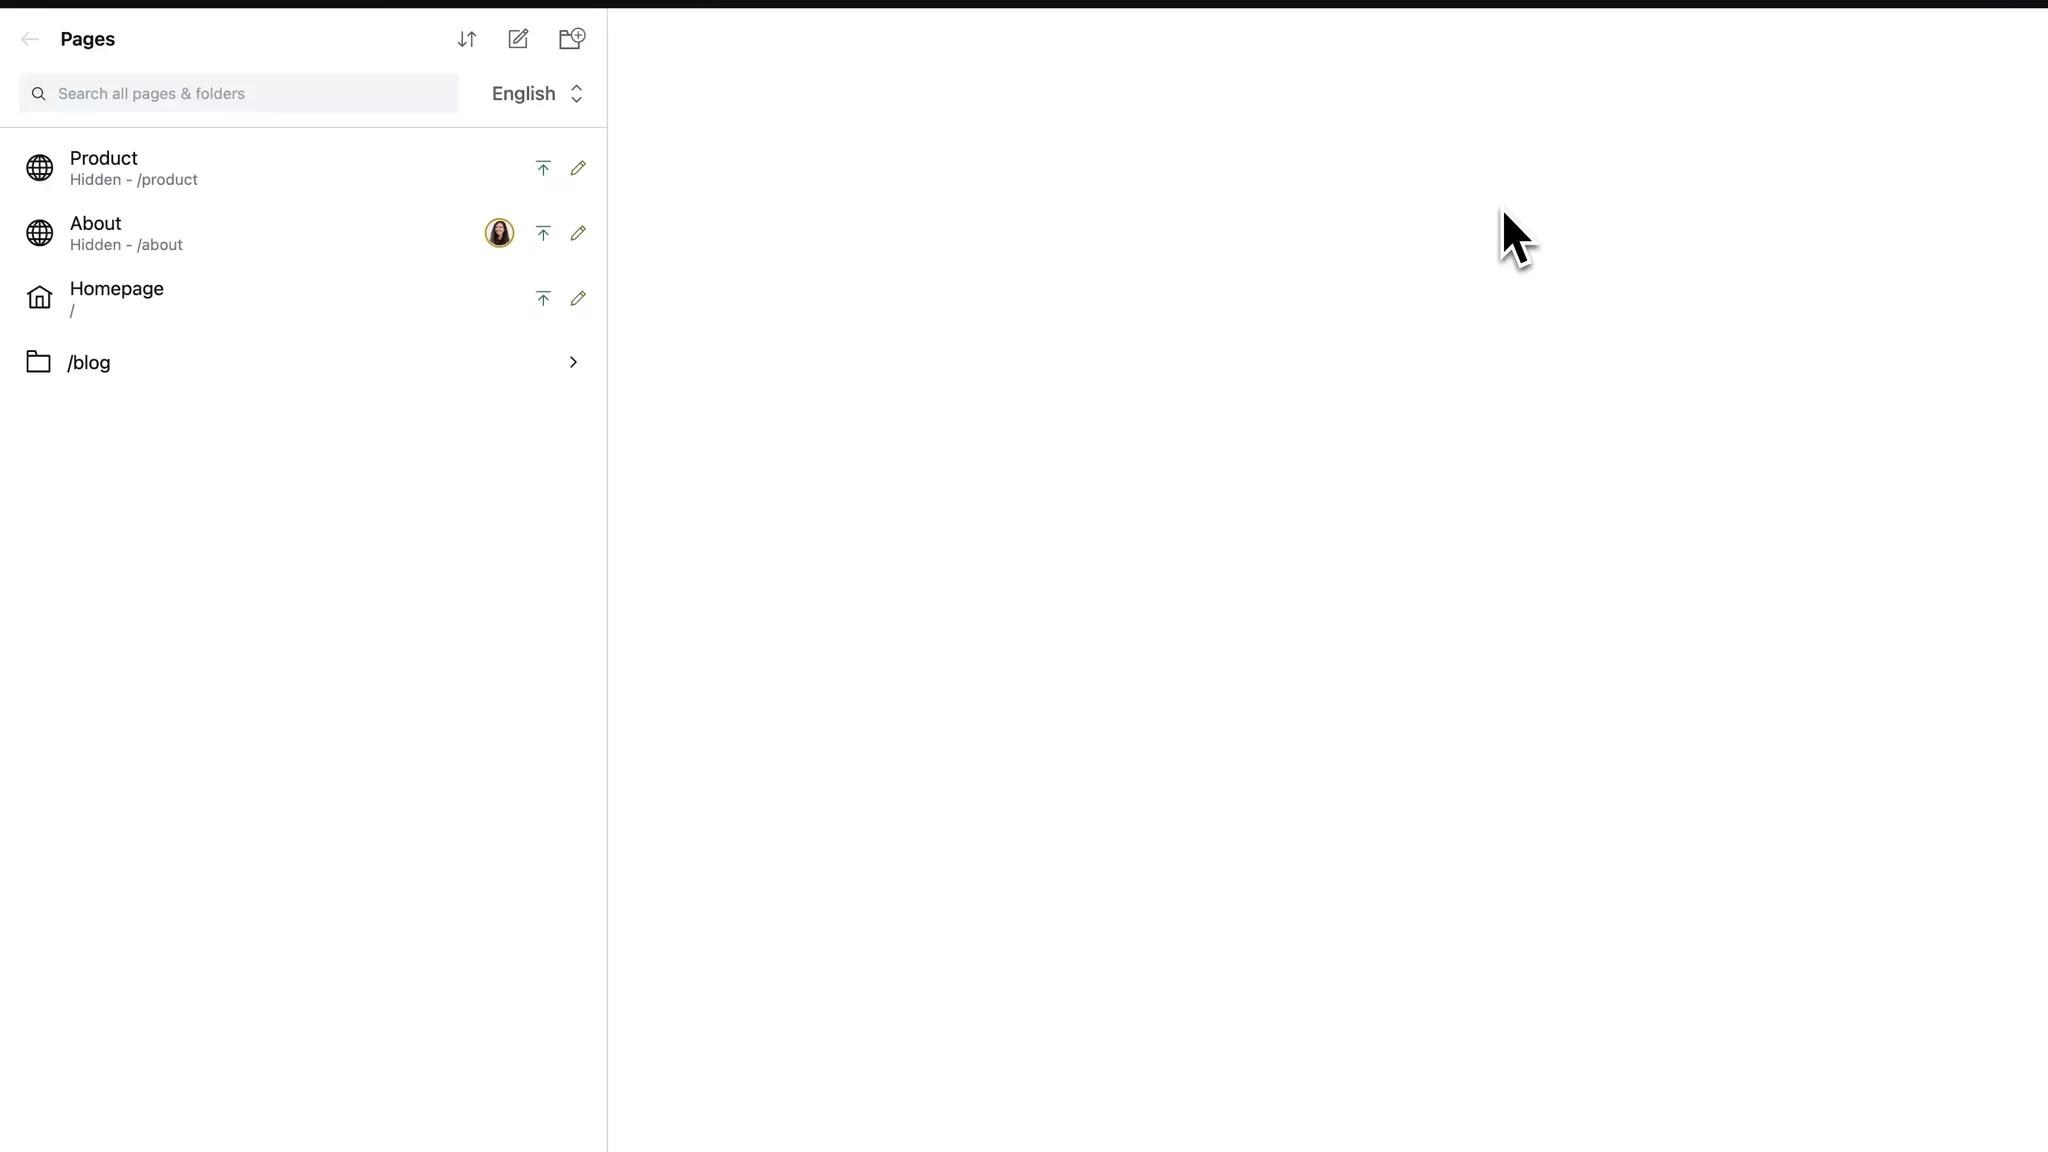
The CMS facilitates teamwork, allowing multiple members to concurrently work on a page. You can join a colleague's page by clicking their icon in the header.
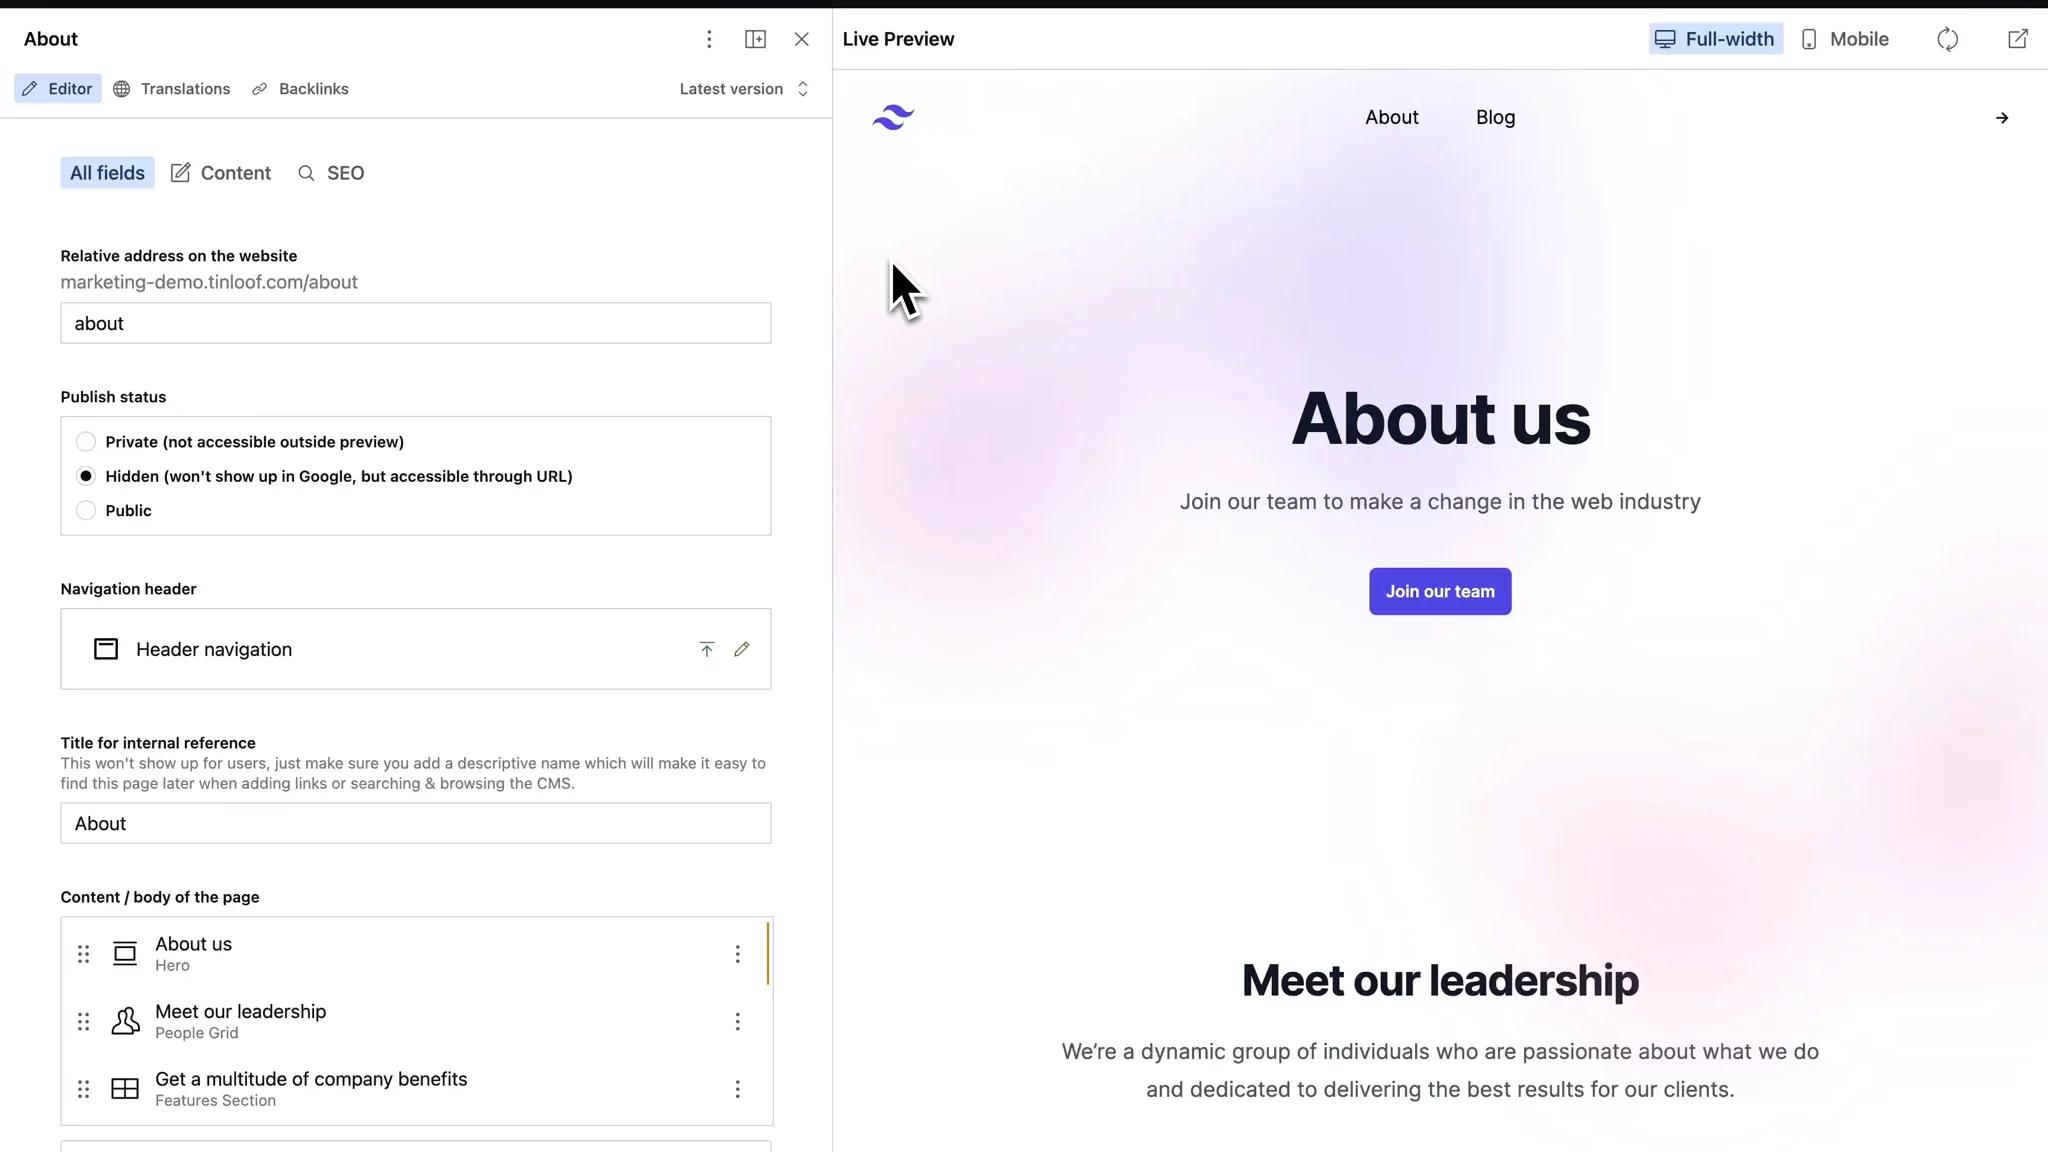
Once content is finalized, you can publish instantly or schedule it for later. A click on 'Publish' makes the page live within seconds, no redeploy required.
The CMS also keeps a detailed history of page edits and publish dates, enabling easy reversion to past versions if needed.
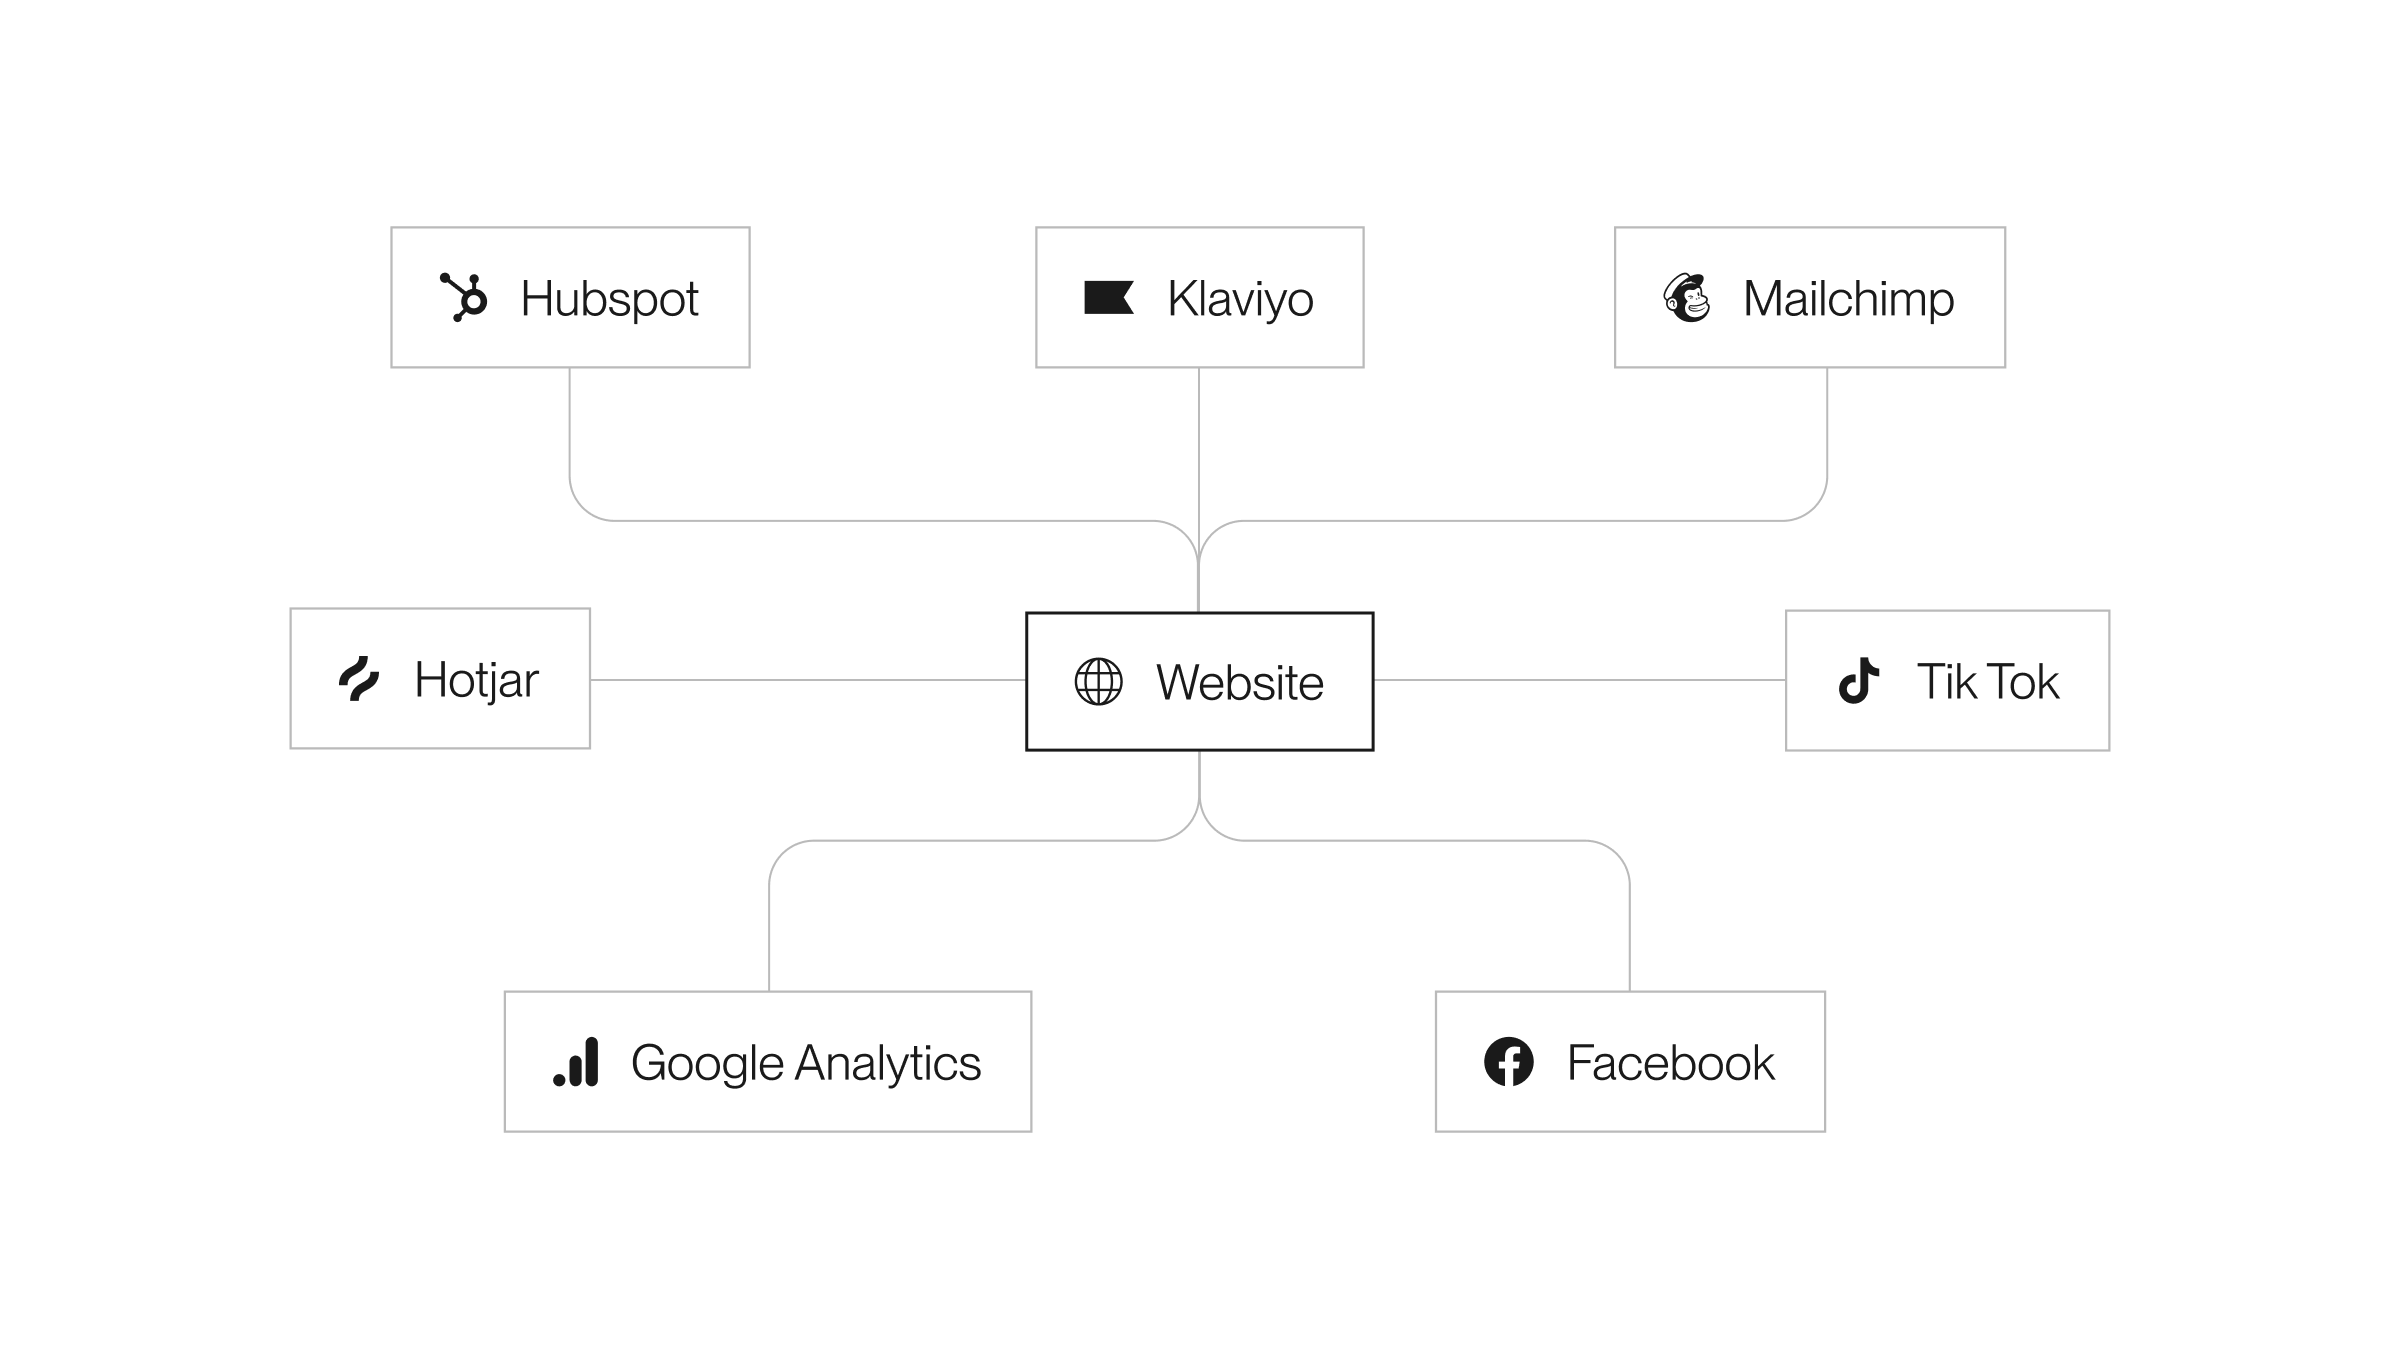
Marketers often employ a variety of tools such as CRM, analytics, newsletter services, and job boards.
Thanks to our headless architecture, we can integrate with any 3rd-party tool via APIs, provided there is documentation. This scalable architecture lets you add, replace, or remove any service as needed.
If you need to add a new integration, simply request it from your development team.
Common use cases:
Analytics
Examples: Google Tag Manager, Google Analytics, Hotjar, pixels (FB, Pinterest, TikTok, etc).
Integration with your preferred analytics tool for behavior tracking is possible.
Forms (CRM)
Examples: Hubspot, Salesforce, Pipedrive.
Integration with your chosen CRM to enable content editors to add lead-capturing forms on any page.
Newsletter
Examples: Klaviyo, Mailchimp.
A newsletter CTA can be set up to point to your chosen signing list by entering the ID in the form.
Cookies
Examples: OneTrust, Cookie Monster.
We can implement your chosen cookie integration if necessary.
Job Board
Examples: Lever, Greenhouse.
We can integrate with your preferred job board platform.
Sanity provides a commenting feature for collaborating and reviewing content with other editors. Comments exist on the document level and are accessible inside each document. Note that it's a paid feature that isn't supported on the free plan.
Adding comments
You may add comments to certain fields by simply clicking on the add comment icon within a document.
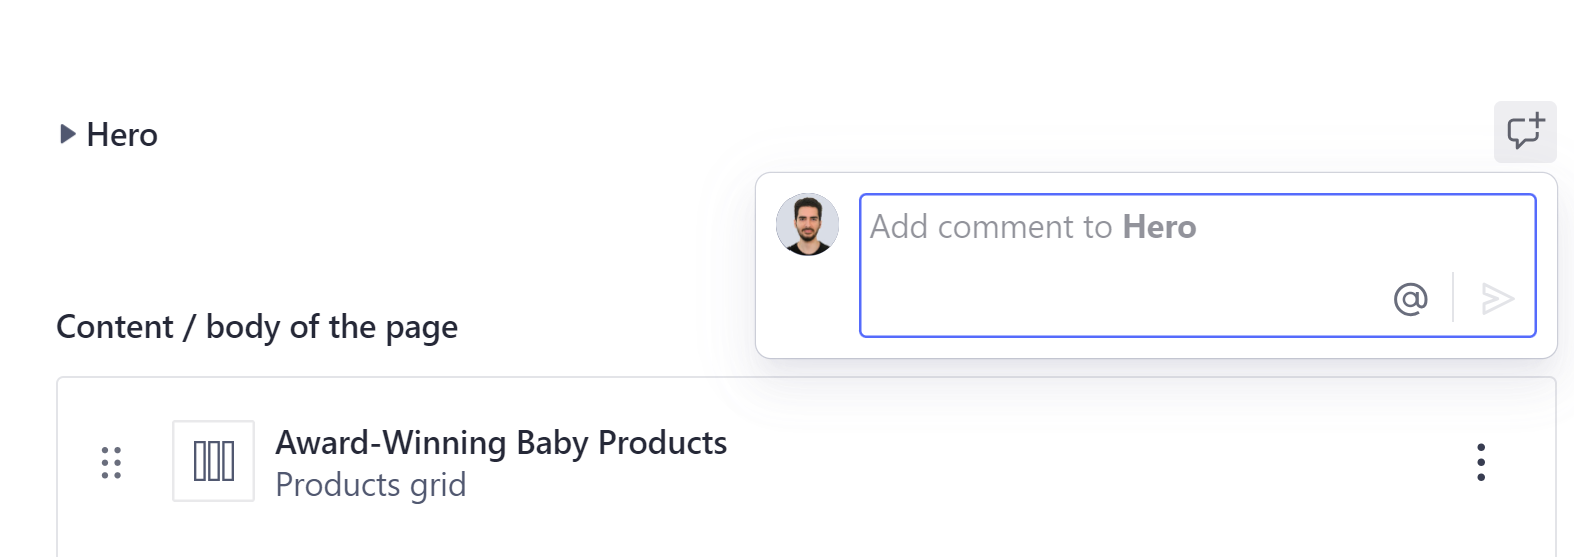
Adding a comment
Managing comments
Comments for a document can be managed by clicking on the comment icon at the very top of the document. A new side panel will open up, where you may reply to comments, edit, delete or resolve comments. When tagging people in comments or replying to someone's comment, they will get an email notification.
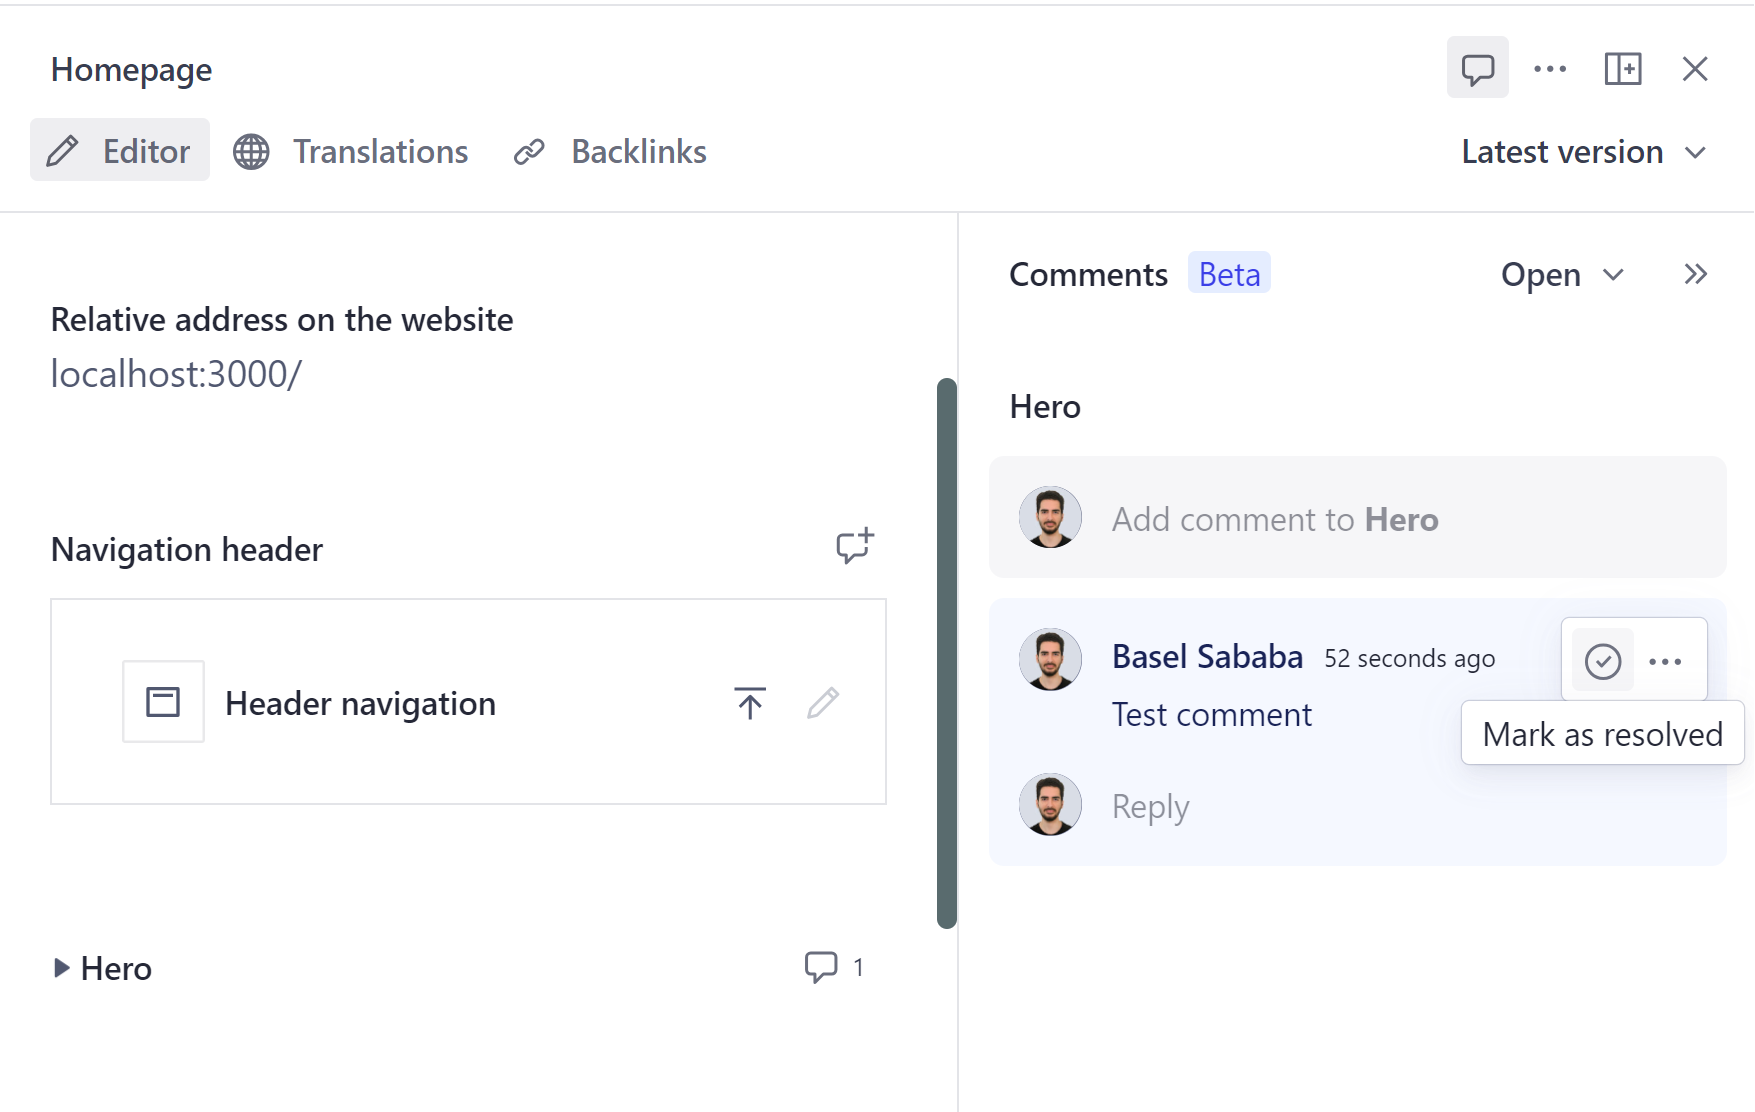
Managing comments

