25th December 2022 • 5 min read
Translating Sanity content with Smartcat

Burak Tarım
In this article, we will show you how you can add localization to your Sanity CMS and how you can translate documents using Smartcat.
Smartcat allows us to upload an HTML file and automatically translate it to almost any language you want. You can learn more about Smartcat from their website.
We used this logic in our client Exakthealth. You can read more about our work here.
To implement localization and add the ability to import the translations we will follow these steps;
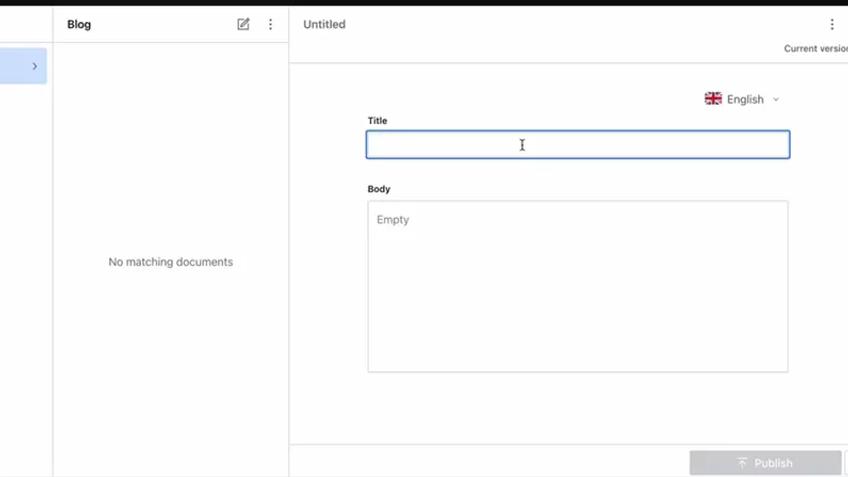
1. Create an empty project with Sanity
2. Install and setup the localization plugin
3. Create the document actions
4. Use Smartcat to translate
In this article, we will use Sanity Studio v3 with typescript. You can read more about creating a Sanity project here.
Use this command to create the Sanity project.
1npm create sanity@latest -- --template clean --create-project "Sanity Project" --dataset productionAfter that, we need to create a dummy blog schema to translate.
Go under the ./schemas folder and create a filed called blog.ts. We will add `i18n` fields for localization.
1export default {2 type: 'document',3 title: 'Blog',4 name: 'blog',5 i18n: true,6 initialValue: {7 __i18n_lang: 'en',8 },9 fields: [10 {11 title: 'Title',12 type: 'string',13 name: 'title',14 },15 {16 title: 'Body',17 name: 'body',18 type: 'array',19 of: [{type: 'block'}],20 },21 ],22}23
And add this schema file to the schemaTypes array under the ./schemas/index.ts file. After that, it should look like this;
1import blog from './blog'23export const schemaTypes = [blog]4
We will use a plugin called Document Internationalization to handle localization stuff. You can read about it here.
Install the plugin with this command
1npm i @sanity/document-internationalizationNow we can update the sanity.config.ts file for this plugin. And we need to update the desk structure to show only default language content in the document lists. After that, the config file should look like this.
1import {defineConfig} from 'sanity'2import {deskTool} from 'sanity/desk'3import {visionTool} from '@sanity/vision'4import {schemaTypes} from './schemas'5import {6 getFilteredDocumentTypeListItems,7 withDocumentI18nPlugin,8} from '@sanity/document-internationalization'910export default defineConfig({11 name: 'default',12 title: 'Sanity Project',1314 projectId: 'projectId',15 dataset: 'production',1617 plugins: withDocumentI18nPlugin(18 [19 deskTool({20 structure: (S, {schema}) => {21 const docTypeListItems = getFilteredDocumentTypeListItems({22 S,23 schema,24 config: {25 languages: ['en', 'de', 'fr'],26 },27 })2829 return S.list()30 .title('Content')31 .items([32 //anything else33 ...docTypeListItems,34 //anything else35 ])36 },37 }),38 visionTool(),39 ],40 {41 languages: ['en', 'de', 'fr'], // langauges you want to add42 }43 ),4445 schema: {46 types: schemaTypes,47 },48})49
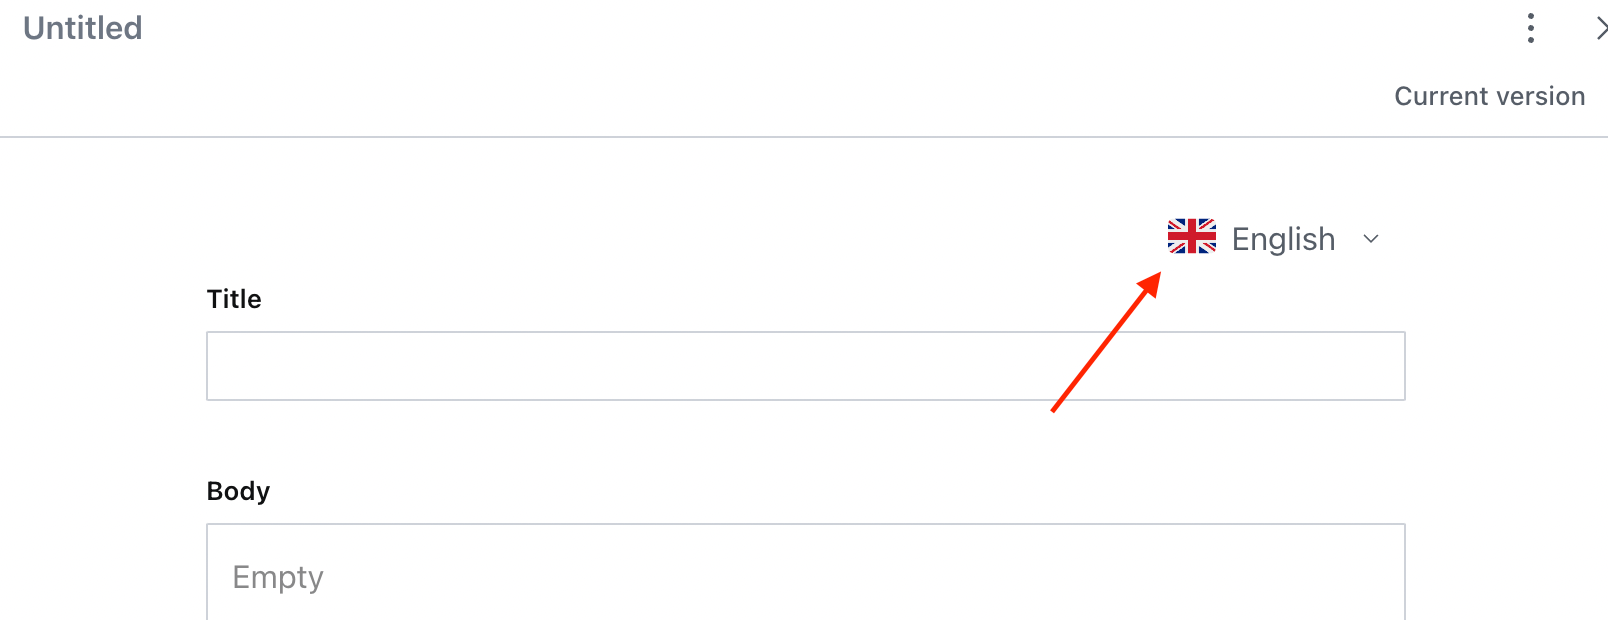
Now you should be able to see the dropdown top of the document.
We will use the document actions and document actions API to export and import the document for translation. You can read more about document actions and document actions API.
We are going to create two document actions, the first one is for exporting the document, and the second one is for importing the translation.
3.1. Export document action
Under your project create a file in the ./actions folder called exportTranslation.tsx. This actions function is pretty simple, all we are going to do is convert the document to HTML and let the user to download it.
1import {toHTML} from '@portabletext/to-html'23export default function ExportTranslation(props: any) {4 const document = props.draft ?? props.published56 const getHtml = () => {7 return `<div data-field="title">${document.title}</div>8 <div data-field="body">${toHTML(document.body)}</div>`9 }1011 return {12 label: 'Export for translation',13 onHandle: () => {14 const html = getHtml()1516 downloadHTML(`${document.title}-${document.__i18n_lang}`, html)17 props.onComplete()18 },19 }20}2122function downloadHTML(fileName: string, html: string) {23 var element = document.createElement('a')24 element.setAttribute('href', 'data:text/html;charset=utf-8, ' + encodeURIComponent(html))25 element.setAttribute('download', `${fileName}.html`)26 document.body.appendChild(element)27 element.click()28 document.body.removeChild(element)29}30
We will add this file to the document actions list under the sanity.config.ts file.
1export default defineConfig({2 name: 'default',3 title: 'Sanity Project',45 projectId: 'projectId',6 dataset: 'production',78 plugins,9 document: {actions: [ExportTranslation]}, // Here it is10 schema: {11 types: schemaTypes,12 },13})
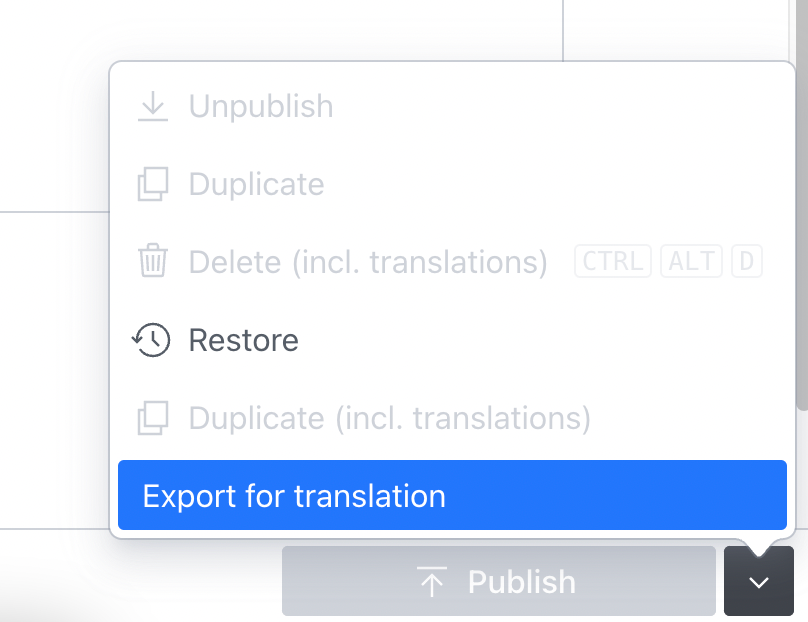
And if you open the document actions dropdown, you can see our Export for translation action. When you click it, it should download the HTML file.
3.2 Creating import for translation action
In this action, we will read the translated HTML file and patch the document.
First, create a file called importTranslation.tsx under the ./actions folder. Add it basic action code with dialog modal type.
1import React from 'react'23export default function ImportTranslation(props: any) {4 const [modalOpen, setModalOpen] = React.useState(false)5 const [html, setHtml] = React.useState<null | string>(null)67 return {8 label: 'Import Translation',9 onHandle: () => {10 setModalOpen(true)11 },12 dialog: modalOpen && {13 type: 'modal',14 onClose: props.onComplete,15 content: <></>,16 },17 }18}19
Now we are going to create a modal context. It will contain a file input and an apply button.
When the user selects a file, we are going to read it and update the "html,setHtml" state. html state's initial value is null so apply button should only show up when the html state is set.
1<div>2 <input3 type="file"4 multiple={false}5 onChange={(e) => {6 if (e.target.files) {7 const file = e.target.files[0]8 var reader = new FileReader()9 reader.readAsText(file, 'UTF-8')10 reader.onload = (evt) => {11 setHtml(evt.target?.result as string)12 }13 reader.onerror = () => {14 window.alert('Ops! Something went wrong')15 }16 }17 }}18 />19 {html && (20 <button>21 Apply22 </button>23 )}24 </div>
Now we can create the handleApply function to parse HTML and patch the document.
To parse the body, we are going to use @sanity/block-tools. It is pretty easy to use, you can read the docs for more info.
1// Import the packages2import {htmlToBlocks} from '@sanity/block-tools'3import Schema from '@sanity/schema'4import blog from '../schemas/blog'56//Create the compiled schema78const defaultSchema = Schema.compile({name: 'blog', types: [blog]})910// Create the block content type, we are going to use it for converting html to document body.1112const blockContentType = defaultSchema13 .get('blog')14 .fields.find((field: any) => field.name === 'body').type
1const handleApply = () => {2 if (!html) return // return if html is still null3 const contentHTML = document.createElement('div')4 contentHTML.innerHTML = html5 const title = contentHTML.querySelector('[data-field=title]')?.innerHTML || ''67 const bodyHtml = contentHTML.querySelector('[data-field=body]')?.innerHTML || ''89 const body = htmlToBlocks(bodyHtml, blockContentType)1011 }
Thanks to this function, we can convert the translated HTML to our blog document.
Now it's time to use Sanity hooks to patch the document. We will use useDocumentOperation to make it. You can read more about Sanity hooks.
1// Import the package2import {useDocumentOperation} from 'sanity'34//Get patch function from the hook56const {patch} = useDocumentOperation(props.id, props.type)78//Call patch execute to update the document.910patch.execute([{set: {title, body}}], props.draft || props.published)11
Now the final import for translation action should look like this.
1import {htmlToBlocks} from '@sanity/block-tools'2import Schema from '@sanity/schema'3import React from 'react'4import blog from '../schemas/blog'5import {useDocumentOperation} from 'sanity'67const defaultSchema = Schema.compile({name: 'blog', types: [blog]})89const blockContentType = defaultSchema10 .get('blog')11 .fields.find((field: any) => field.name === 'body').type1213export default function ImportTranslation(props: any) {14 const {patch} = useDocumentOperation(props.id, props.type)15 const [modalOpen, setModalOpen] = React.useState(false)16 const [html, setHtml] = React.useState<null | string>(null)1718 const handleApply = () => {19 if (!html) return // return if html is still null20 const contentHTML = document.createElement('div')21 contentHTML.innerHTML = html22 const title = contentHTML.querySelector('[data-field=title]')?.innerHTML || ''2324 const bodyHtml = contentHTML.querySelector('[data-field=body]')?.innerHTML || ''2526 const body = htmlToBlocks(bodyHtml, blockContentType)2728 patch.execute([{set: {title, body}}], props.draft || props.published)29 }3031 return {32 label: 'Import Translation',33 onHandle: () => {34 setModalOpen(true)35 },36 dialog: modalOpen && {37 type: 'modal',38 onClose: props.onComplete,39 content: (40 <div>41 <input42 type="file"43 multiple={false}44 onChange={(e) => {45 if (e.target.files) {46 const file = e.target.files[0]47 console.log(file)48 var reader = new FileReader()49 reader.readAsText(file, 'UTF-8')50 reader.onload = (evt) => {51 setHtml(evt.target?.result as string)52 }53 reader.onerror = () => {54 window.alert('Ops! Something went wrong')55 }56 }57 }}58 />59 {html && (60 <button61 onClick={() => {62 handleApply()63 }}64 >65 Apply66 </button>67 )}68 </div>69 ),70 },71 }72}73
We can add this to the document actions array in the Sanity config.
Since we want to only export default language and import others, we need to add a conditional check based on the documentId. And the actions config should look like this.
1document: {2 actions: (prev, context) => {3 const defaultLang = !context.documentId?.includes('_i18n_')4 return defaultLang ? [...prev, exportTranslation] : [...prev, importTranslation]5 },6 },
Now you can export the default language, translate it with Smartcat and import it back!