6th November 2022 • 4 min read
How to build cron jobs with Netlify functions

Burak Tarım
Heavybit is a developer tools investor that invests in companies like Mux, Sanity, Contentful, Stripe, LaunchDarkly, tailscale, and more.
To promote the different jobs of their portfolio companies, they wanted to display those on their website.
As a result, we leveraged Scheduled Functions from Netlify to create a cron job to regularly update their Jobs page with the latest vacancies.
By automating this task, we also saved time to the Heavybit content team who no longer needed to manually add the jobs.
The Heavybit website is built with the following tech stack:
Remix, TypeScript, and Tailwind for the frontend
Sanity as a headless CMS
Netlify as a deployment platform
Considering we are working in a serverless environment, we could not just create cron jobs. As an alternative, we've used Netlify's Scheduled Functions.
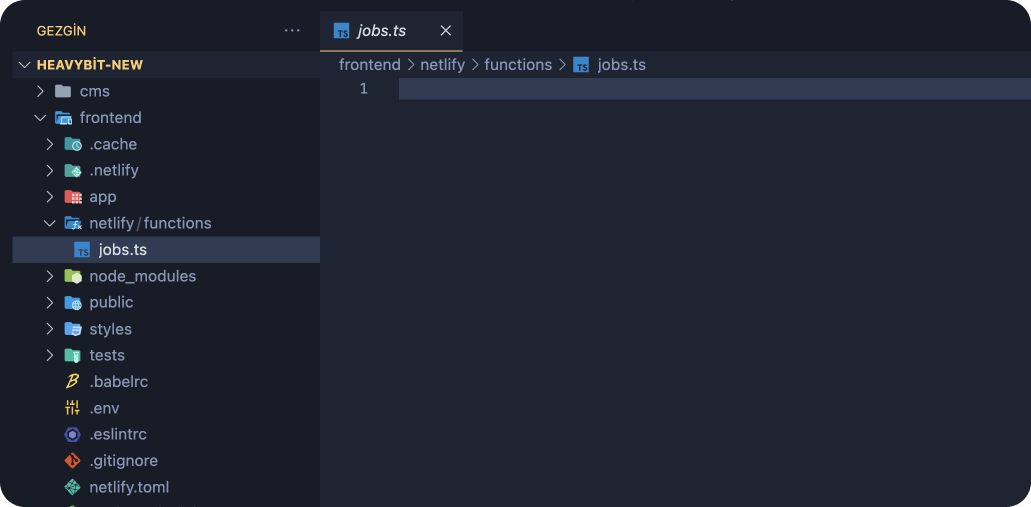
Netlify functions are files we put under the netlify/functions folder in our project.
After we deploy them, we can access these functions just like an API endpoint.
We are going to follow these three steps to build our cron job:
Create and test the function file.
Add logic to fetch and save the data.
Schedule the function.
Creating the function file is pretty easy, all you have to do is create a file under netlify/functions folder in your project root.
You can use Javascript, Typescript, or Go.
After that, we can paste this "Hello World" example code to try it with Postman:
1import { Handler } from "@netlify/functions";23const handler: Handler = async (event, context) => {4 return {5 statusCode: 200,6 body: JSON.stringify({ message: "Hello World" }),7 };8};910export { handler };
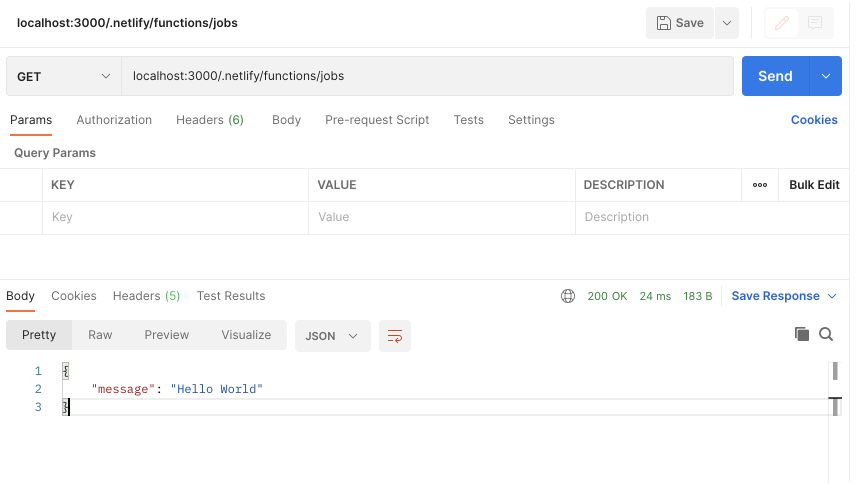
It works!
We successfully created and tested our first Netlify function. Let's move on to the next step.
Heavybit invested in multiple companies, and they are all using different platforms to publish job vacancies.
We implemented our logic to fetch and save the data, however, the function was taking a lot of time to execute.
We also hit the execution time limit after we ran the function.
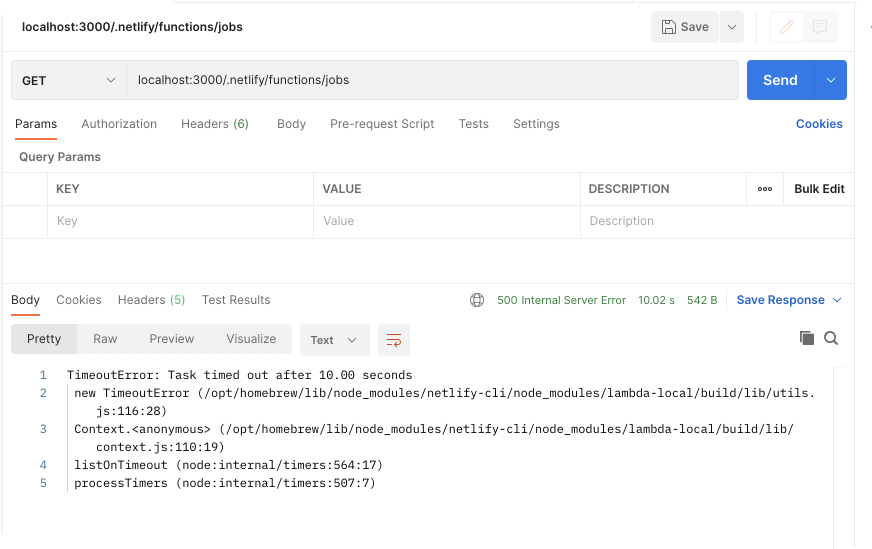
As a remedy, we used background functions with higher execution times, which perfectly fit this use case.
How can we turn our function into a background function?
All we had to is add -background suffix to the file name and implement a few changes in the code (e.g. changing function type and remove response).
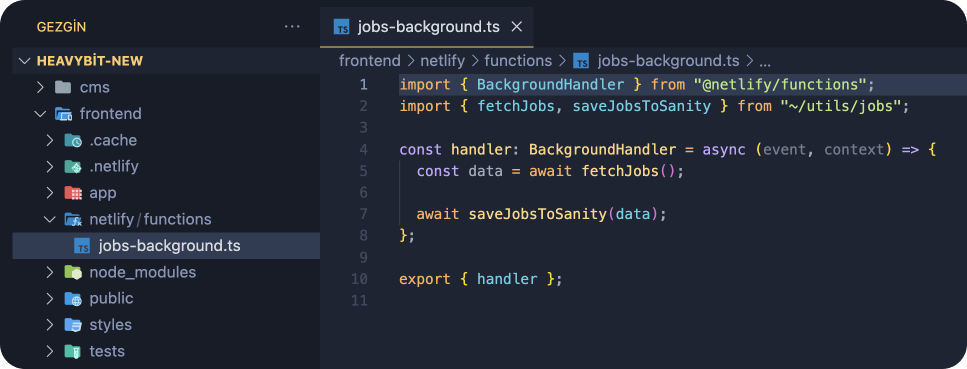
After running our function again, we successfully fetched and saved data to Sanity.

There it is!
We created our Netlify function to fetch jobs and save them to Sanity.
Now it's time to do the last step: schedule our function to keep the data up to date.
To schedule our function, we need to specify it as a scheduled function in our netlify.toml configuration file.
We can schedule it as @yearly, @monthly, @hourly, and so on.
1[functions."jobs-background"]2schedule = "@hourly"
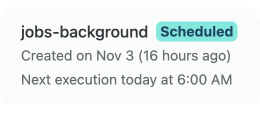
Once you deploy it, you can see your function under the functions tab as scheduled.