31st January 2023 • 4 min read
Translating Shopify stores with Sanity

Seif Ghezala
At Tinloof, we have an internal library that does a lot of heavy lifting when it comes to building fast Remix websites that have their content managed from Sanity.
A while ago, we took a step back to research and implement a localization setup with Sanity that handles all use-cases and provides a decent user experience for content managers.
Now that we have a great localization workflow, we included it in our code generation tool, and in this article, we’ll cover what that looks like from both the user and developer perspectives.
The demos below are from a research demo store we're developing, which is a redesigned version of Tony's Chocolonely online shop.
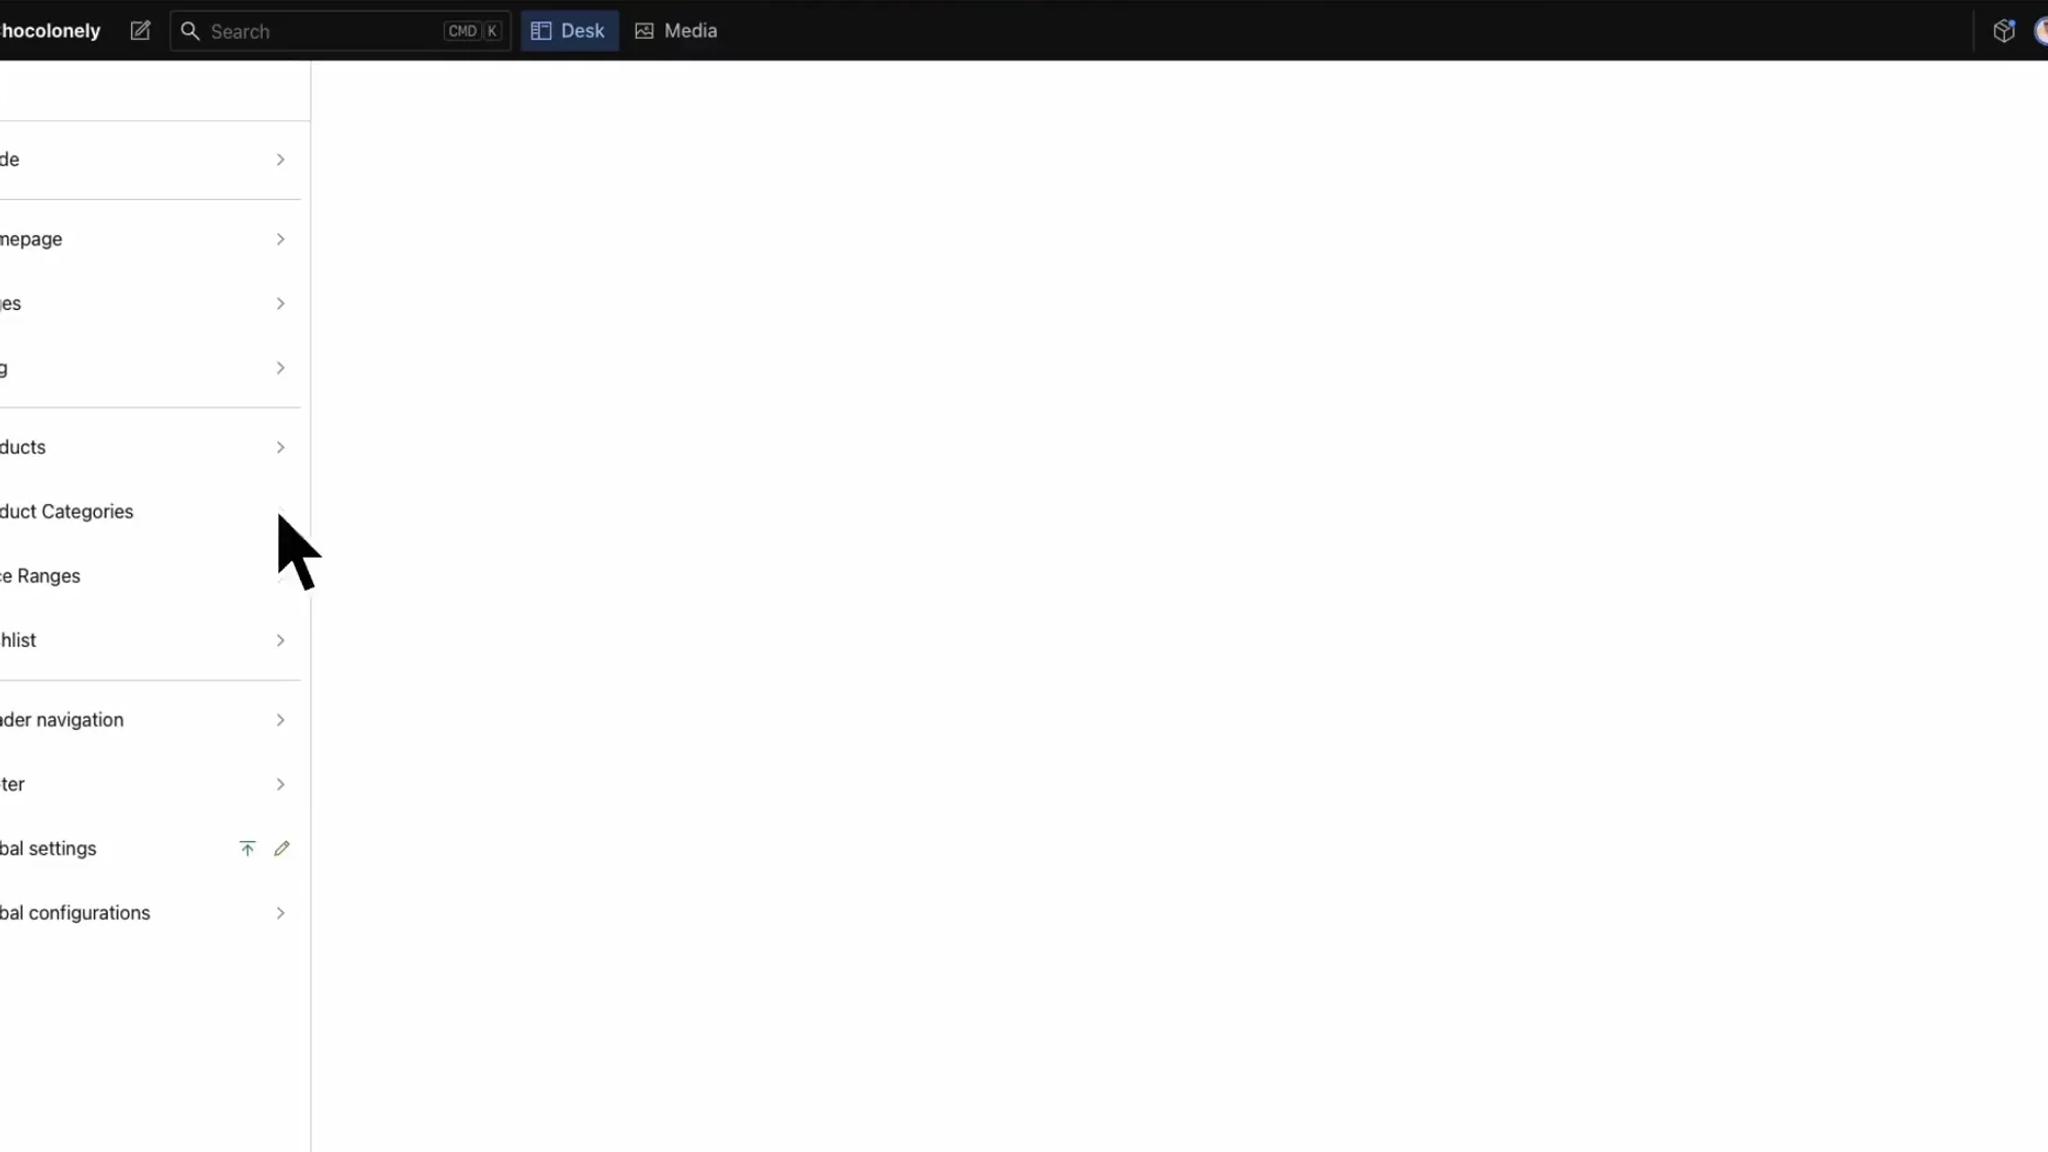
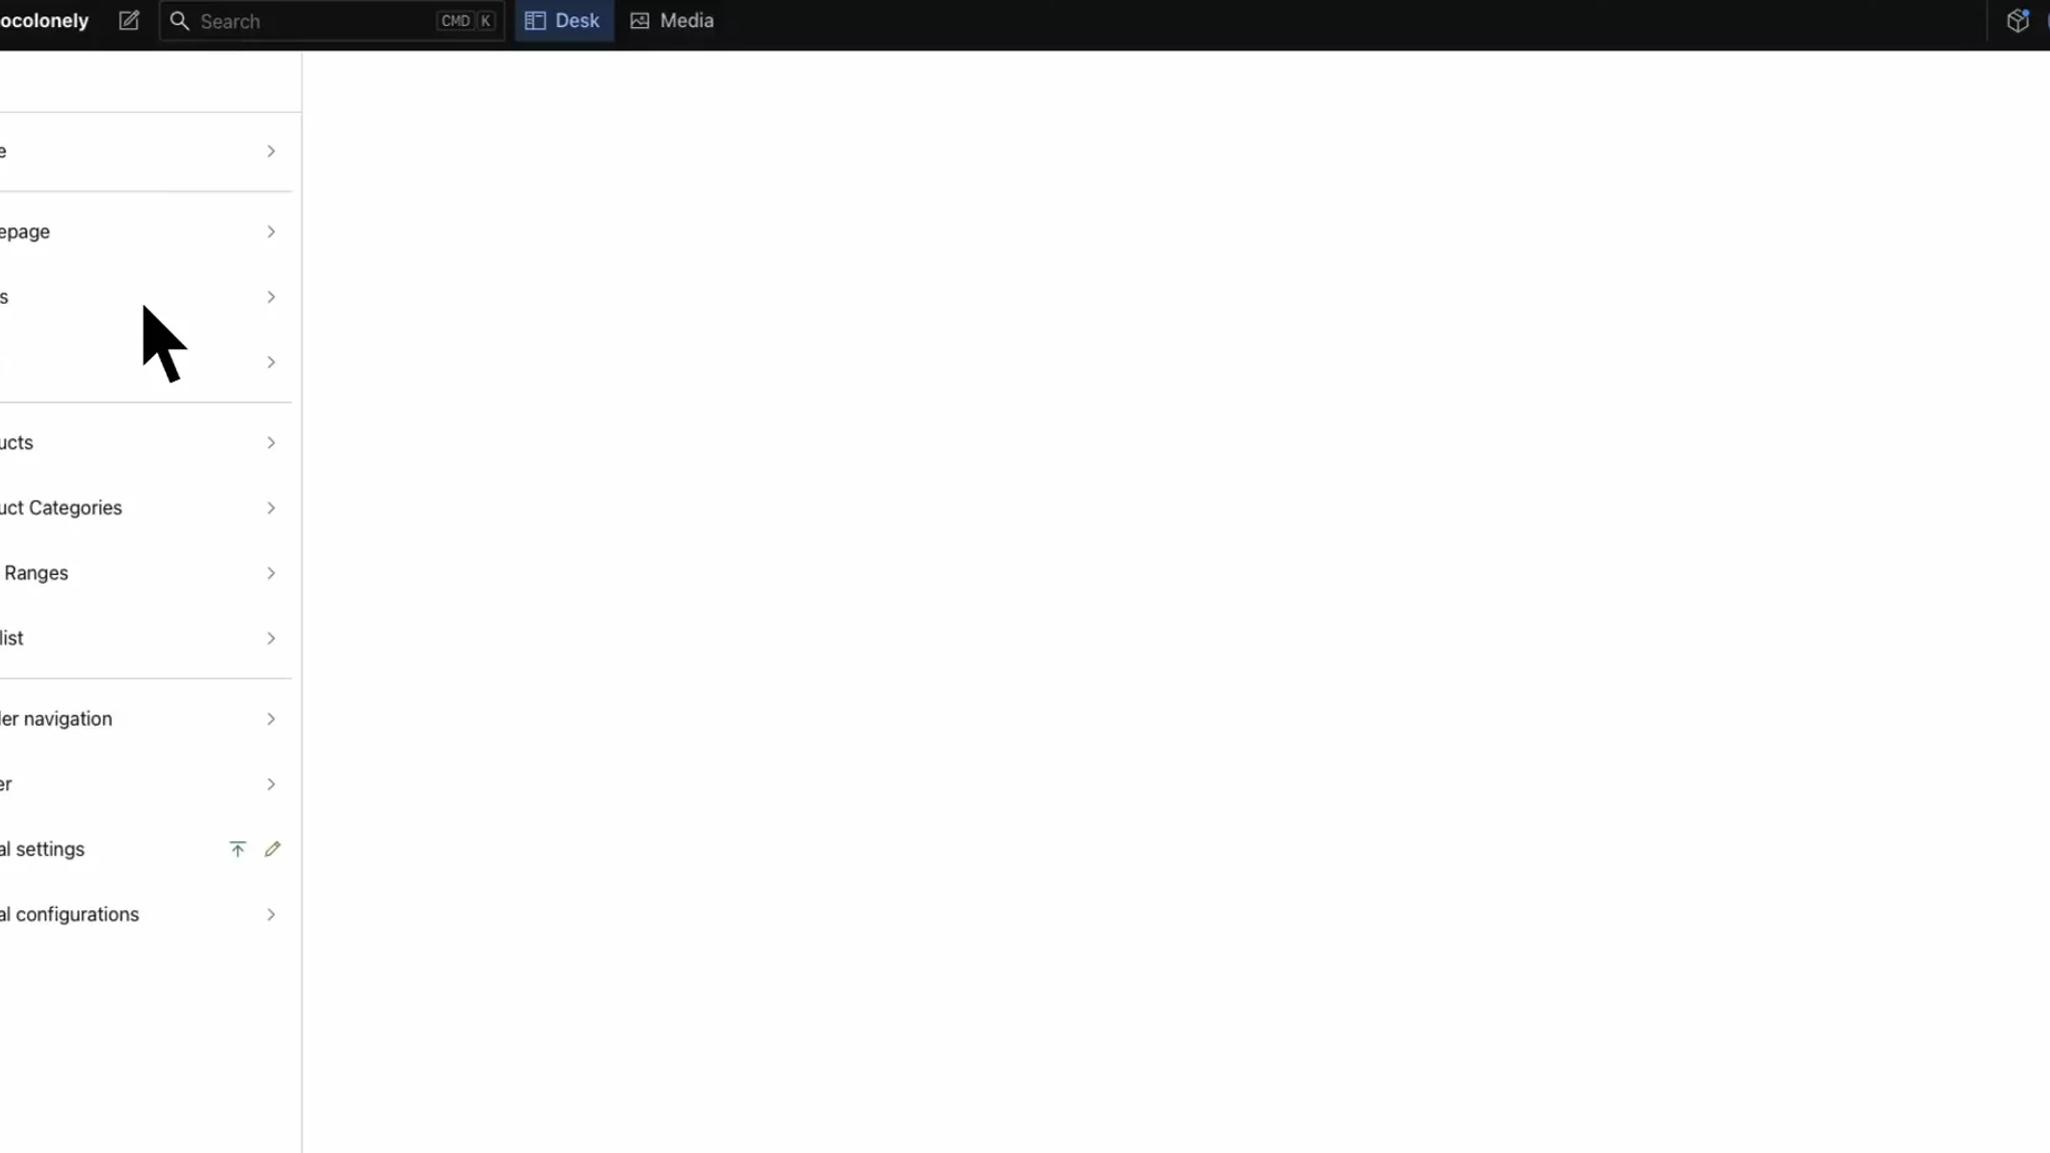
Navigating through different locales
All translatable documents like pages, products, blog articles, and navigation headers or footers can be filtered through by configured locale.
The configured locale can be a language, a country, or a combination of both.
Notice that you also have the option to view unfiltered documents of a certain type.
Once you're on a document, you can also navigate between its various translations from the Translations tab.

Creating a document
If you create a document when you're on a specific locale filter, then the locale is automatically assigned to the document.
In this example, I'm looking at pages from Denmark. Notice how when I create a document, it automatically has the Denmark locale assigned to it.
If you create a document from the unfiltered tab (All), you're prompted to select a locale for it.
Translating a document
Translations can be added from the "Translations" tab. When a translation is created, content from the original document is copied over to the translation document and any references are translated automatically.
What does that mean?
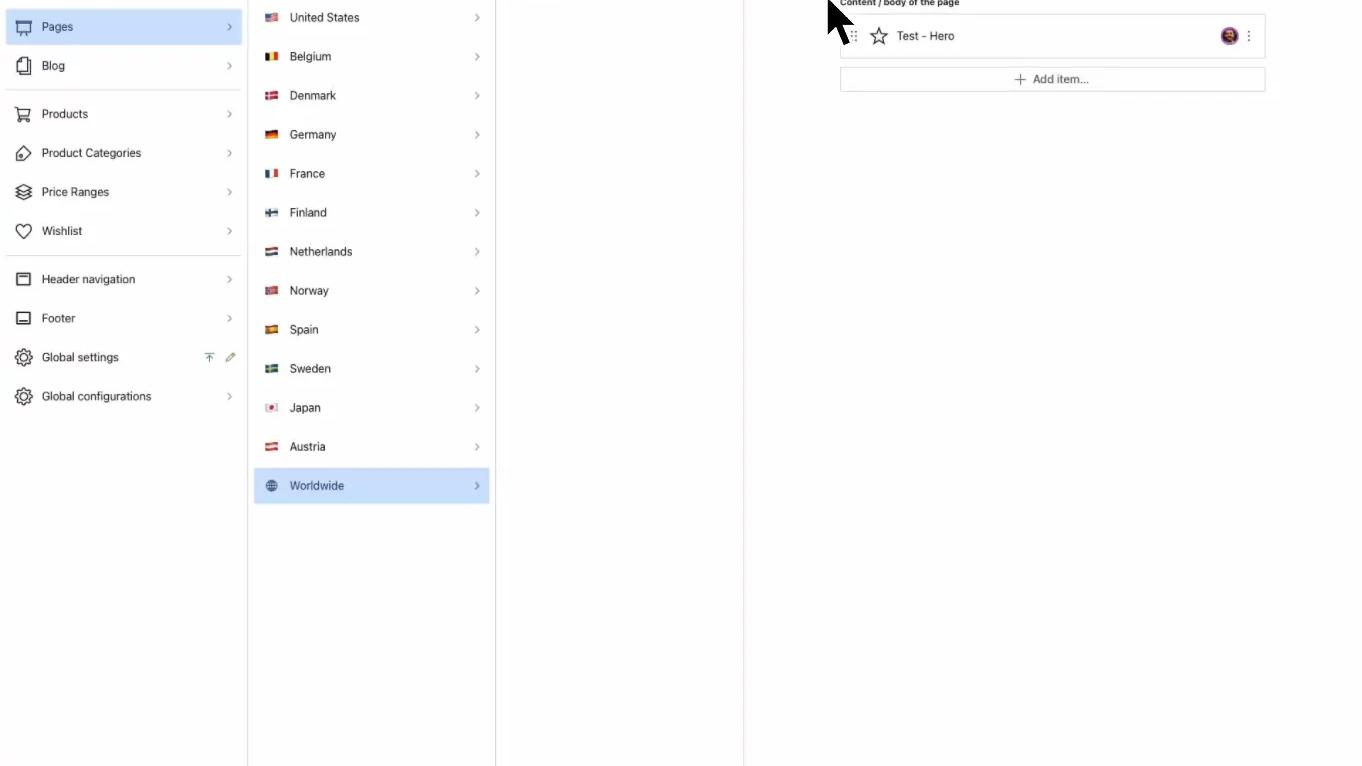
Let's take the navigation header for example, which consists mainly of references to other pages that are displayed as links.
The "Worldwide" header points to "Worldwide" pages. When I create a German translation of it, content is copied from the "Worldwide" header but the new header links to German pages automatically.
Moreover, when you want to link to any other document from the German header, you can only link to German documents.
This makes translations much easier to handle while avoiding any potential errors when linking to other documents.
Tinloof's localization implementation is based on scalability and developer user experience.
Defining locales
Locales are defined as a property of a general config.ts file and you can change them at any point.
1// config.ts23export const config = {4 // ...,5 locales: {6 "en-uk": {7 country: "United Kingdom",8 country_iso: "UK",9 icon: "🇬🇧",10 currency: "GBP",11 },12 "en-us": {13 country: "United States",14 country_iso: "USA",15 icon: "🇺🇸",16 currency: "USD",17 },18 "de-de": {19 country: "Germany",20 country_iso: "DEU",21 icon: "🇩🇪",22 currency: "EUR",23 },24 },25};26
The configured locales are automatically reflected on the Remix routing, GROQ queries, and Sanity studio configurations.
Defining which documents are translatable
You can make a document translatable/localizable by adding setting the localized flag to true on the schema.
1// schemas/documents/blogArticle.ts23export default {4 // ...,5 localized: true6}